Vertical Up MIG Welding
If you are struggling with vertical uphill MIG. This page has exactly what you need to get better at Vertical Up MIG Welding.
If you learn better with a simple course format, we have that for you at Welderskills.com Take the free 7 day trial and watch all the MIG welding beginner videos you can in 7 days for free
Vertical up mig welding is a bit more difficult than flat or horizontal mig welding due to gravity pulling on the molten puddle.
But once you learn the basics and fundamentals, it wont be hard at all.
Fortunately, its not a hundred things that go wrong with vertical up mig welding...
It boils down to just a few key things.
- Voltage and Wire speed settings that are pretty close
- Stickout
- technique
- gun angle
- travel speed
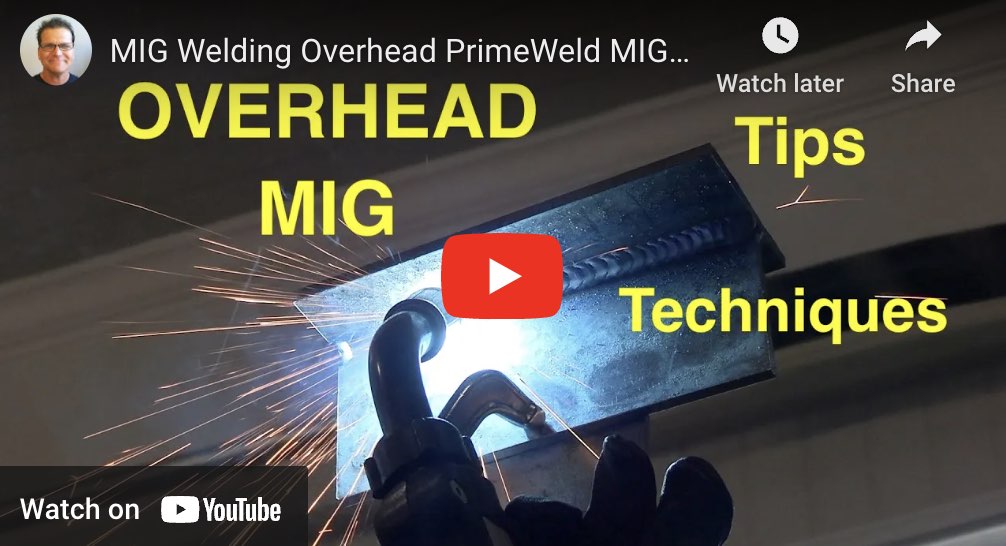
Another area where beginners struggle is on overhead mig welding
Why MIG Welding Vertical uphill is Harder than Flat
1. Gravity Works Against You
- When welding vertically uphill, gravity pulls the molten weld pool downward, making it harder to control.
- If the weld pool is too large or fluid, it can sag or drip...or even just collapse and dump out on the floor.
- Keeping the weld pool manageable while still achieving adequate penetration requires skill and experience.
Maintaining Proper Technique
- Stickout Control: Consistent electrode stickout (distance between the contact tip and the weld pool) is key. Inconsistent stickout can cause arc instability, which is particularly problematic in vertical welding.
- Travel Speed and Angle: Welding too quickly can result in poor fusion, while welding too slowly can cause excessive heat buildup, increasing the risk of sagging. The torch angle must also be carefully controlled to ensure proper penetration and bead shape.
- Weave Patterns: A small, controlled weaving motion is often necessary to cover the joint evenly, but improper weaving (too wide or inconsistent) can lead to uneven welds or lack of penetration.
Tips for Overcoming the Difficulties of Vertical uphill short circuit mig welding:
- Set Correct Parameters:
- Use slightly lower voltage and wire feed speed settings compared to flat welding to maintain a smaller, more controllable weld pool.
- often times, simply using a lower setting on the mig settings chart works
- Use a slight Push angle or dead nuts straight 90 degrees:
- aim for a 90 degree gun angle and you will probably have a slight push angle. but if you aim for a push angle, you might have too steep a push angle
- Clean the Mill scale:
- Ensure the base metal is free of contaminants like mill scale, rust, paint, or oil, as these can cause porosity or weaken the weld.
- Practice:
- Vertical uphill welding is inherently more difficult than flat mig welding and requires significant practice to master.
- padding beads uphill is a great exercise to get better at mig welding uphill
- stacking beads on a multipass vertical uphill tee joint is even better practice


