
Free Hand TIG Overhead Socket Weld


If you need some tips for TIG welding an overhead socket weld you came to the right place.
My good friend Andrew Cardin came for a visit and we filmed this video where he tig welded an overhead socket weld with ER70S6 filler wire.
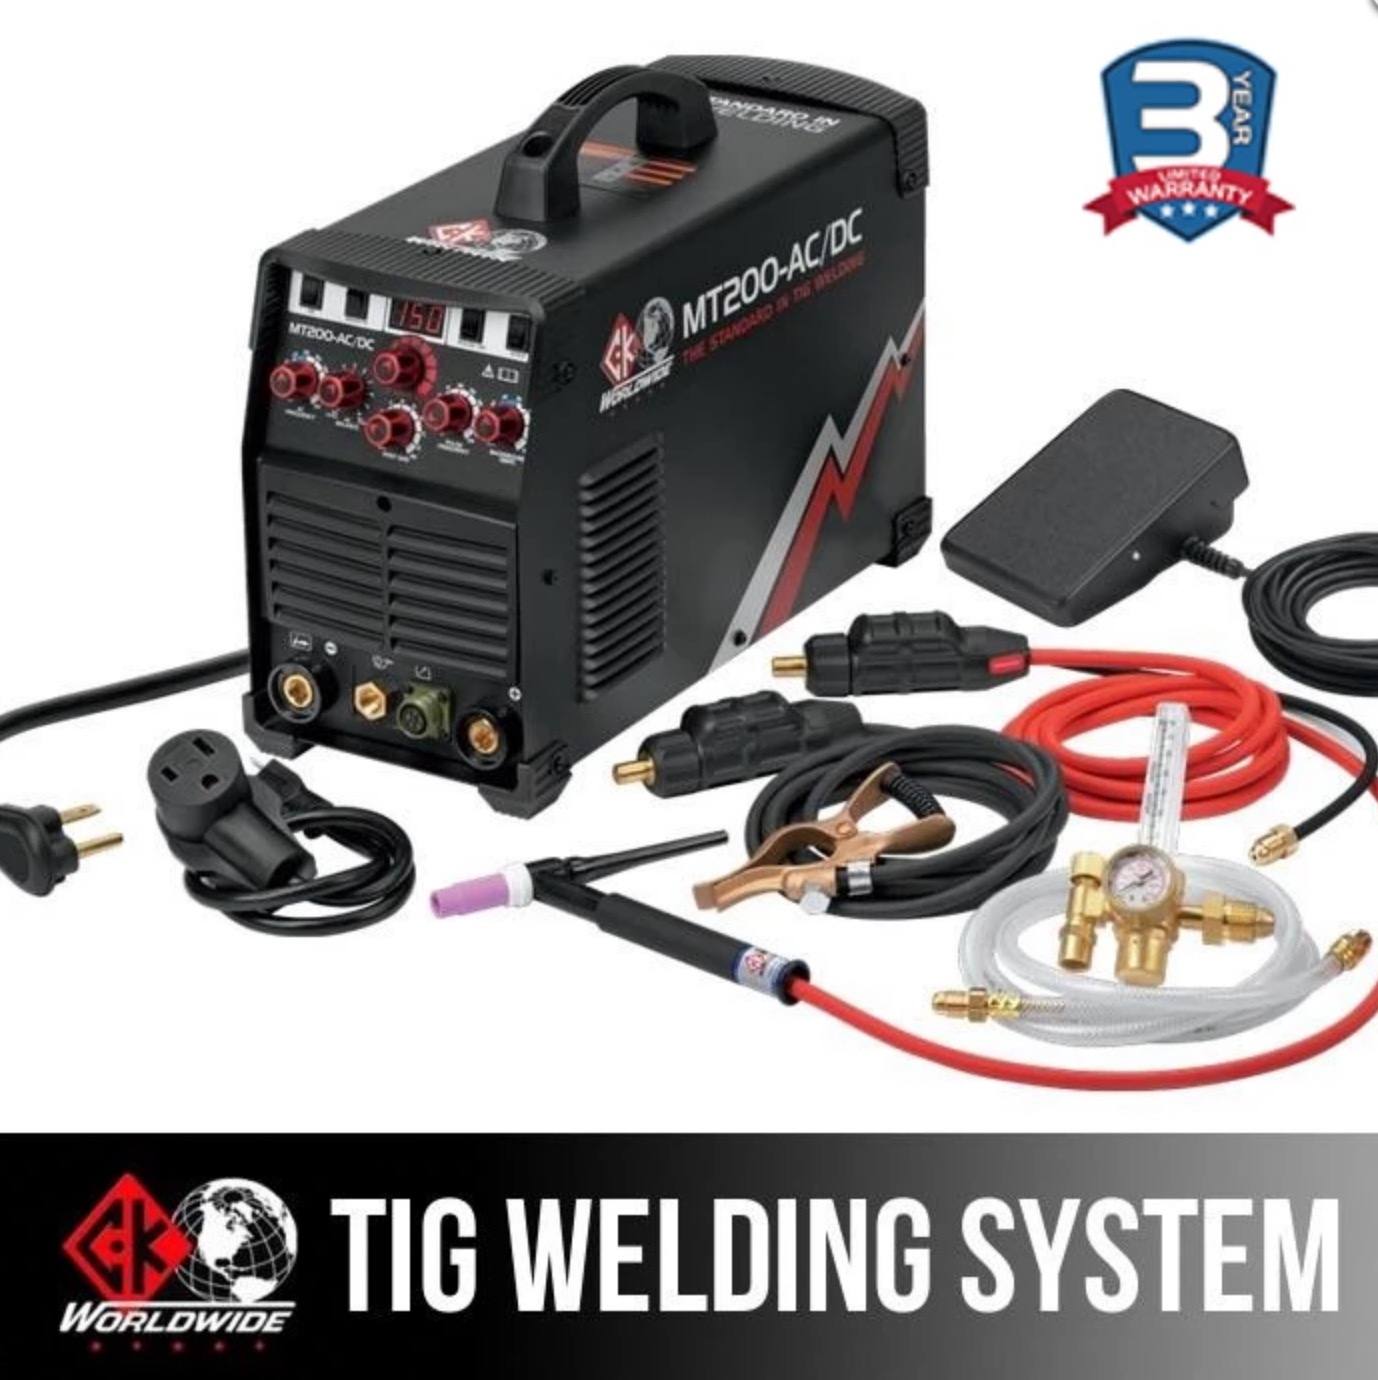
We used my CK worldwide mt200 tig welder for this video and the root pass was welded at a higher than usual amperage at 196 with 1/8" ER70S6 wire using the laywire technique.
After the root, we lowered amps to around 125 for the other passes.
Socket welds in the field are frequently done using a scratch start tig setup also called a dry rig.
But since we were in my shop and had just finished up a video where Andrew welded a 5F aluminum test, we just used the same setup with a foot pedal.
Macro etch testing is a destructive test that reveals a cross section of the weld.
I like to cut and etch test on a video like this because I think it provides a better lesson and verifies the procedure.
The macro etch test revealed good penetration into the root.


The great thing about the cut and etch test is that you can easily correlate the settings to the appearance of the puddle and see the results while its fresh on your mind.
And on a welding video, that works even better because you can reply the arc shots and immediately see the results of the macro etch test.

All you need to do your own cut and etch testing is:
- a way to cut the metal and that could be a grinder with a zip wheel, a saw, or even a cutting torch or plasma cutter.
- a grinder with several different discs starting at about 80 and as fine as around 240 ( or scotch brite discs )
- Etchant: 5% nital is the standard but several other etchants work fine.
Another readily available etchant that works for carbon steel PCB etch solution.
It is easy to find on amazon ...just search for "PCB etch with ferric chloride". its made for etching printed circuit boards but also etches carbon steel well. You have probably seen a similar etchant used on episodes of forged in fire where they etch knife blades.
Make sure to read and follow instructions and follow all safety precautions when using any etchant.
You might like these
Tungsten Electrodes for GTAW
Case Study and Video of Gas Tungsten Arc Welding GTAW Tungsten Electrodes - thoriated vs ceriated vs lanthanated vs pure vs zirconiated
Welding Stainless Steel-Tig Welding
Here's a tip for Tig welding Stainless steel to any other steel


Would you like to get free welding videos in your inbox every week?


Tig FingersThe Real and Original TIG Finger® and XL model
Stubby Gas Lens and Pro TIG kits
2% Lanthanated, CK LaYZr, Purple, more
Our Weldmonger Stubby Gas Lens kit is the Best


