Tig Welding Aluminum
Start here by watching this basic video on TIG Welding Aluminum
- HOME
- TIG WELDING
- TIG WELDING ALUMINUM
Primeweld TIG325x Videos
I like the digital readout feature on the primeweld tig 325x. It makes setting pulse rates easier.
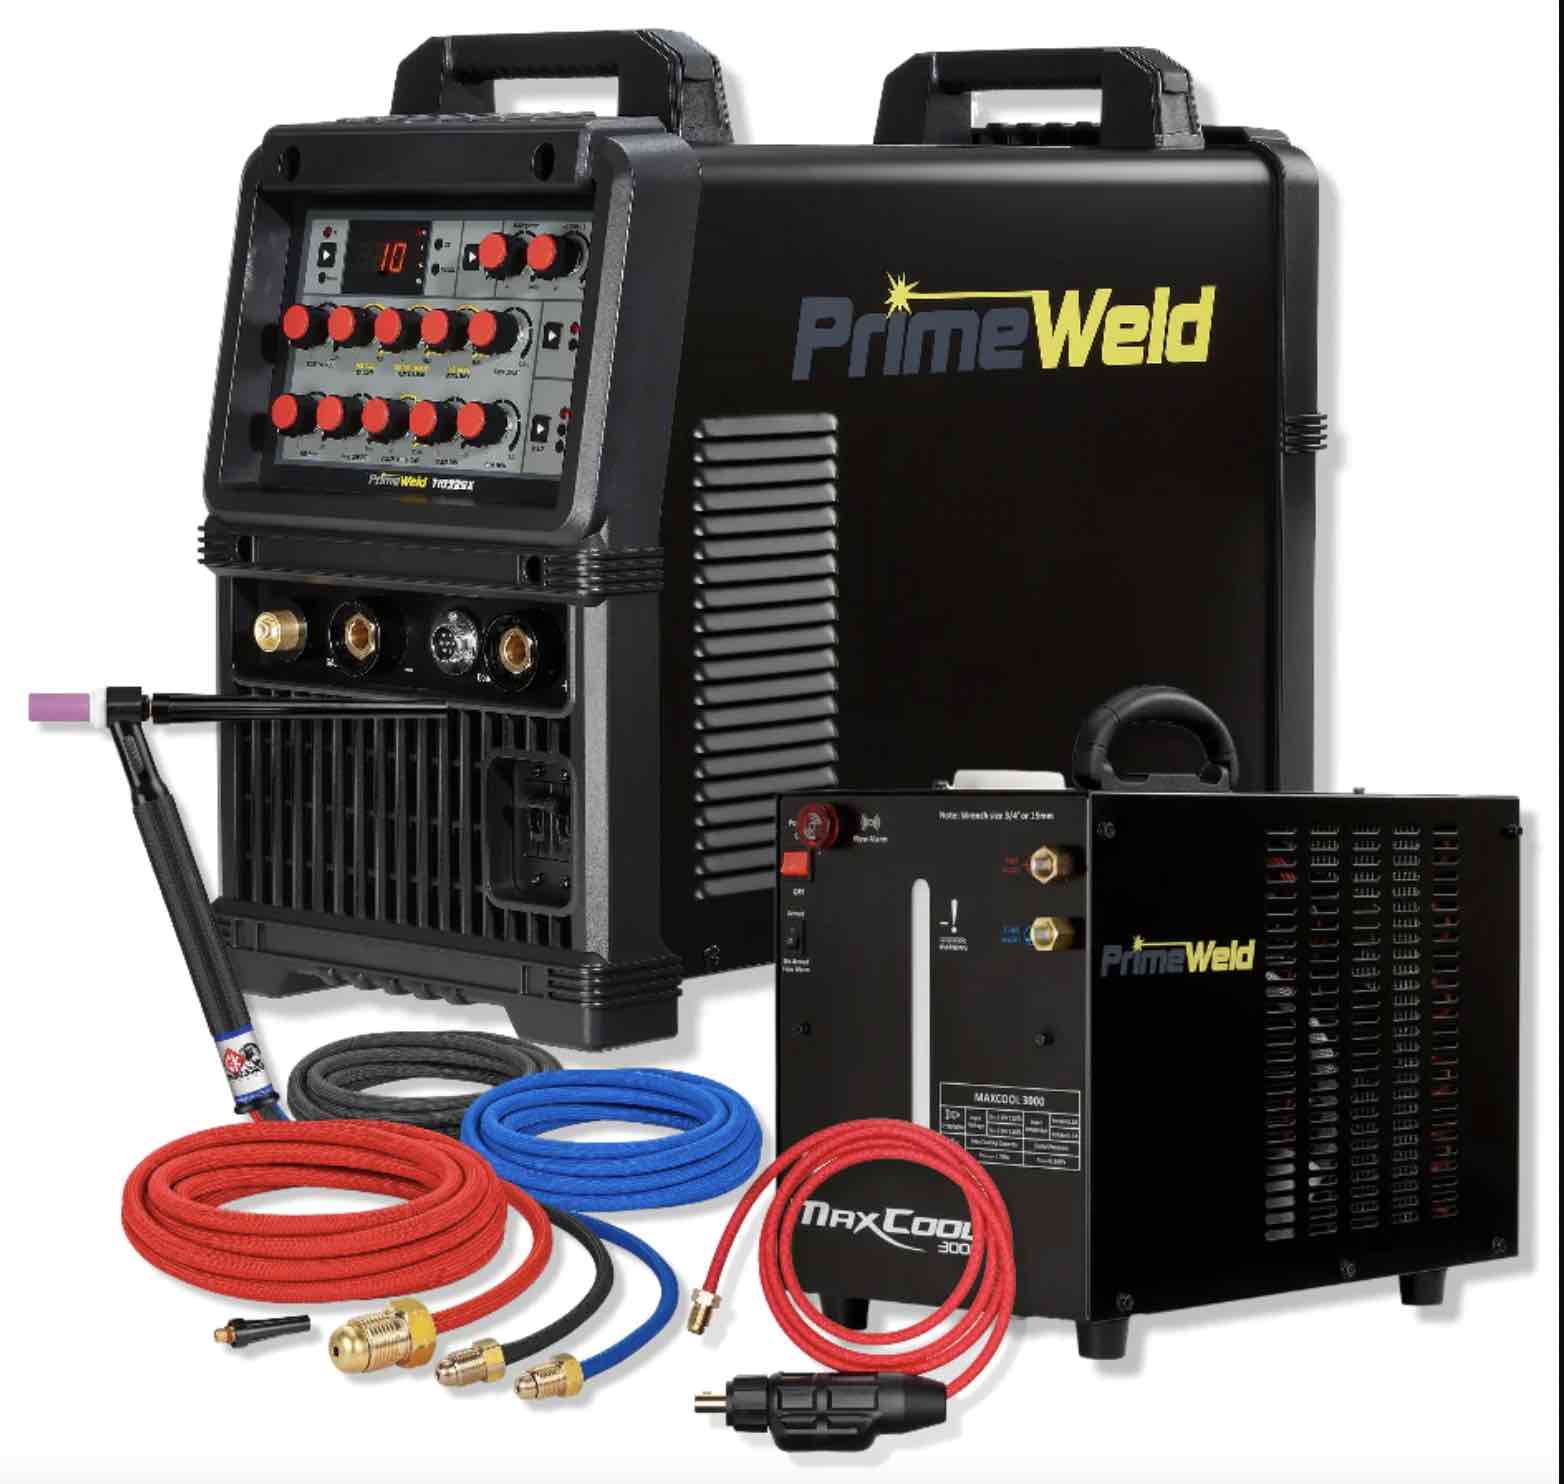
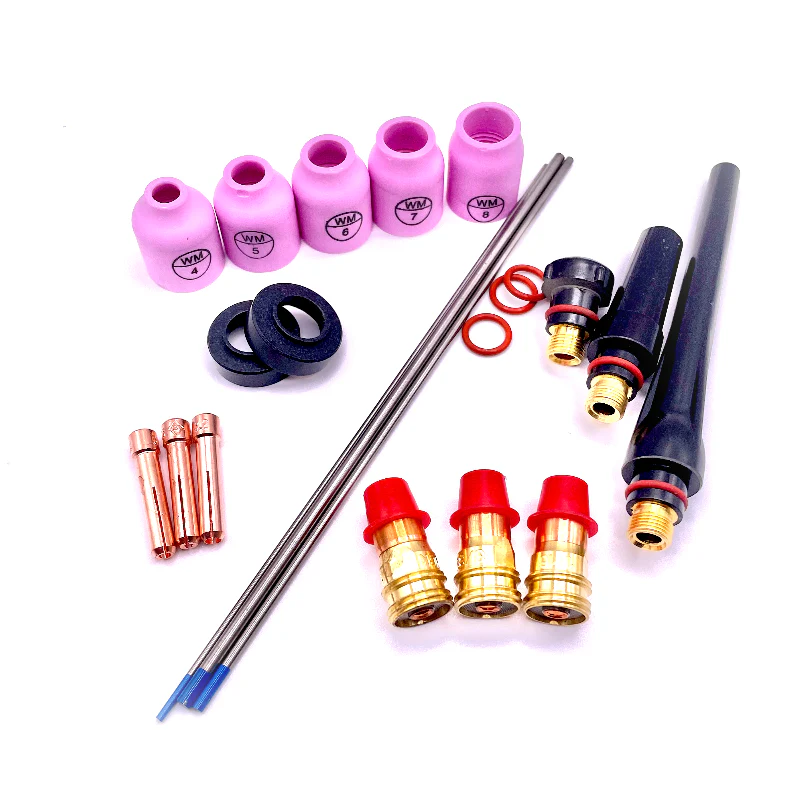
water cooled package shown below with ck 20 torch
I have created a No BS TIG workbook for you to help you learn to TIG weld...and its free
Download your Free TIG workbook here
Download your Free TIG workbook here
- HOME
- TIG WELDING
- TIG WELDING ALUMINUM
Check out the main TIG Welding page chocked full of valuable tips and tricks
How to Set AC Balance for Best results
AC Frequency Setting Demystified: How to Dial it in
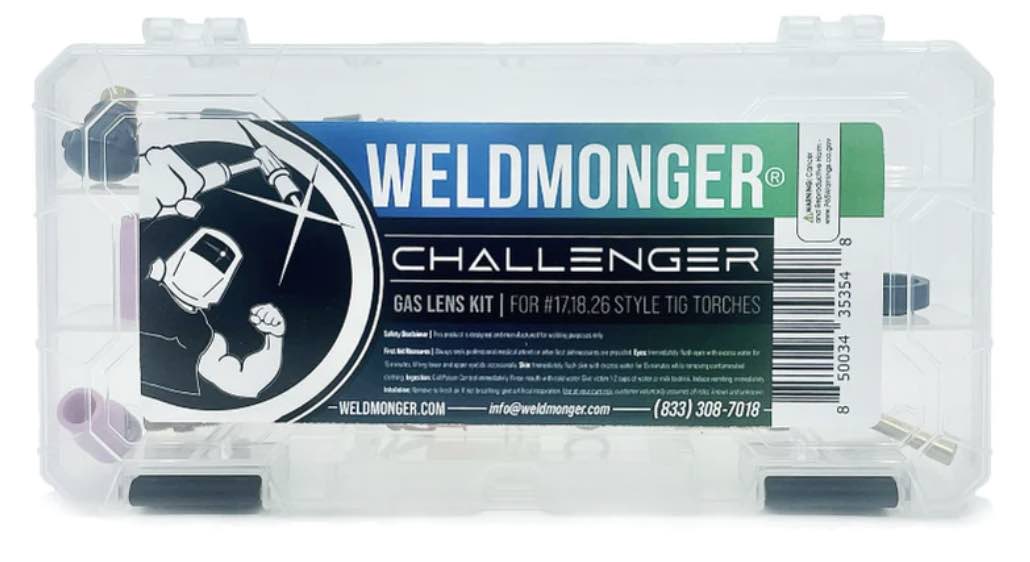
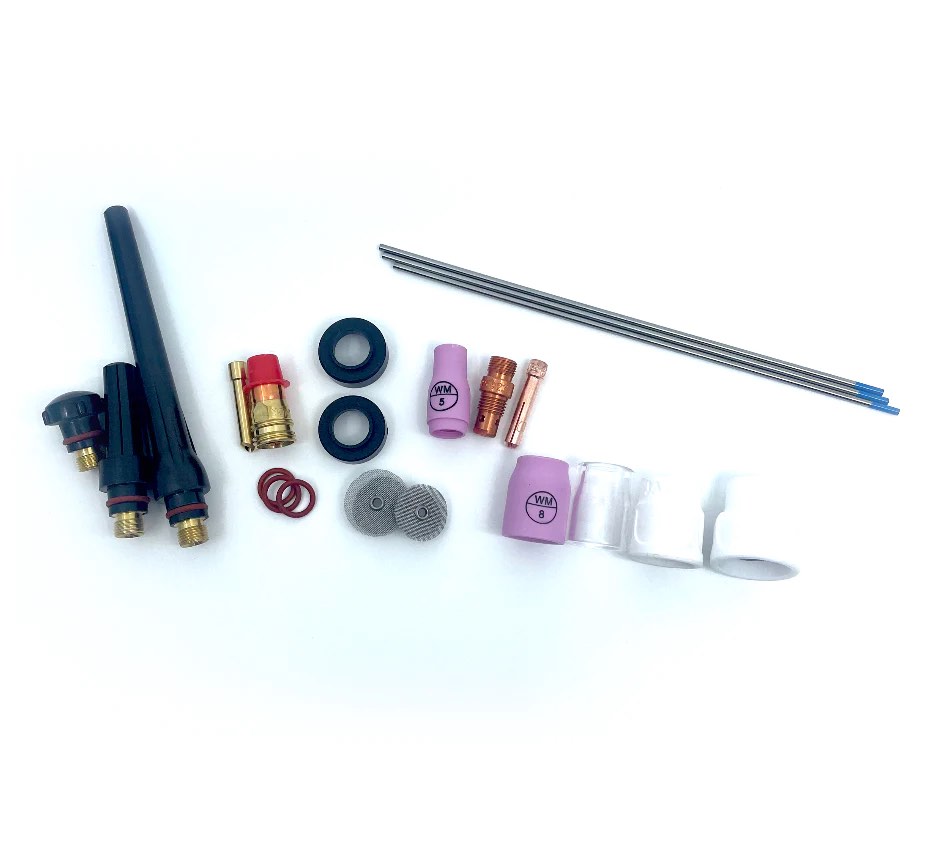
...Introducing the New WeldMonger Challenger TIG kit that includes the most frequently used Cups.
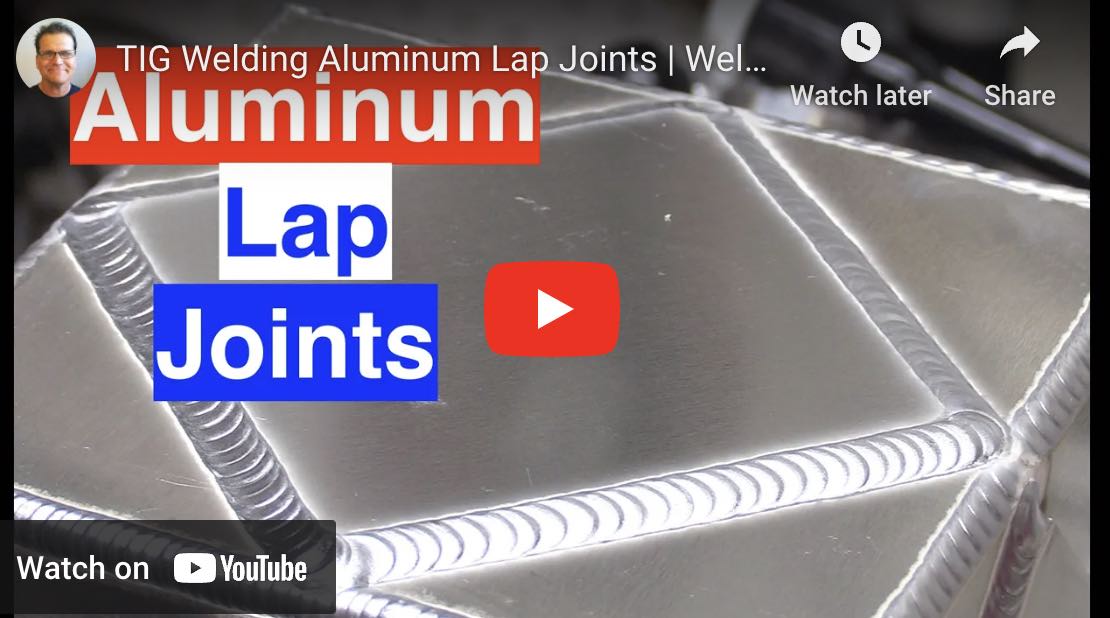
Tig Welding Corner, Lap, Butt, and Tee Joints on 1/8" (3.2mm) thick aluminum
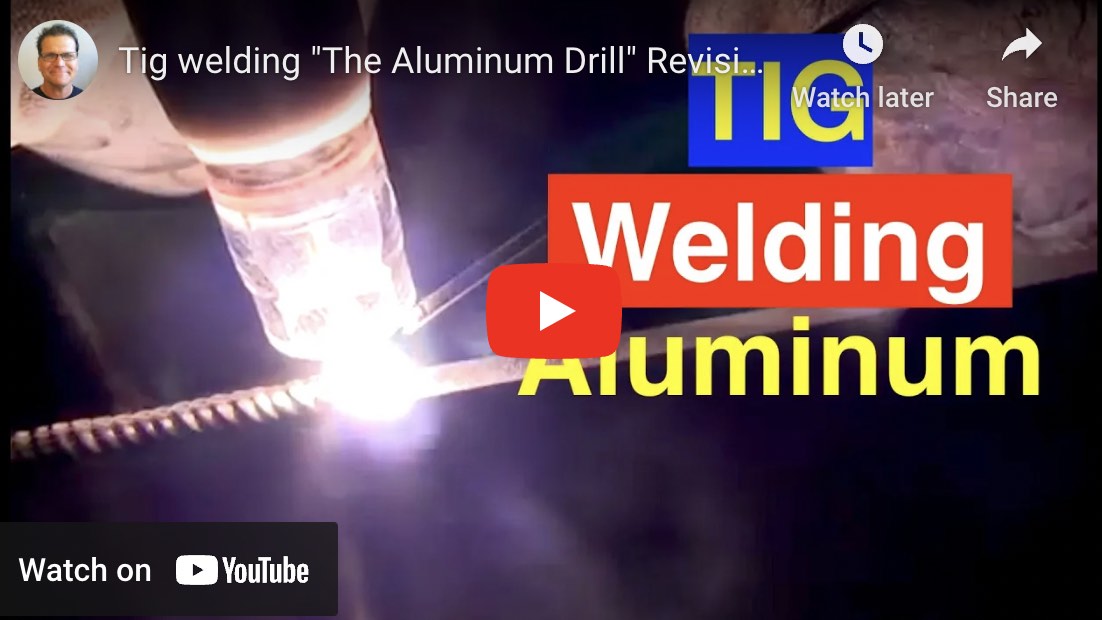
The "aluminum drill" for improving your tig welding skills
In this video you will see a whole lot of tig welding aluminum beads on a plate.
I think this is the absolute best practice there is for tig welding in general...not just aluminum.
Running beads with different settings, different techniques, different sizes of filler rod, and left handed -right handed beads all can make you a better all around welder.
click here to see the article about the aluminum drill
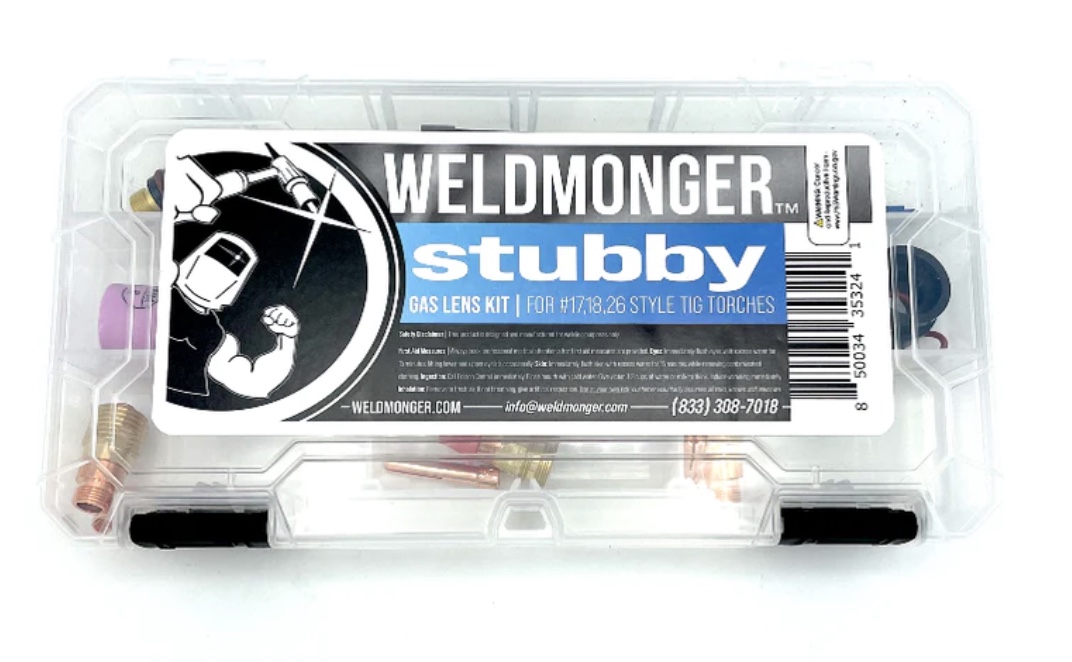
If you have a 17 style tig torch, you will definitely benefit from a stubby gas lens kit ( I like the #6 for aluminum)
Tig Welding Aluminum or should I say getting good at it... opens up all kinds of possibilities for any weldor.
... automotive and motorsports welding on parts like like intercoolers, expansion tank coolers,
marine parts like tuna towers,rod holders, and boat propellers.
Dog boxes, valve covers, cold air intakes, and more
If you are good at aluminum tig, it opens up all kinds of opportunities for you
Click here to see the main tig welding video page
see a detailed full article on how a #5 standard cup helps with penetration
read the full article on the aluminum hurricane kit welding project
click here to see the full article on tig welding aluminum lap joints using .125" 6061 t6 aluminum.
links for more videos on tig welding aluminum
Aluminum TIG welding repair using stainless steel for backing
A Tig Finger Heatshield lets you prop right on hot metal...click here to see
For most Aluminum TIG welding , You need alternating current also known as AC current.
Yes certain Aluminum joints can be done on DCEN with pure helium. watch video on DCEN TIG welding aluminum here
But AC is the main way aluminum is tig welded because AC is more versatile and more practical for most applications.
Tig welding aluminum is definitely worth learning.
I missed out on a good job back around 1982 because I couldn't weld aluminum back then.
The first time I tried tig welding aluminum, it seemed hard.
Now I wonder what was so hard about it.
I think aluminum should be the one of the first things you learn when You are in training. Like right after learning to weld carbon steel beads, go right into welding aluminum beads.
The reason I say that is...
If you dont have anything to compare tig welding aluminum to, you wont know its supposed to be hard.
I am hear Mandarin Chinese is a difficult language to learn, but Chinese babies don't seem to care. No one told them it was hard.

Some quick tips for tig welding aluminum
I know text books still recommend using pure tungsten for tig welding aluminum but my advice is....
Forget about using pure tungsten.
Sure it balls prettier, but it just does not carry enough amperage.
And if you are using a newer inverter type tig welder like a Miller dynasty 200dx, PrimeWeld TIG225x, or CK MT200, pure electrodes will usually cause really rough arc starts.
In fact, the operating manuals for those machines will most likely advise against pure tungsten.
Pure Tungsten starts OK on older transformer machines like the Miller syncrowave 250, or Lincoln Idealarc. But is very limited on amperage range.
I have run test after test comparing pure , 2% thoriated, and zirconiated 2% lanthanated, 1.5% lanthanated, E3, and other trimix type electrodes.
The 2% lanthanated electrodes perform as well or better than the rest in X ray results...and seem to hold up way better at high amperage.
I know people are steering away from thoriated electrodes because of the radioactive thorium they contain. If that scares you , use 2%lanthanated electrodes.
You can see a video review of tungsten electrodes here
Dont get me wrong...I am not saying pure tungsten does not work ok.
It just does not hold up to high welding amperage. It balls up nicely and textbooks still are recommending it for transformer style machines.
But for tig welding aluminum, I have not found anything better than the 2% lanthanated.
CK LaYZr and E3 are also good choices...especially at medium amperage range.
Quick TIP...
Too much argon flow at the torch will make for an erratic arc.
Things to remember when tig welding aluminum
1. 4043 filler rod is probably the best all around rod as far a crack sensitivity, cost, availability, etc. If you know exactly what type of aluminum you are welding and if you are going to anodize after welding then see the alcotec chart link below for a proper filler metal selection.
4943 is a fairly new filler rod and seems every bit as good as 4043 with somewhat better flow and better strength.
2. All things considered , 2% lanthanated is probably the best
all around electrode...
3. Helium has become expensive, but mixing argon and helium can still be worth it ( i use a Y fitting along with check valves to mix my own helium and argon ...it really only takes a tiny % of helium to make a big difference) you can see a video about mixing argon and helium by clicking here
4. For castings, preheat is your friend ...about 200 f makes the difference.
5. 3 c’s clean, clean, clean ...especially on castings or heavily oxidized aluminum
6. Not enough Argon from the torch is BAD...Too Much Argon
from the torch is bad too. you need to find that balance where you get a clean puddle that is shiny...but still have a smooth fairly quiet arc.
Alcotec Filler Metal Chart for Tig welding Aluminum...What rod to use for what
Alcotec has a very complete filler metal chart...a little too complete.
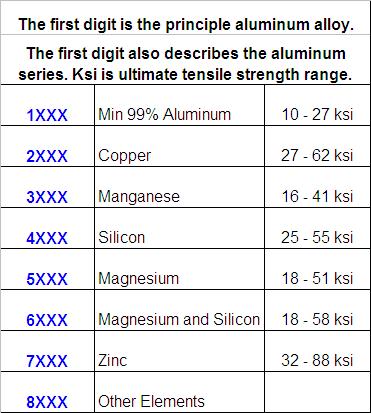
Quick reference aluminum alloy chart
click here for the top 10 Mistakes for Tig welding aluminum
Tig Welding Aluminum is not that difficult, just a bit more finicky than steel
Some people think tig welding aluminum is more difficult than welding any other metal.
There is a bit of truth to that But I say that once you learn, it is just another metal with its own set of unique requirements, not harder, just different.
But it CAN be harder if you don’t understand the fundamentals of tig welding.
Aluminum will not let you get away with much.
You can get away with a lot on steel, but those bad habits will bite you in the butt on aluminum.
All the textbooks on welding aluminum state that you must wire brush or mechanically clean aluminum before welding.
But, unless you are operating a not for profit business, It is just not practical to wire brush or mechanically clean every joint. If you don’t believe me just look at a wal-mart bike or a tuna tower on a boat sometime, you won’t see any wire brush marks or sanding scratches.
That’s because it cost money to clean the weld area and besides that wire brush marks and grinding scratches look like Fido’s butt.
Besides, if you are welding new metal, the cleaning action of the alternating current will clean the weld area pretty well. (Unless you require an x-ray quality weld).
Let me just say that again in case you didn’t understand. If the aluminum is new and not heavily oxidized or dirty or contaminated in some way, a good solvent wipe with acetone the alternating current arc will clean the puddle adequately to get a sound weld. I am talking about general work here, not aerospace or nuclear code work. Most welds have some amount of internal defects like porosity. The trick is to keep them to an acceptable level.
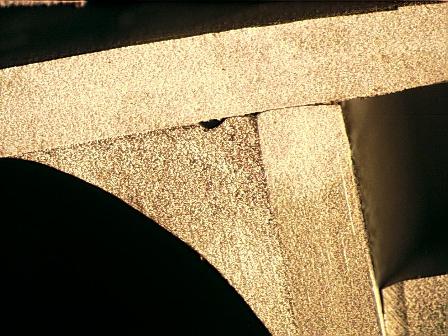
"The Skinny" on Welding Aluminum
Or should I say, the real "Skin" on Aluminum??? The thing that makes aluminum different than most other metals is that all Aluminum has an oxide coating that has to be broken down somehow or things go terribly wrong.
It is really like a skin like saran wrap or something and unless you can break it down, things dont go well.
Aluminum has a melting point of less than 1200F.
But the aluminum oxide film that is on all aluminum melts at around 3600F.
To add to this Funk, aluminum even boils at a lower temperature (2880ºF) than this oxide melts.
For these reasons, it is easy to see why as much as possible of this oxide "skin" must be removed before welding.
Luckily, the reverse polarity half of the A/C arc does an outstanding job of cleaning off most of this oxide ahead of the weld!
How does that work?
Well the reverse half of the alternating current acts like a sandblasting operation that breaks down the oxides.
That’s really all you need to know unless you are a Physics major working on your thesis for a PHD.
Anyway... here is a shot of an aluminum tig weld made with reverse polarity. Notice the frosty area next to the weld. That is what is known as “cleaning action” and it is a good thing.
But too much of a good thing... is not always a good thing.

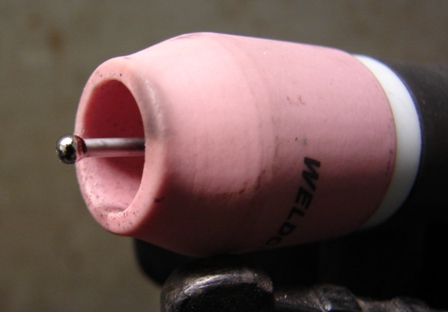
Welding on Reverse polarity heats the electrode up a lot and balls it as you see in the photo above. You have to use a lot bigger electrode than you would on A/C. This makes it impractical. A lot of old timers say you should "Ball" the electrode on Reverse polarity and then swap over to A/C.
A better way is just to round the tip of the electrode like you see in the photo below. You will get much better low end starts and more arc stability with a small rounded tip.

Now compare this to aluminum tig welding on alternating current with the a/c balance set to max cleaning.

Below you see aluminum tig welding on DCEN or Direct current electrode negative. You can see how crappy it looks. The oxide skin was not broken down and the weld looks like Fido’s Butt. Tig welding aluminum should never ever look like Fido's butt.
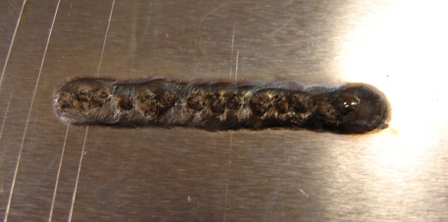
Now look below at this aluminum tig weld made on alternating current with the a/c balance set to max penetration. Notice that the cleaning action does not extend past the weld much at all. Ahhh...Just right...This is the Shiznit. This is what tig welding aluminum should be like.

Aluminum is a great conductor of heat. It requires large heat inputs when welding is begun, since much heat is lost in heating the surrounding base metal.
If you have ever lit up on an inch thick piece of cold aluminum, you know what I mean. After welding has progressed a while, much of this heat has moved ahead of the arc and pre-heated the base metal to a temperature requiring less welding current than the original cold plate.
If the weld is continued farther on to the end of the two plates where there is nowhere for this pre-heat to go, it can pile up to such a degree as to make welding difficult.
The puddle flows like water when the whole piece becomes saturated with heat... Unless the current is decreased. This explains why a foot pedal or hand current control is recommended. I would go one step further than recommended and say pretty necessary when Tig welding aluminum.
Some aluminum alloys exhibit “hot short” tendencies and are crack sensitive. This means that at the range of temperatures where the liquid alloy is slushy (part solid and part liquid) or just turned solid, is not quite strong enough to resist the shrinkage stresses that are occurring from cooling and contracting.
The proper choice of filler metal and welding procedures along with smaller beads can help eliminate many problems of this kind. Some experts recommend backstepping the first inch or so of each aluminum weld before finishing in the normal direction. Here's a tip to avoid cracking that often occurs at the start of a weld when you are tig welding aluminum:
Add extra filler rod when you start a weld and then stop after only a ¼” or so and let things cool for a few seconds. Then restart the weld where you left off. Having extra metal at the start of a weld will prevent cracking.

