Aluminum Welding Training and How to Get better at Tig Welding
What is the best way to get better at Aluminum welding? or Tig Welding in general for that matter?
See how this training drill applies to an aluminum wheel repair
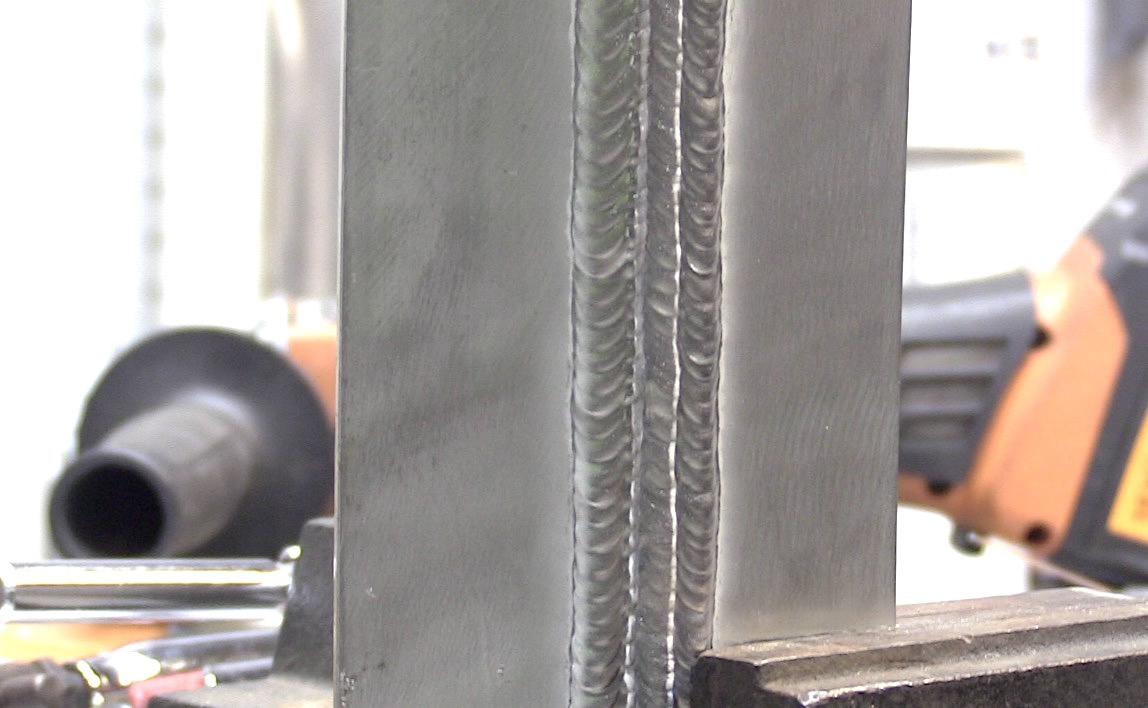
Once you do the Aluminum Drill, try padding some vertical beads
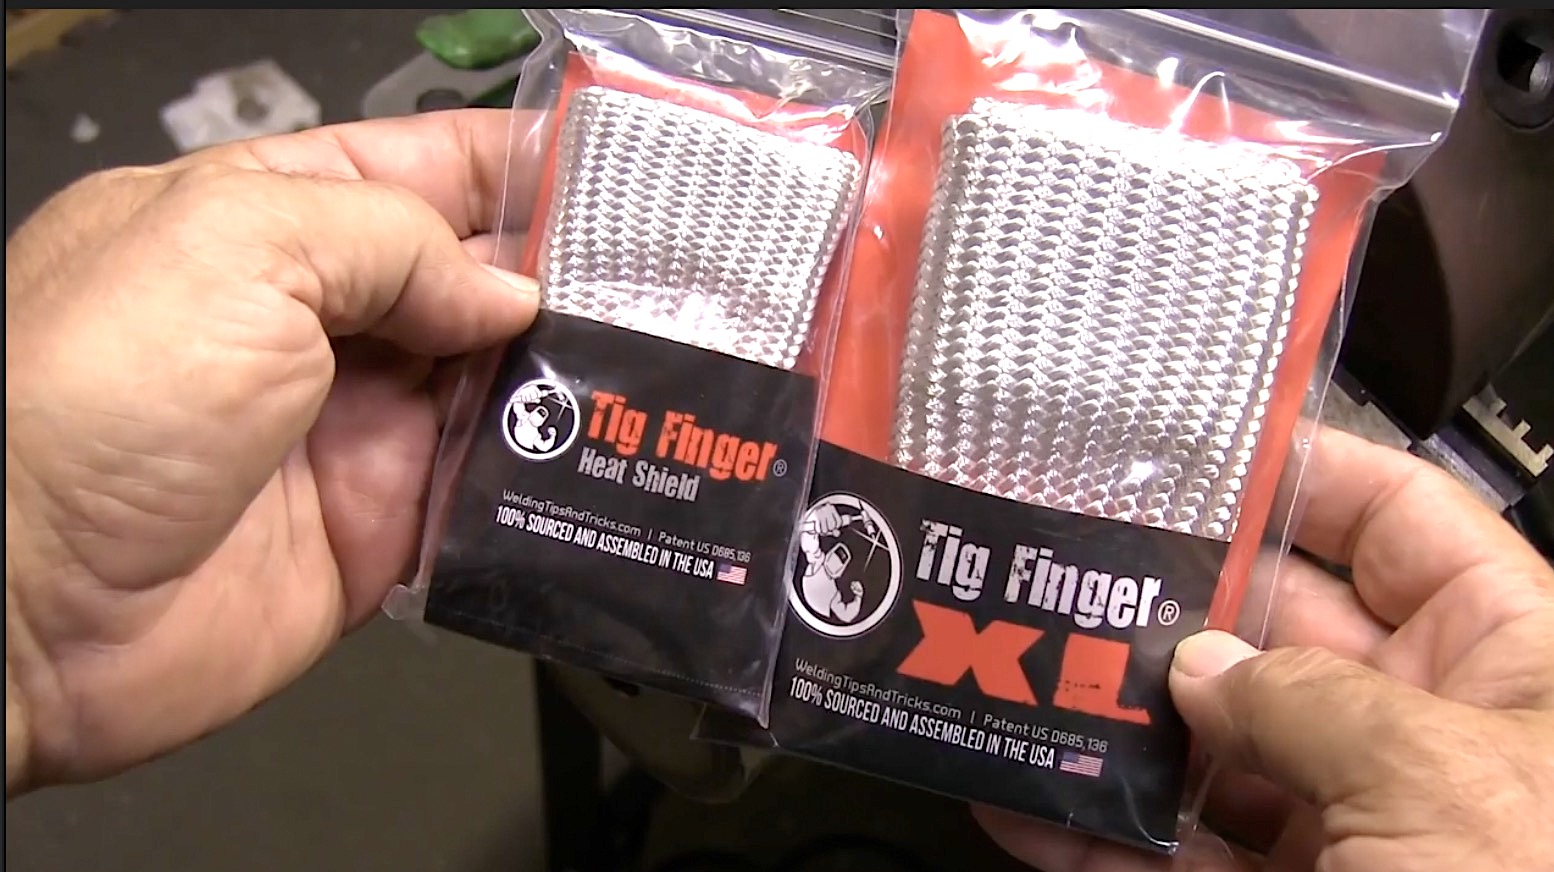
Do yourself a favor and order a TIG finger bundle. It will help your aluminum welding a lot. just click the pic below

aluminum tig welding will make you a better welder of all metals....not just aluminum.
Why?
here are just a few reasons:
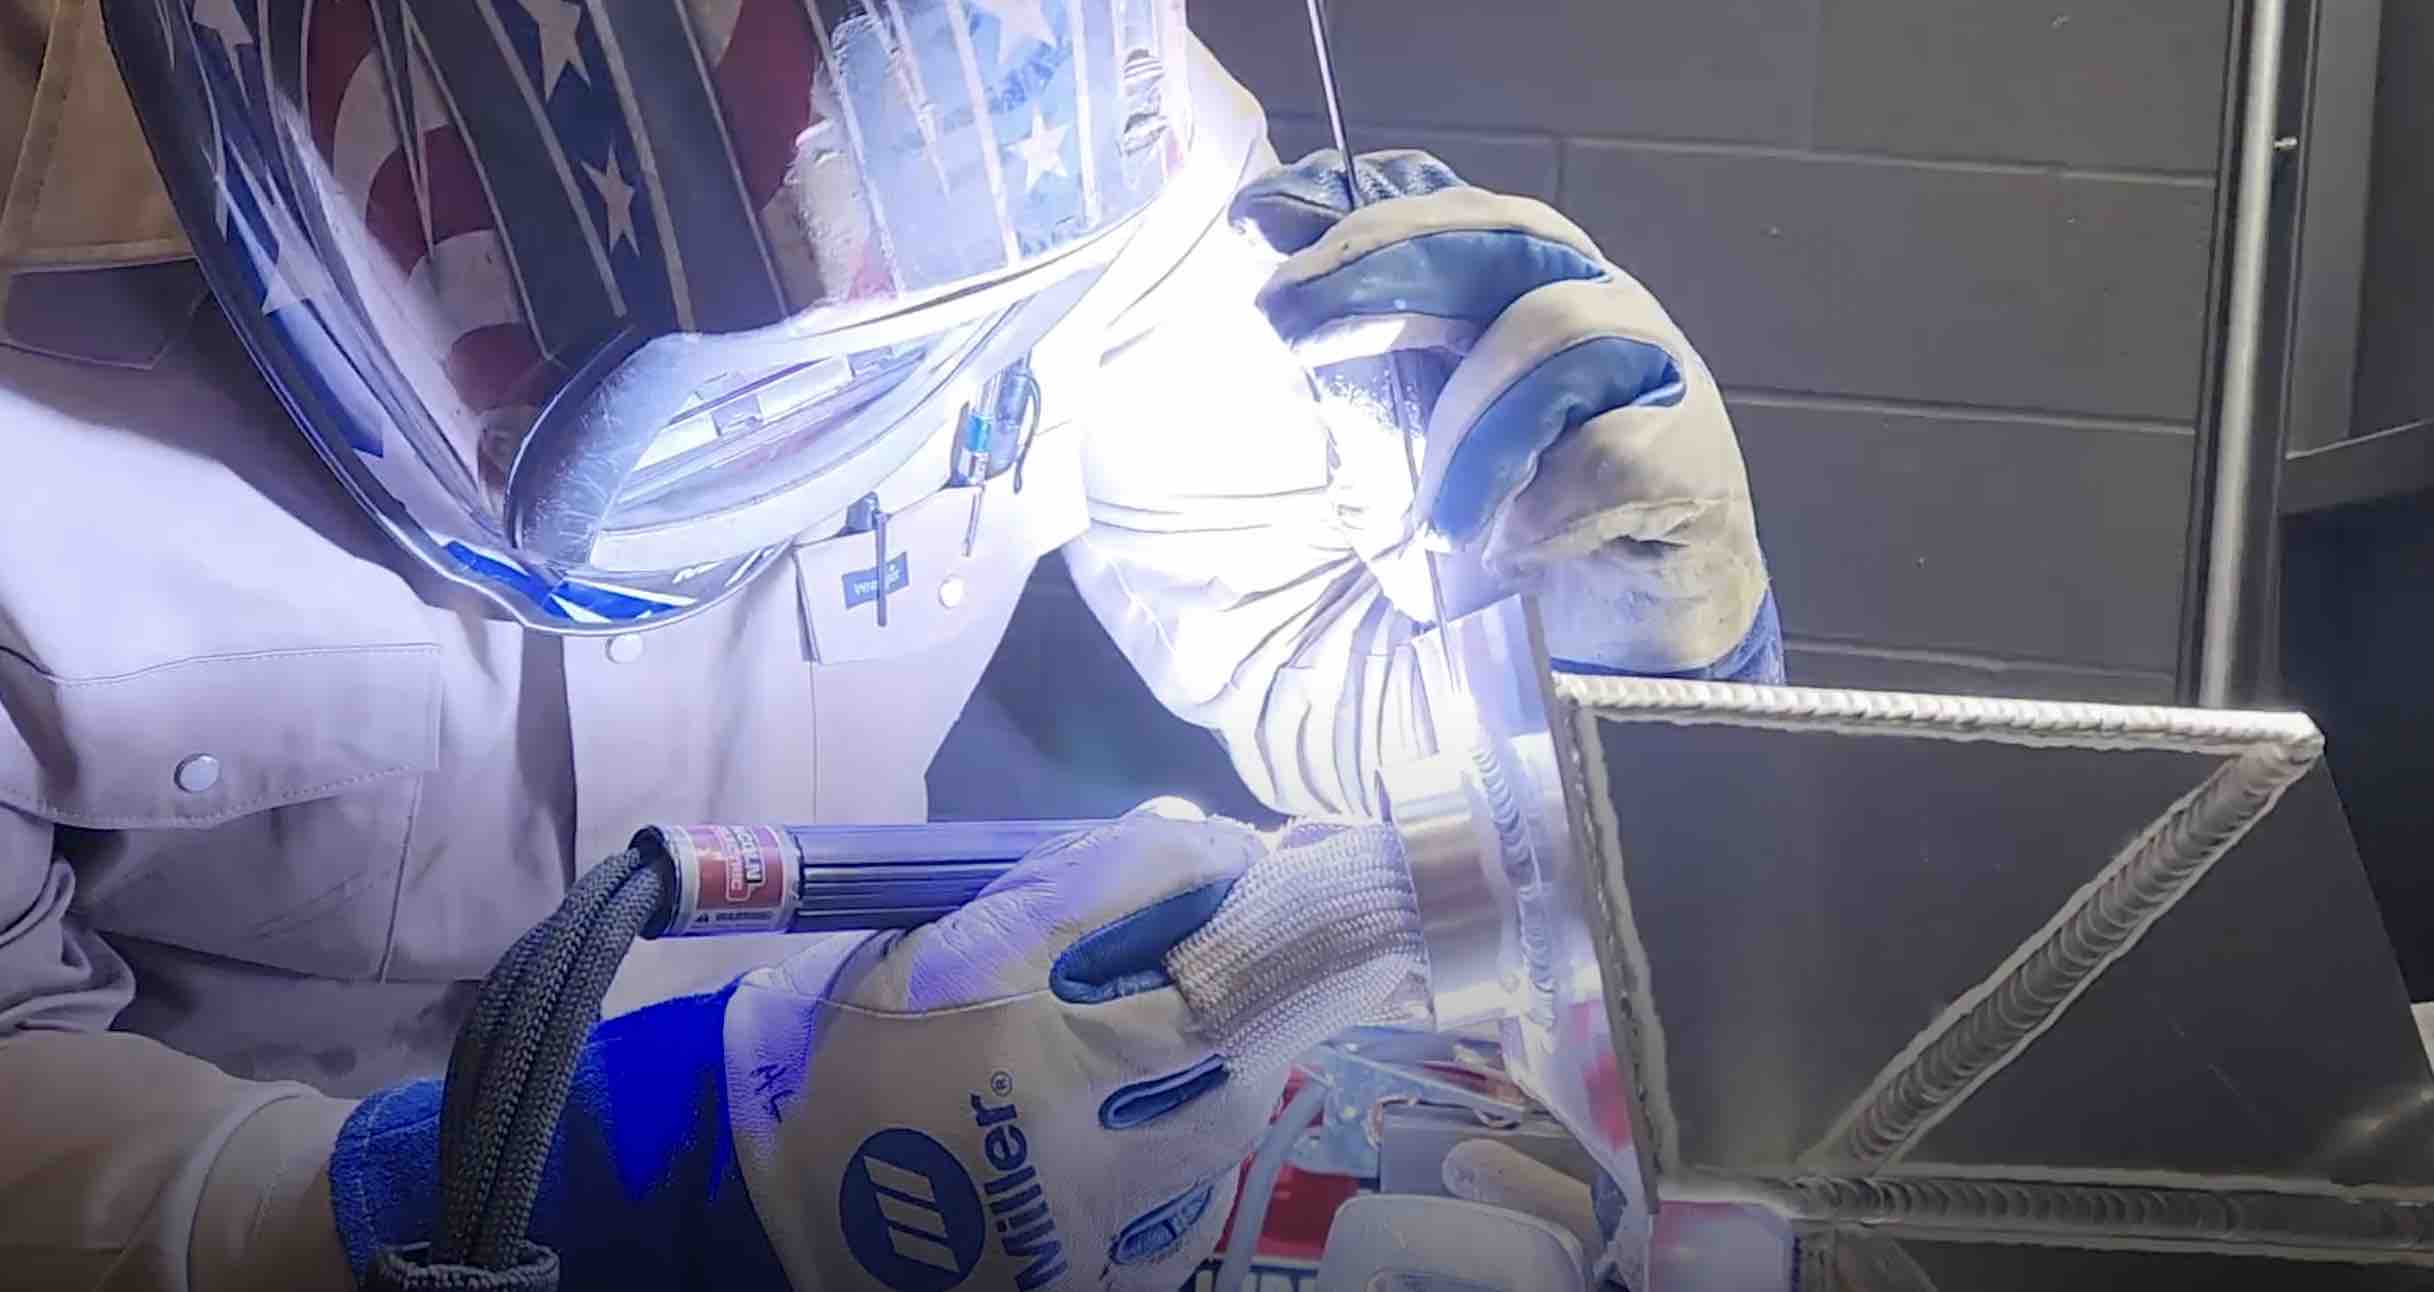
With Aluminum welding, You have to feed more rod...your wire feeder hand will have to get better and faster and that will help on all metals.
Conductivity...aluminum will make you pay more attention to your foot pedal amperage control and travel speed because the heat changes a lot more than stainless or carbon steel
Seat Time/ Arc Time...practice like I outline here and you get lots more seat time.... you spend your time welding and not cleaning and wire brushing.


A lot of you have asked where you can buy a Tig Finger Heatshield... Well, we have em...ready to ship. 100% made in USA by friends and family.
Beware of cheap knockoffs on amazon and ebay.
Getting a piece of aluminum about 1/8” or 1/4" thick and stacking beads on it is the best tig welding practice there is.
That’s a pretty strong statement but here is why its true:
Aluminum cools quickly and doesn’t form a grey oxide film like carbon steel does so you can stack beads , one on top of the other and the puddle will flow the same bead after bead…well , almost.
Aluminum conducts heat rapidly so you have to get used to working the foot pedal remote amperage. You cant get lazy and just leave your amperage in one place like you can with steel. Aluminum exaggerates everything that can go wrong with steel.
For example, too much arc length, too much torch angle, not enough amperage, too much amperage….all will cause problems and make you think more about how to fix your technique.
Aluminum has a big attraction for your tungsten electrode and wants to jump on it at every opportunity…(at least it seems that way.)
When ..not if, but when your electrode gets crapped up with aluminum, stop and clean it off with a sander. You can get away with a tiny bit of contamination when you are tig welding steel. Not so with tig welding aluminum...unless you like welding aluminum inside a big cloud of black soot.
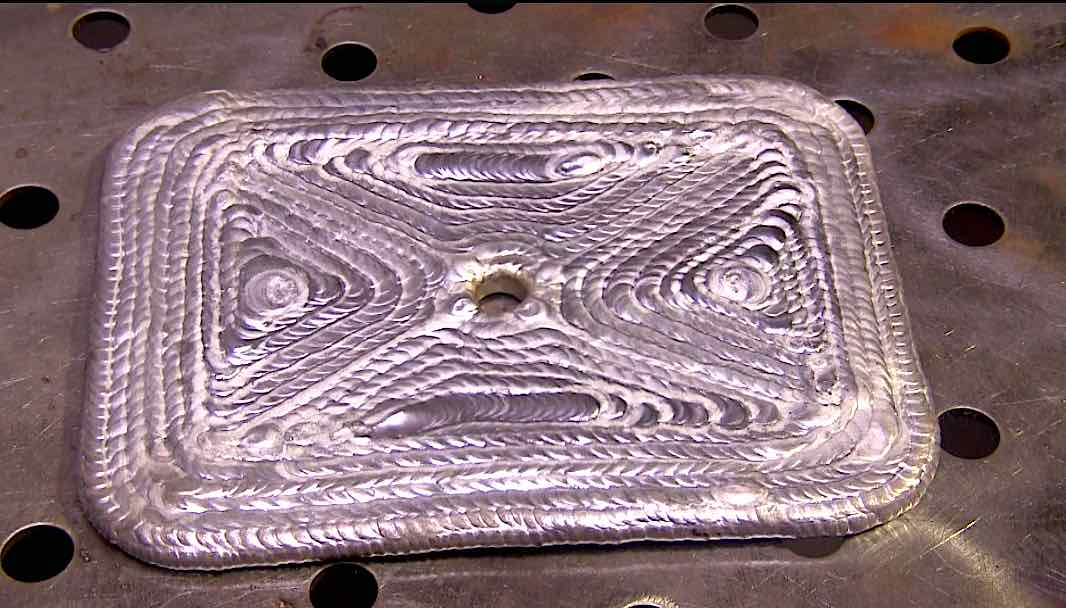
With just one scrap piece of aluminum sheet, you can stack bead after bead practicing spacing your ripples, keeping your bead width consistent, welding fast, slow, medium.
The piece I welded for this page was 4” x 8” x .125” thick 3003 aluminum. It does not matter what grade you use… . whatever you can get your hands on will do.
I recommend welding a bead all around the edges first. That is really good practice controlling amperage…too much amperage and you roll the edge off and the bead gets fat and ropey. Too little amperage and you don’t even melt the rod without it just balling up.
Once you get an edge weld all around, practice just running beads and stacking them evenly. Not just running random beads, but practice with purpose. Purposefully stack beads as straight as you can.
Practice Welding right handed, left handed, weld fast , weld slow, add rod every 1/8”, try adding rod every 1/16” too.
Pay attention to the difference.
Which ripple spacing do you like better? Sometimes its just a matter of preference. Do you like the stack of dimes look? Or do you like tightly spaced ripples better?
Practice stacking beads diagonally too. When you are building up a big lug on an aluminum transmission case, you need to vary the direction of beads to spread the shrinkage stresses. That can actually help prevent distortion and cracking.
The time to get good at stacking beads is on a scrap piece of aluminum. Not on the actual job.
So here is the setup for this Aluminum Welding Training exercise:
*** #5 #6 or 7 cup ( thats 3/8 or 7/16...remember the number indicates 1/16's so a #6 cup is 6/16 = 3/8")
*** 3/32" tungsten electrode (i prefer 2% lanthanated but for the sake of this aluminum welding exercise, almost any type electrode will work)
*** Argon gas set to around 12-15cfh depending on cup size
12 cfh for #5 cup 15cfh or so for #7
*** A/C balance if your machine has it,,,set to around 7 or 8 if you are using an inverter, set the balance to around 65% and HZ to about 90.
Thats about it. Just start welding. and Remember these tips:
1. Pay close attention to arc length and try to keep it same as your electrode diameter
2. Move the torch 1/8” per second , pause , add rod, repeat.
3. Keep the torch angle to a minimum and try not to vary much..pay attention
4. Strive for a bead about 3/8” --1/2” wide on 1/8” thick aluminum welding training material
5. When you crap your electrode up, stop. Clean electrode , then proceed
6. Try different electrode prep and notice the effect on the arc. Try a blunt but sharp point, try balling the tip, try rounding the tip with a sander. Pay attention to which one works better.
7. If the rod balls up before you get it in the puddle, something is wrong. Either the rod is too small, or your torch angle is too much, or your arc length is too much, or a combination of all of the above.
8. One more trick…when you light up on aluminum, sometimes you see some dark crap form. Wait until it goes away before you increase amperage and melt a puddle. This one trick really helps on dirty castings.
Did you notice how many times I said "pay attention?" I must really mean it.
Good luck with your aluminum welding training welder.
back to home page
exit this aluminum welding page and go to tig welding
aluminum wheel repair


