TIG Welding Aluminum Video
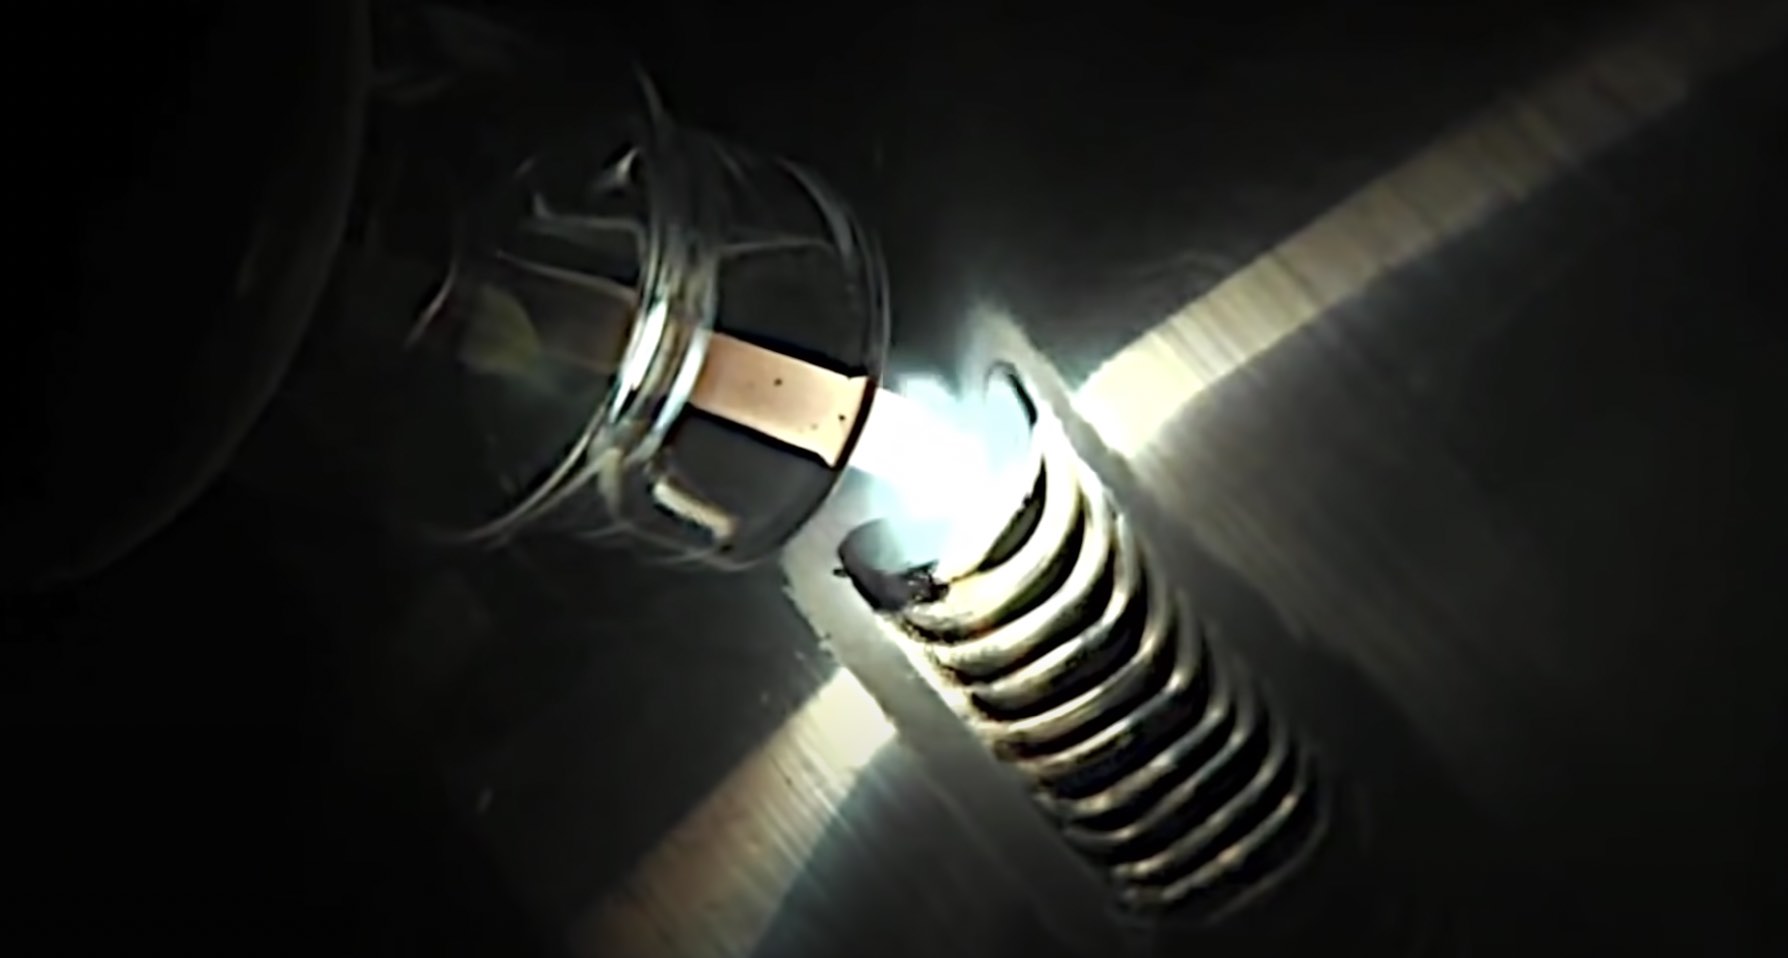
This TIG welding aluminum video demonstrates corner joints, lap joints, tee joints, and butt joints with plenty of arc shots.
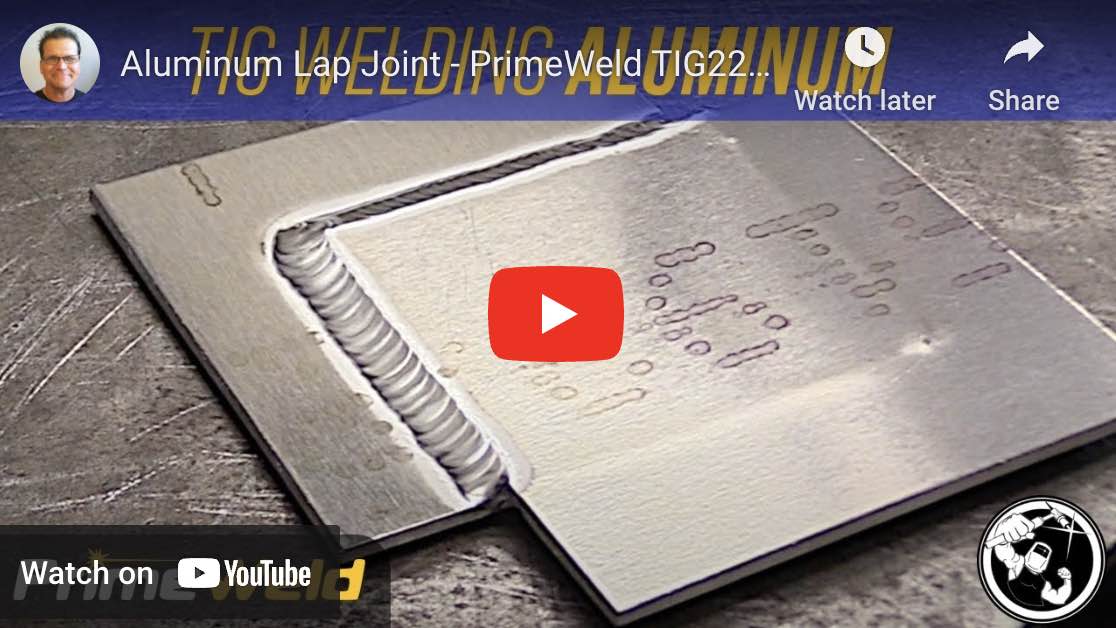
lap joint video using the pulsing with pedal technique
- HOME
- TIG WELDING ALUMINUM
- How to Tig Aluminum
- Tig Welding Aluminum Video
For the lap joint, I switched to a clear furick ally #5.
So many really good tig welders I know use a standard #5 cup for tig welding aluminum because it confines the etch zone.
The clear ally #5 does that too and it really helps me see and film the arc.
One key to getting good results with a #5 cup is argon flow rate.
With a standard #5 cup and a really short tungsten stick out, you can sometimes get by with only 12-15 cfh flow of argon.
But when I film the arc , I like to extend the tungsten a good 1/4" past the end of the cup and so I sometimes increase argon to 20cfh even with the #5 cup.
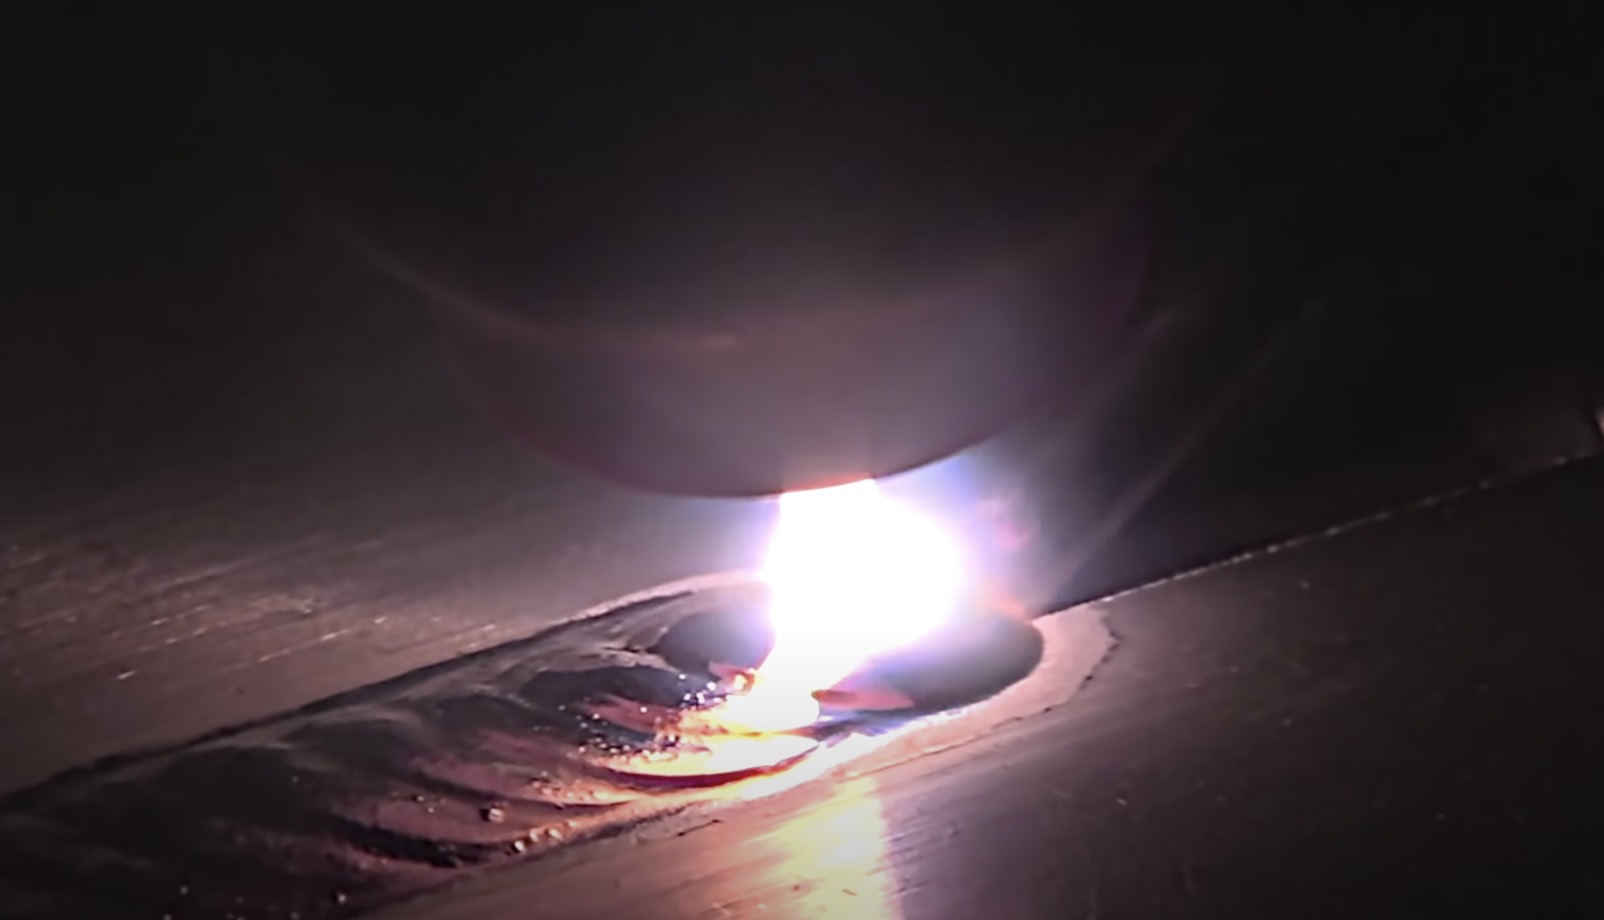
If you are not seeing the cleaning zone next to the toes of the weld, you might need more argon flow.
Argon flow rate and AC balance settings are related in how wide a cleaning zone you get.
corner joint
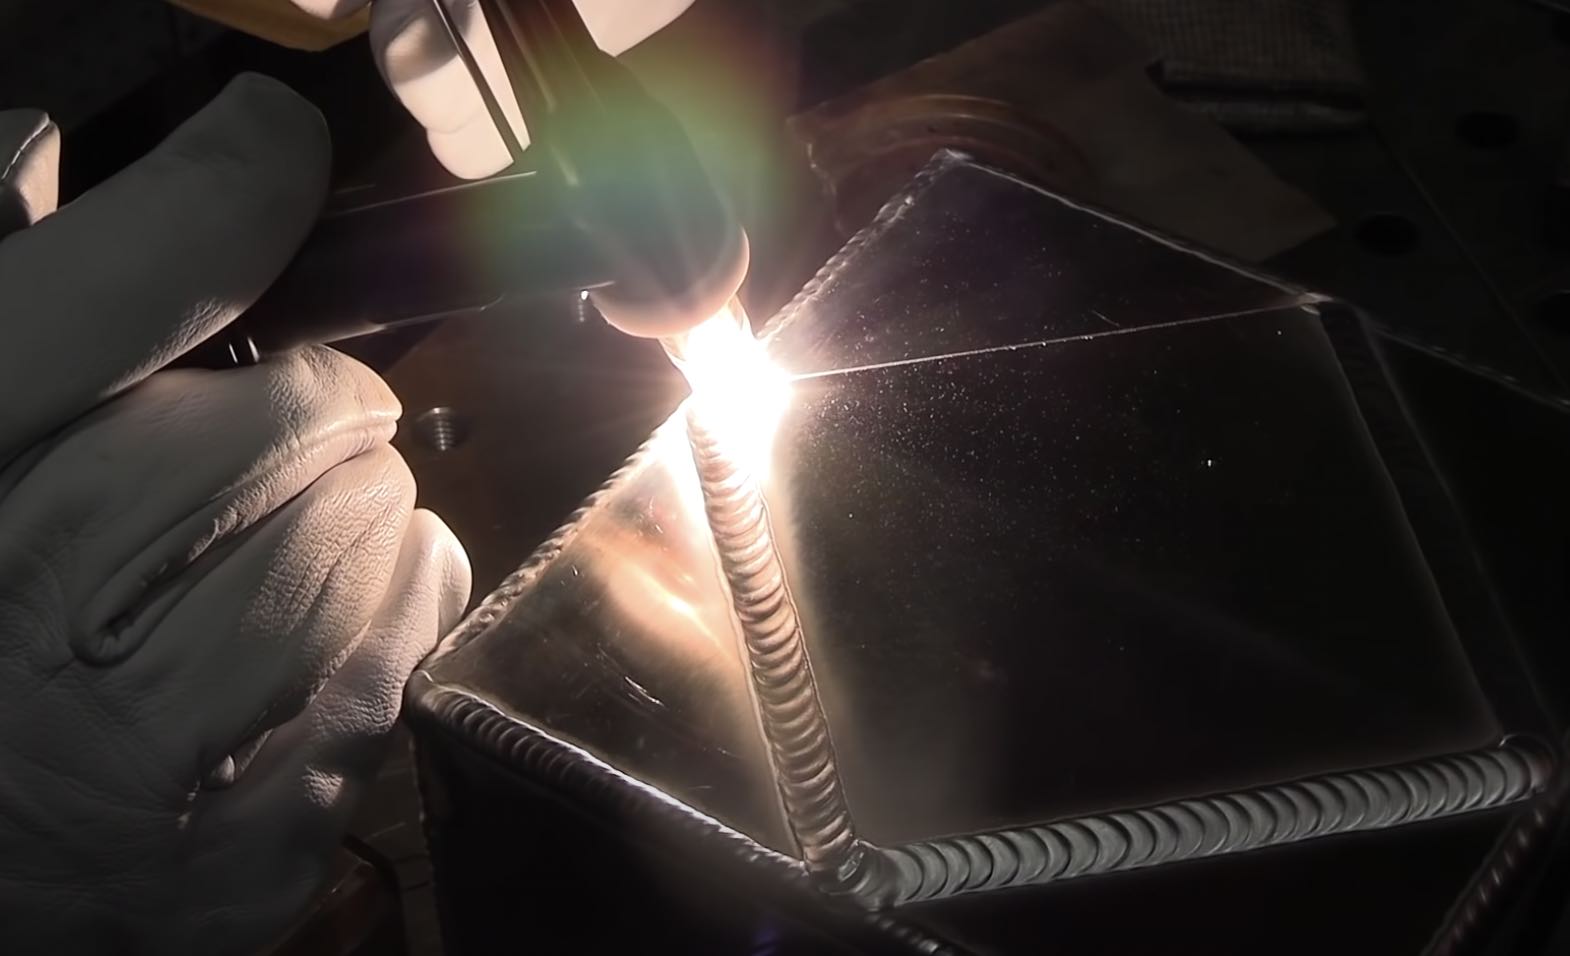
The first joint in this tig welding aluminum video is an outside corner and its 1/8" thick 6061.
AC frequency to 120hz and AC balance was set to 69% EN.
Amperage was set to 151 (round numbers are harder to remember) and I used a foot pedal.
I used 3/32" 2% lanthanated electrode along with 4943 filler rod 3/32" also.
The #8 furick cup really helps to light up the weld area which helps make for a better and more educational video as well as helping me see everything around the weld.
Amps on the machine read out at around 128
4943 has been around a few years now and is similar to 4043 but has better mechanical properties and will respond to heat treatment.
butt joint
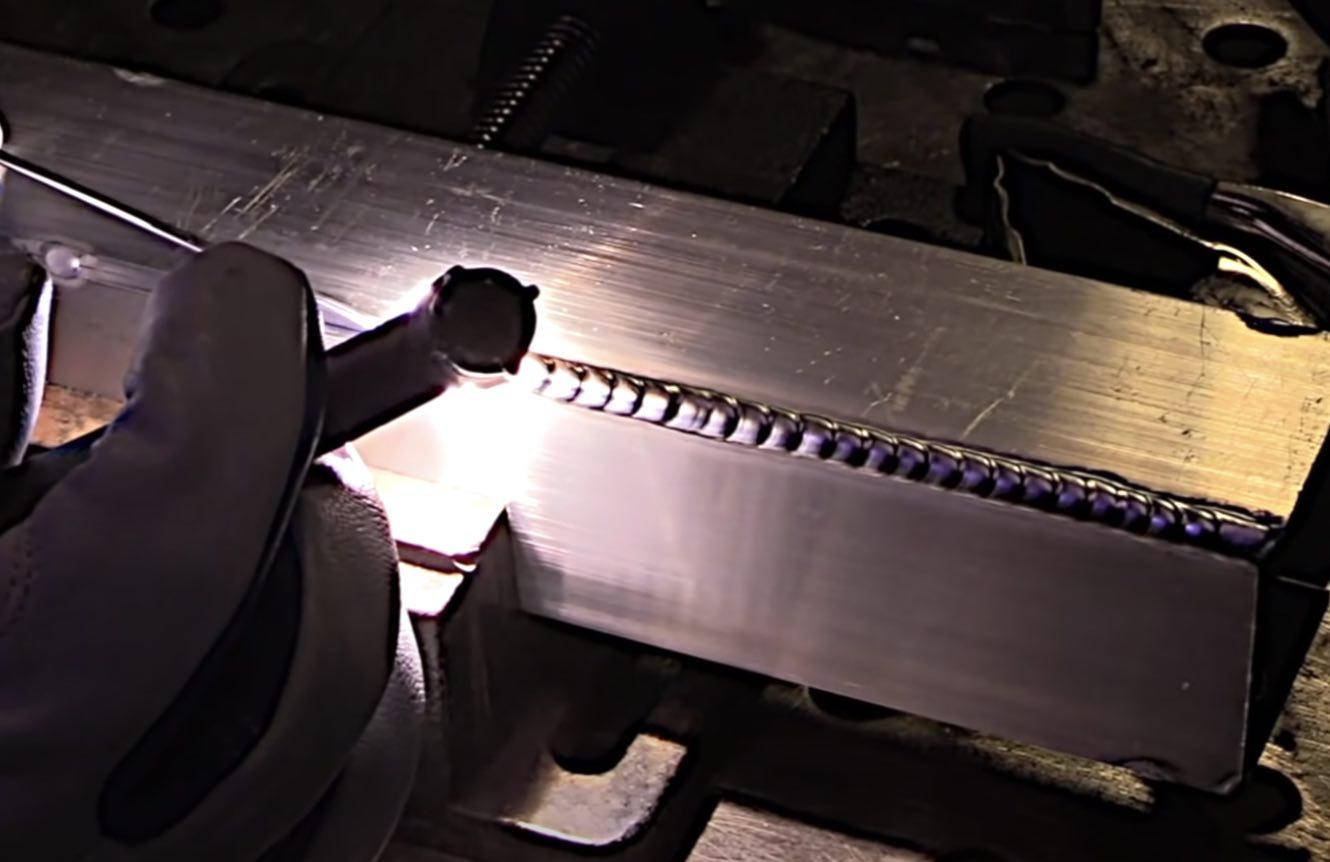
For the first butt joint on the square tube weld, I used a standard pink ceramic #5 cup
I used a dynasty 280dx along with a water cooled 20 style tig torch.
3/32" 2% lanthanated ( I use it on everything) along with 3/32" 4943 filler rod from hobart.
75% cleaning setting with soft square wave form and 120hz on freuquency.
The second butt joint was around .120" thick aluminum and I put a slight chamfer on each piece to help with getting full and consistent penetration.
I used a #6 stubby gas lens cup for this joint ( a good all around cup for aluminum tig welding)
amperage set to 140 amps on machine using foot pedal
15 cfh argon flow rate
30% cleaning action
3/32" 2% lanthanated along with 3/32" 4943 filler rod from hobart.
tee joint
The tee joint is the most difficult for me when it comes to tig welding aluminum.
This is the one that requires the tightest arc in order to get penetration into the root of the joint.
I use a technique where I use a really tight arc while I move the arc forward...and then I lengthen the arc while I add filler rod.
this keeps me from dipping my tungsten all the time.
I still dip my tungsten a lot on a tee joint unless I really get in the zone, but not as often if I use this simple technique.
If this tig welding aluminum video helps you, then you will really like the additional videos we have at welderskills.com
Some key things to remember from this video on tig welding aluminum are:
make sure your metal is clean enough: notice I didn't "say clean your metal"
Sometimes all that is needed is a quick wipe with acetone, or for some jobs, not even that is needed ...it depends on things like customer requirements, inspection requirements, etc.
If you dip your tungsten, stop and re prep or put a new stick of tungsten in.
Check your argon flow rate by checking the size of the cleaning zone at different flow rates. Too low a flow rate will provide a dirty or milky puddle...too high a flow rate can cause an erratic arc.


