Tig Welding an Aluminum Boat Prop
- HOME
- TIG WELDING ALUMINUM
- How to Tig Aluminum
- Tig Welding Aluminum
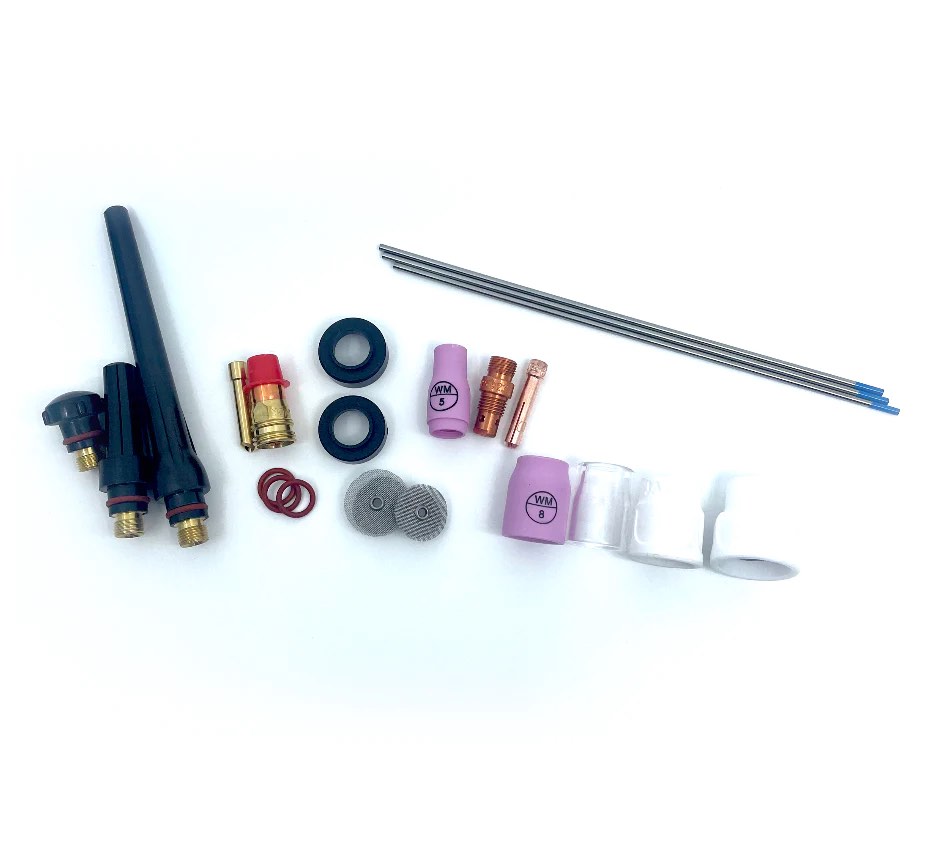
...Introducing the New WeldMonger Challenger TIG kit that includes the most frequently used Cups.
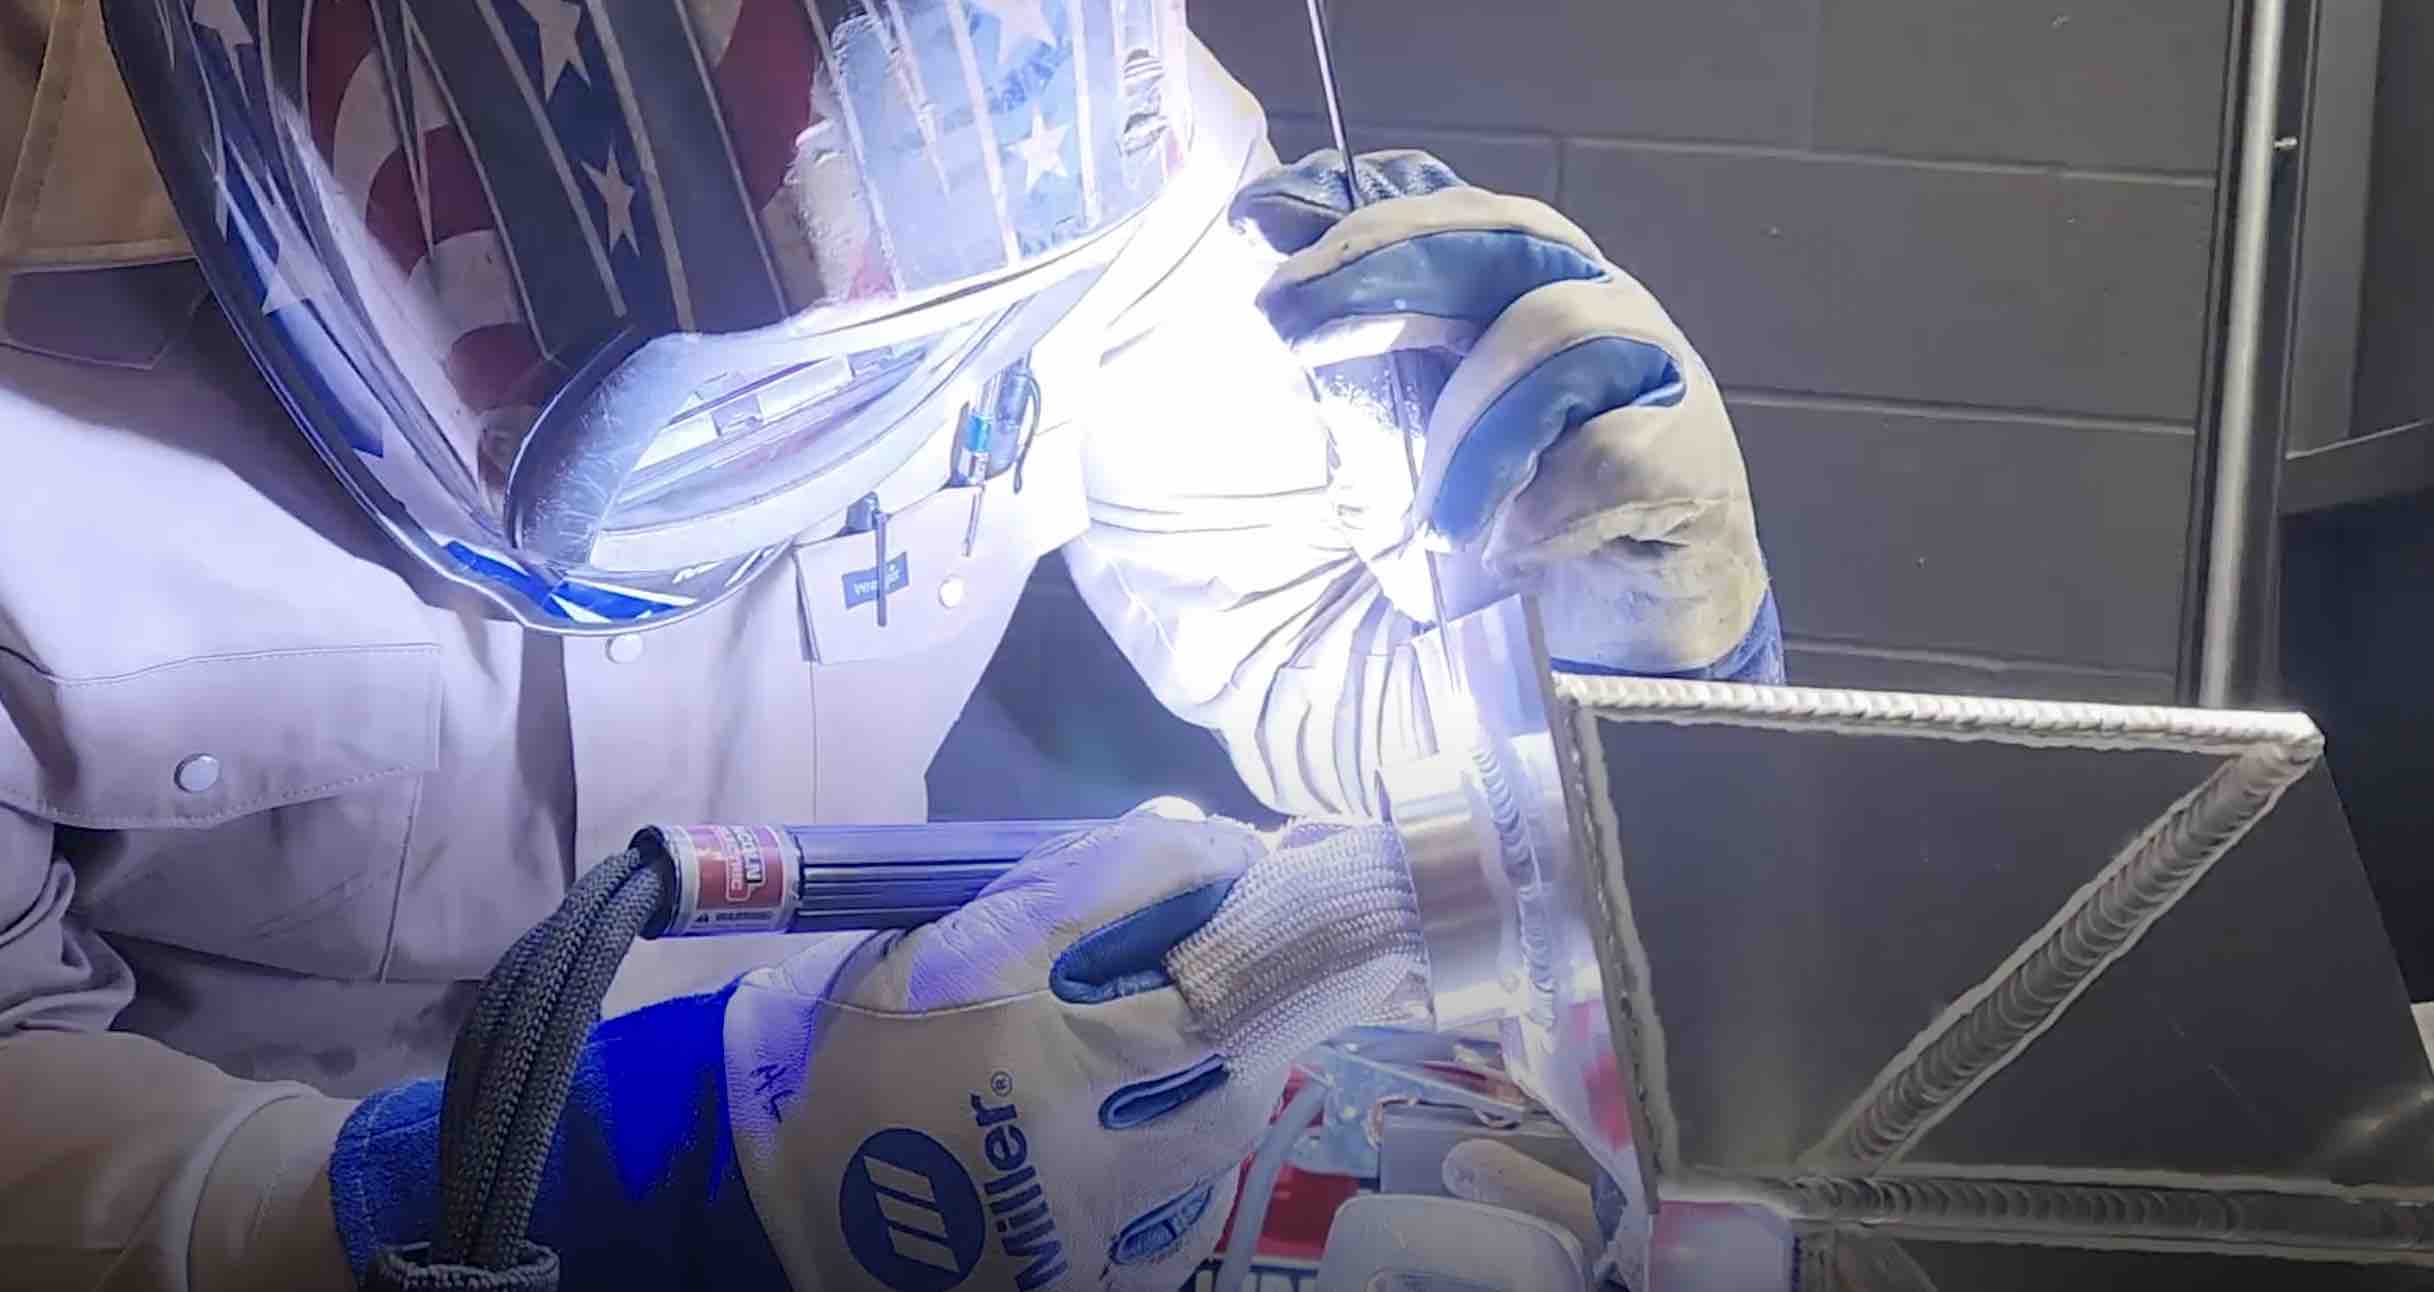
This weekly video is about tig welding aluminum edge welds along with a few extra things thrown in to make things interesting. ( like how about a weld repair on a boat prop?)
A few weeks ago, the weekly video was edge welds using a mig welder and
for a practical example, I put some weld beads on a tiller tine.
I used a copper backing plate to help cast the weld metal, trap shielding gas, and help remove heat and it worked great.
Weld build-up on the edge of most anything is easier if you have a piece of copper to use for a backing material.
The reason Copper works so well for backing is that it has such a high thermal conductivity that it will not only draw
heat away from the weld, but it wont melt to the weld either. ( unless
you go crazy with heat like when using spray transfer mig or high amperage flux
core)
So this week, a common weld repair on an aluminum boat prop shows how
using a copper backing plate helps things go better once again.
Now for a disclaimer... Anything beyond a minor weld repair on a boat
prop and you should be aware of balancing issues, pitch and rake issues, and
also the hub. Even though I have welded on many props, I am not recommending this repair...only using
it as an example of an aluminum edge build up using tig welding.
TIP of the Day...4145 aluminum tig rod is a good choice for aluminum castings. It
contains more silicon than 4043 and therefore melts quicker, flows
better, and is less likely to have porosity in the weld. Your local
welding supply will probably look at you like you have 2 heads if you
request it so you might want to order it online. I have seen it on
ebay as well as amazon and also arc-zone.com but sometimes there are minimum quantities required.
I also like 4047 for aluminum castings. Not quite as strong , but it flows great.
Also, for a wealth of info on boat prop repair, a good resource is rundquist.com
For someone living on the water, there are opportunities for starting a
business but do be aware there is a substantial investment in pitch blocks
and other tooling in order to do these repairs the right way.
For this weld repair I was using an Everlast powertig 210ext.
Its a
small tig inverter with a whole lot of settings ..
*amperage was set to 135 but I probably never got over 80 amps using the foot pedal to control amperage.
*I used a 1/16" (1.6mm) 2% lanth electrode tapered just about like you would for steel.
*1/16" (1.6mm) 4043 filler rod ( 4145 sometimes works better but I did not have any on hand)
*AC balance was set to -15 which is comparable to 65% en on a Miller or Lincoln inverter.
*AC frequency was set to 120 to help focus the arc ( 100-120 hz is a good all around setting for most jobs)
*#7 gas lens cup with about 15cfh argon flow
Before welding the boat prop, I decided to try out those settings on the edge of a thin piece of aluminum sheet.
After lighting up the first time, it seemed a bit hot on start so I went
into the background menu and set the start current to give a soft
start for edge welding on thin metal. After that, the starts did not
even nip the edge. That was nice since a lot of tig welders in this
price range of under 2000 us dollars are kinda hot on start. Remember
the Miller Econotig? The Econotig was a decent machine but it started the arc way too hot
for welding thin metal.
This video shows how using the copper backing even makes for a cleaner weld
puddle due to better argon shielding. Anything that helps make a casting weld cleaner is a good thing....And also the edge of the copper
can be used for a guide to let you know when you have enough weld.
Since this prop was aluminum and since aluminum is easy to grind, a bit
of extra weld just ensures there is enough to sand off and still have the
original contour without any dips, nicks, etc.
And some wax on an 80 or 120 grit sanding disc prevents loading and makes a huge difference.
Well thats about it for this weekly video, hope to see you here next week.
See more Tig welding videos here


