TIG Welding Aluminum with a #5 cup
- HOME
- TIG WELDING ALUMINUM
- How to Tig Aluminum
- Tig Welding Aluminum
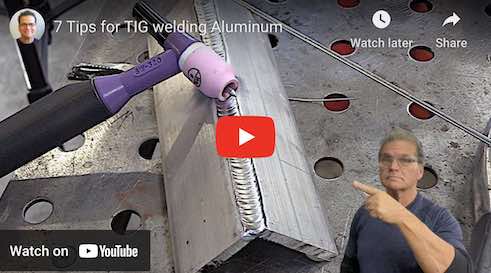
Video Shows 7 Tips for TIG Welding Aluminum
There is a reason so many top welders like a #5 cup for getting full penetration on aluminum. learn more at weldmonger.com
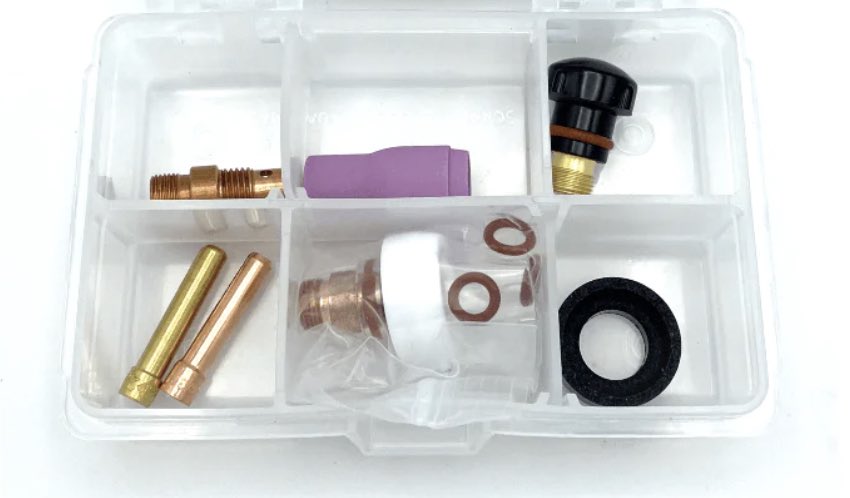
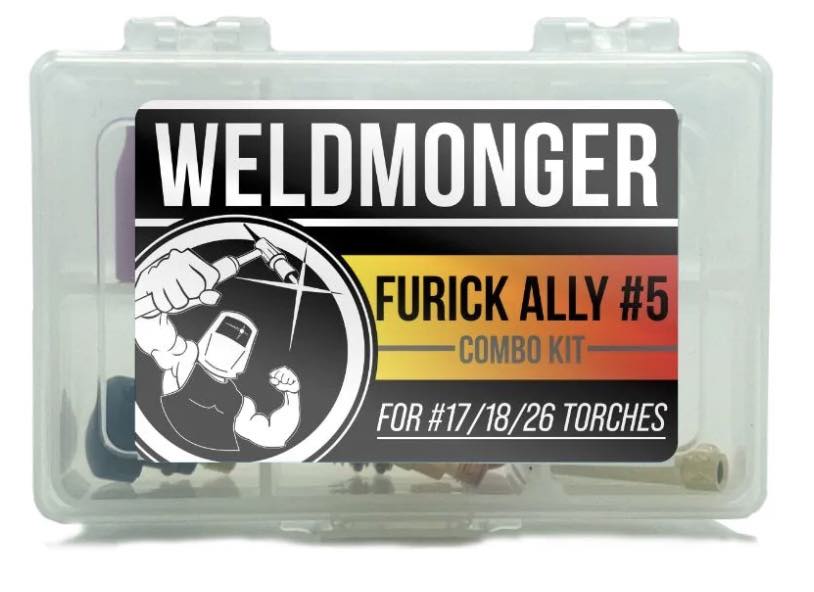
This #5 combo kit includes a clear #5 as well as a ceramic #5 cup along with collet body and all the parts needed to fit your torch. We have a kit for #9-20 style torches as well as 17, 18, 26 style .
This video is about Tig welding aluminum with #5 cup ...
..and what is the best cup for tig welding aluminum?
The answer to that question is …It depends.
When it comes to tig welding aluminum, there are several cups that will get the job done.
There are welders on instagram like Brian @rollingbombfab, who use a #8 or larger gas lens with 5/32” balled pure or zirconiated tungsten using a miller syncrowave 250 and the results are hard to argue with…and why would you argue anyway?
Its obvious that good results can be achieved with a gas lens.
But there are also a lot of very skilled tig welders who prefer a simple standard #5 cup for certain situations…so in this video, I am using a small #5 with no gas lens. 12-14 cfh of pure argon, 3/32” 2% lanthanated electrode that is tapered with a slightly rounded tip, using a miller dynasty 280dx set to Miller pro settings of 75% cleaning, 120hz, with soft square wave form.
One of the main benefits to using a #5 cup is gas savings. A #5 cup only requires about 12-14 cfh of gas flow.
That could make a pretty big difference over time.
But another not so obvious benefit of using a #5 cup is penetration.
Certain aluminum jobs require full penetration and a #5 standard cup actually can help.
The test pieces at the end of the video were done with the same settings for ac balance and ac frequency.
But gas flow was adjusted according to the cup size.
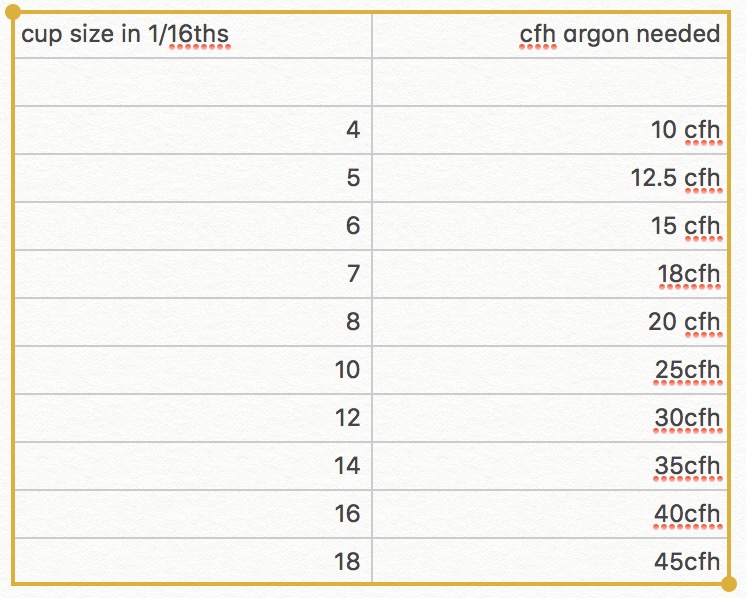
Pro Tip: For an easy way to set torch gas, just multiply the cup size x 2.5
Some say 2 but I have found that 2.5 is a more consistent setting for me….probably due to the fact that
Flowmeters can be different and they are not all calibrated accurately.
and when in doubt, you might want to use a gas flow tester.
So here is a quick chart using 2.5 as a factor for setting argon flow per cup size.

2.5 cfh per cup size is just a rule of thumb but has seemed to be spot on most of the time in my experience.
In a shop with little or no drafts or breeze I have definitely set the flow closer to 2 x cup size to save gas and I have also set gas flow higher when welding outdoors or if there is an open door in the shop.
I recently taught a tig welding course where there were several different models of tig welding machines with different styles and brands of flowmeters and they were NOT all equal.
We had a few stations where the gas was flowing too hard even when the flowmeter was set to 15cfh with a #6 cup. you could hear it making a lot of noise coming out of the cup.
Since I didnt have my gas flow tester with me, I just licked my finger and felt the flow rate to what I thought was right and it worked out fine...
old school way of testing flow.


