TIG Welding Aluminum
3F Tee Joint Vertical uphill
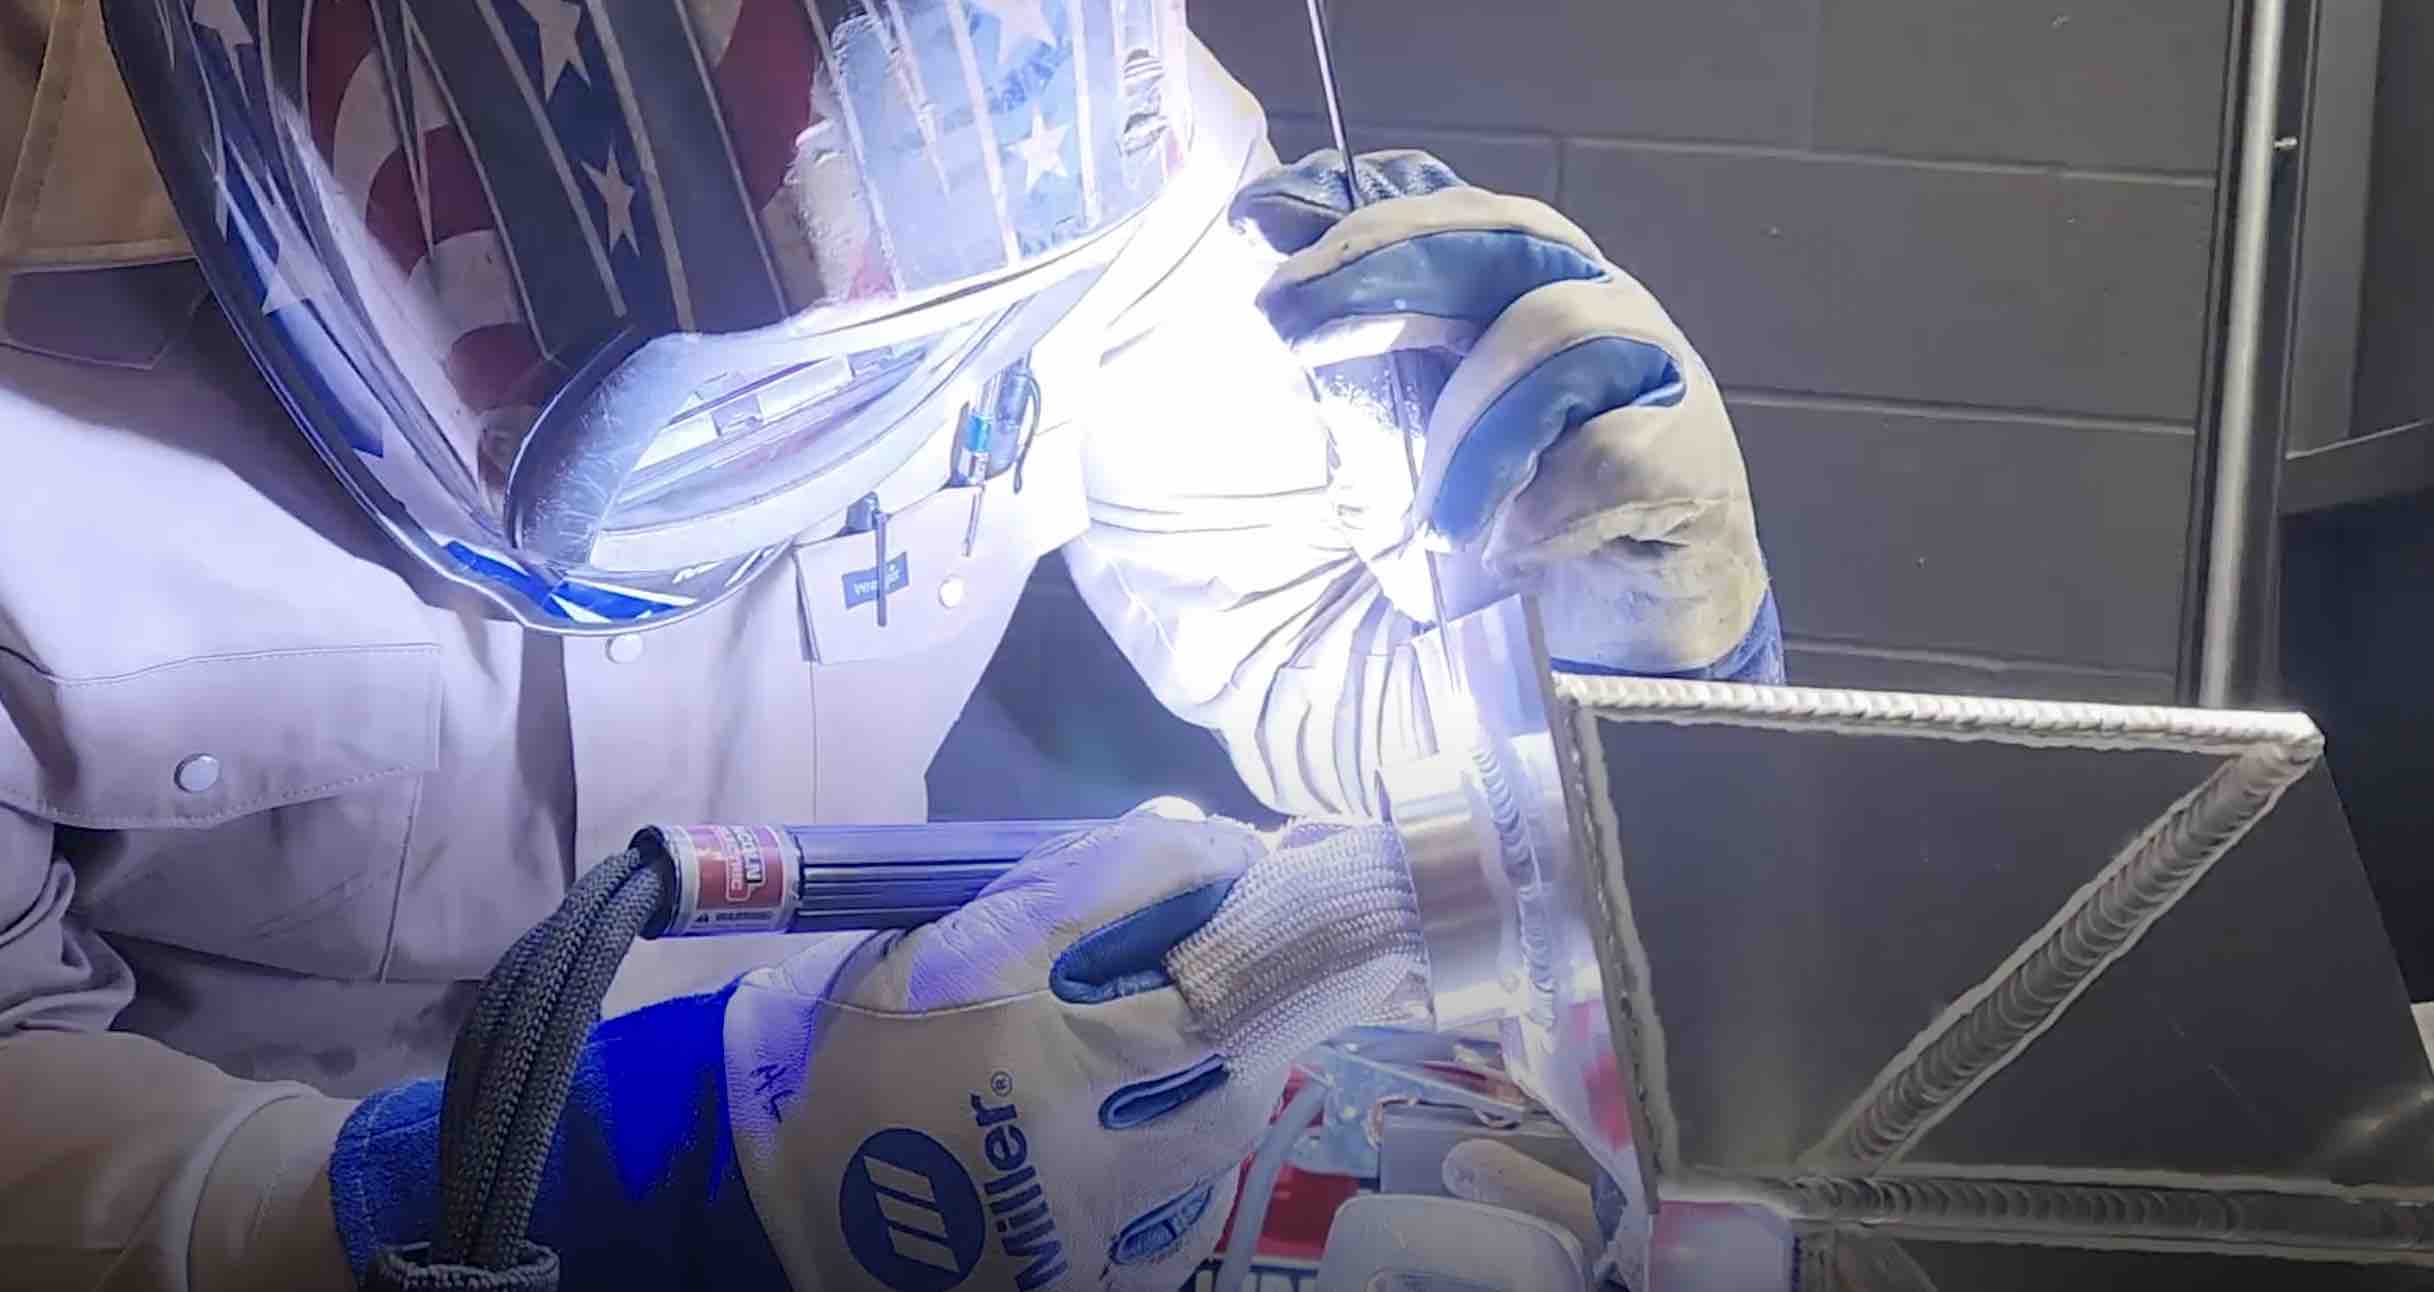
Today we are tig welding a vertical uphill tee joint along with some other welds.
- HOME
- TIG WELDING ALUMINUM
- How to Tig Aluminum
- Tig Welding Aluminum
Vertical fillet welds are called the "3F position" in AWS terminology.
I am using 11 ga 6061t6 aluminum.
11 ga is 1/8" thick or .125" (about 3mm)
Tig
welding vertical up is not all that different from welding flat or
horizontal but there are a few things to keep in mind that makes it a
lot easier.
Order your Tig Finger
Tig welding aluminum in the vertical position is most always going to go slower than if you were welding flat or horizontal where you could get more comfortable and be steadier.
Still, you want to try to go at a pace of around 1/8" (3mm) per second.
That means you should be adding rod every second and moving the torch about 1/8" in between each dabbing of the filler rod.
that will give you a travel speed of 1 inch every 8 seconds or around 8 inches per minute.
Here are some tips to think about to make your tig welding aluminum go better.
balling the electrode vs pointed...whats the best choice for aluminum?
Whether you round the electrode or use a tapered electrode depends a lot on the application.
for example, welding at the high end of an electrodes amperage range can make it do weird things. Little nodules can grow and spit into the weld. Rounding the tip slightly helps in those situations.
Other times, being able to light up crisply at low amps is important and thats when I use a tapered electrode. It also helps in pinpointing the arc more precisely than you can with a balled or rounded tip.
Here is how to round the tip of a tungsten electrode using an inverter or other machine equipped with AC balance.
Adjust the AC balance to put more Electrode positive into the welding current.
using a piece of copper or aluminum, or clean bright steel, hold the electrode around 1/4" inch of the metal and press the foot pedal to start an arc. Increase amps slowly until you see the tip get bright and it will round a bit. Press the foot pedal just enough slightly round the tip so as not to put a big ball on it.
Now set your AC balance control back to around 65% EN and you are ready to resume welding.
The need for foot or torch mounted amp control
Aluminum is very conductive. At first you need lots of amperage, but when the piece you are welding gets saturated with heat, you need much less amperage. Without an amperage control, you cant make adjustments to compensate for aluminum's conductivity.
Prepping Aluminum for welding.
The most important thing is to make sure there are no oils or grease and you want to do this before you start brushing or sanding.
Remove residues with acetone BEfore using a wire brush or abrasive.
Brushing before wiping with acetone will contaminate your brushes and possibly just smear the gunk into the surface making it very difficult to remove.
Wipe with Acetone, wire brush with clean stainless steel brush, or use other abrasives wheels designed for aluminum.
Its even a good idea to label your wire brushes so that you only use certain brushes on aluminum.
How to prop while you are tig welding aluminum
There is always a way to prop.
But sometimes it takes some ingenuity to create a prop.
Why not just carry your prop in your pocket like me?
see more tig welding videos


