TIG WELDING ALUMINUM 11ga .120" thick 1G TEST PLATE


- HOME
- TIG WELDING ALUMINUM
- How to Tig Aluminum
- Tig Welding Aluminum 11ga
Video Shows 7 Tips for TIG Welding Aluminum

...Introducing the New WeldMonger Challenger TIG kit that includes the most frequently used Cups.


- HOME
- TIG WELDING ALUMINUM
- How to Tig Aluminum
- Tig Welding Aluminum 11ga
scroll down for settings
Did you know?...
***you can have a Whole month of access to some of the best TIG welding videos for only one Dollar at welderskills.com
*** We Also have a New TIG course learning system over at welderskills.com designed to help you learn faster, with less frustration, and with less metal.
***And that you will get Free Access to this $36.99 TIG course... included as part of your membership?
***And that you can watch as much as you like during your free week trial?
***Its Easy to sign up
Even easier to cancel ...no hoops to jump thru.
No Ads, No BS style
Invest in yourself and sign up for the free test drive today.
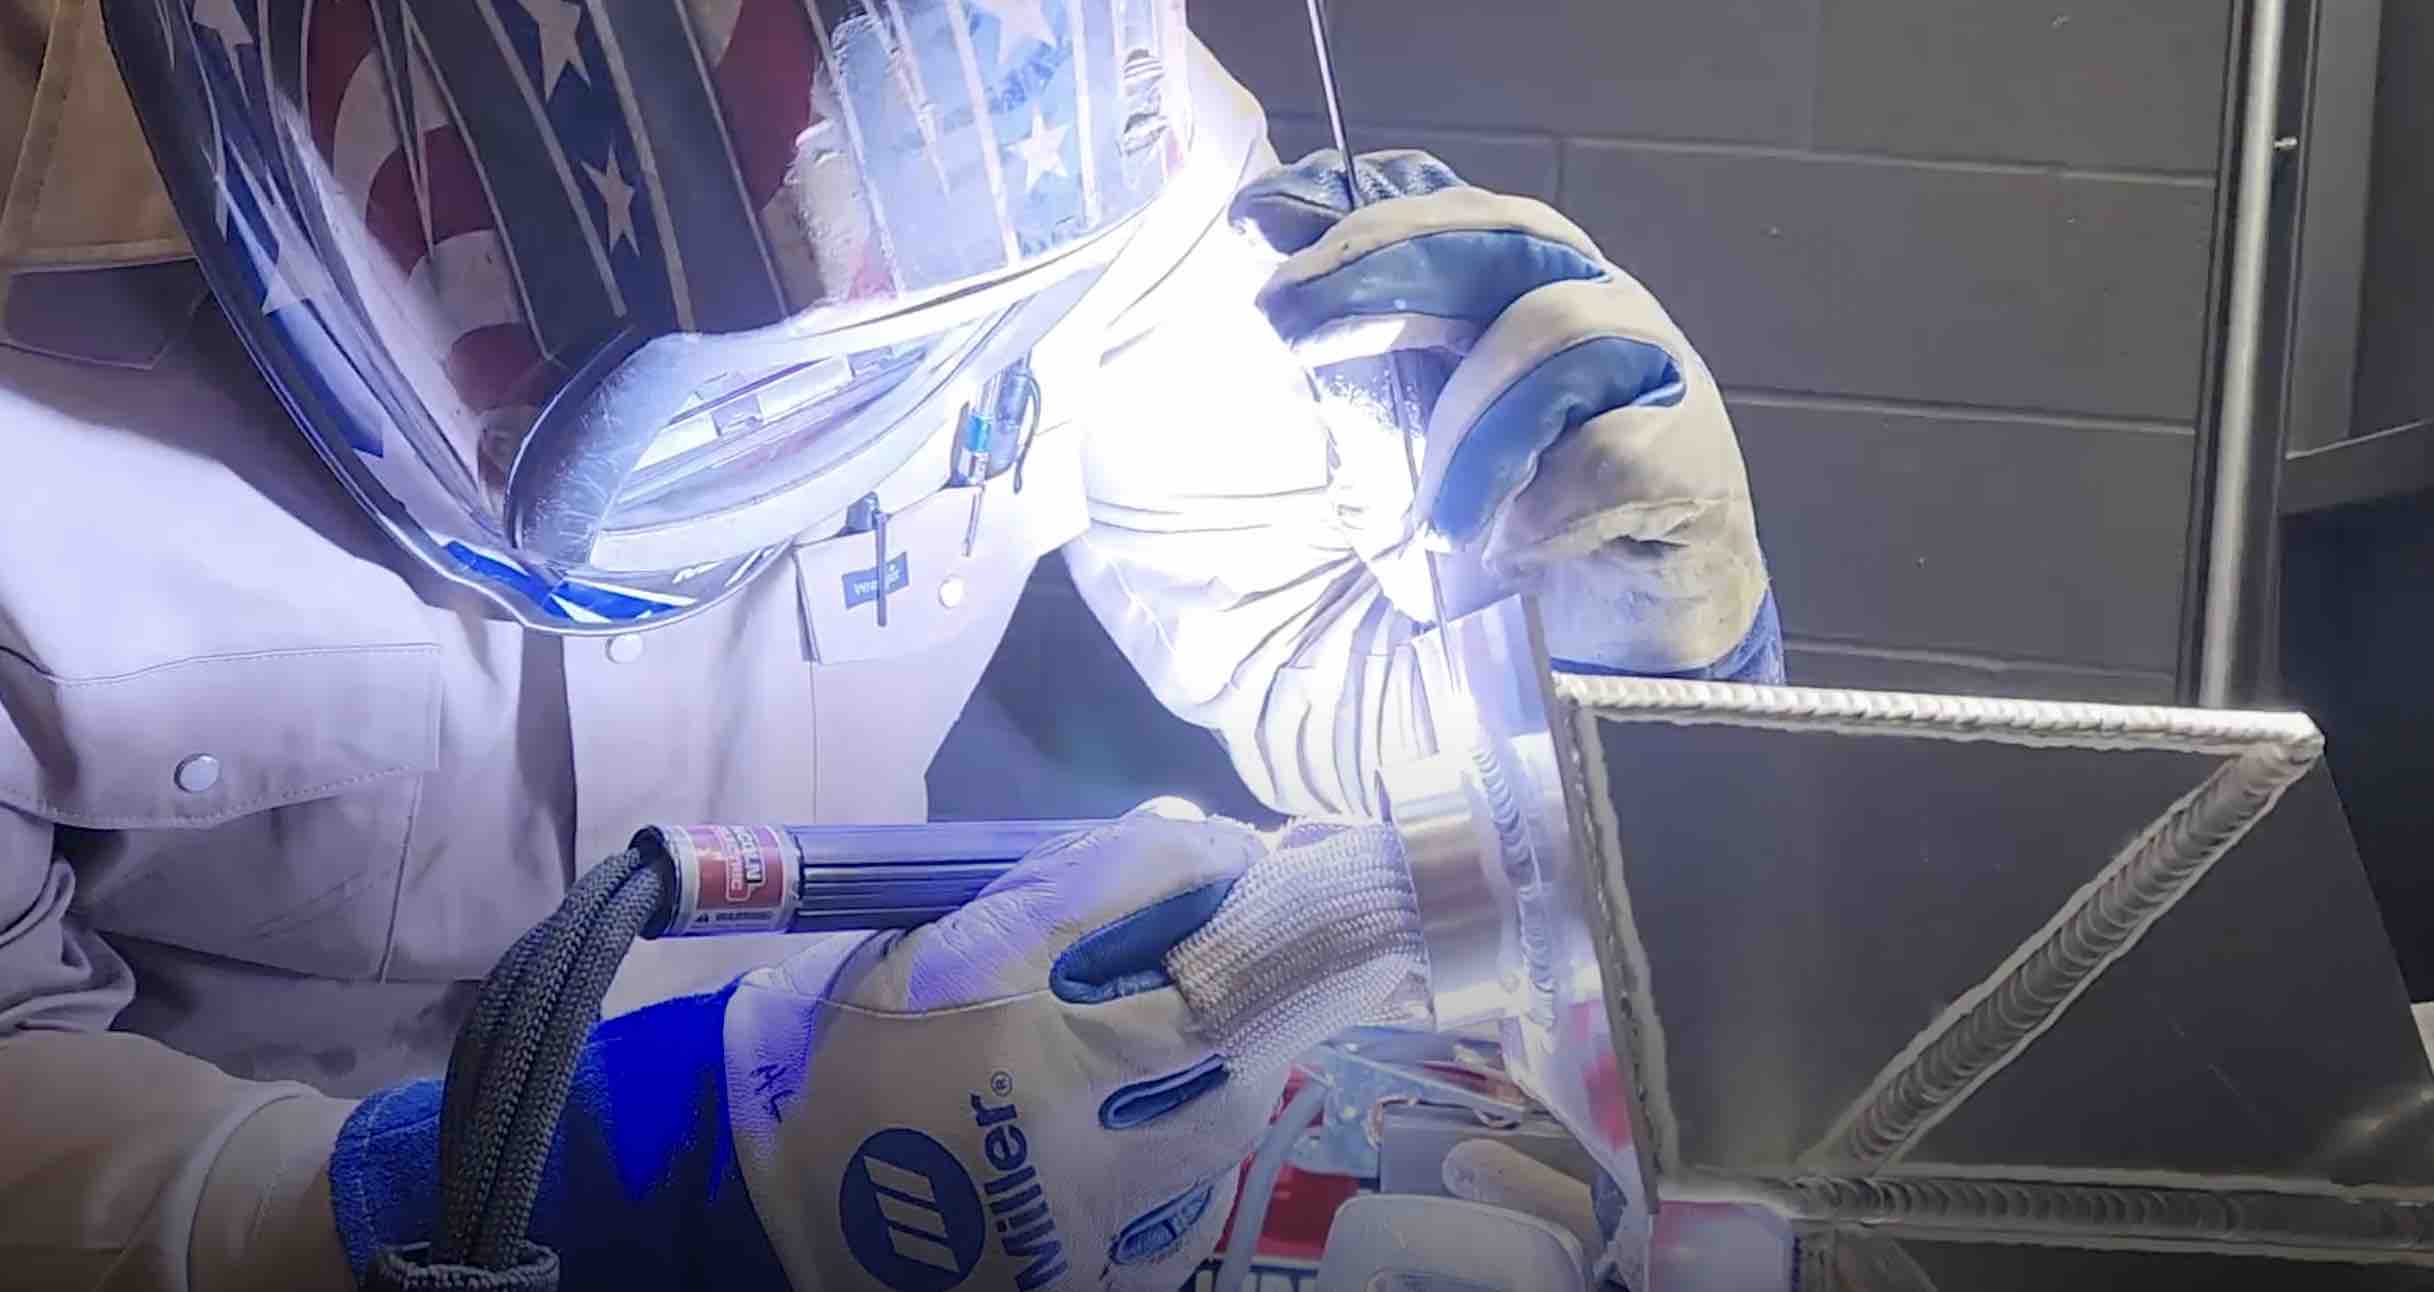
Details and Settings for .120" 1G butt Aluminum joint
WELD PROCESS = TIG, GTAW, GAS TUNGSTEN ARC WELDING
METAL TYPE = ALUMINUM 6061
THICKNESS = 1/8"
WELD TYPE = GROOVE WELD
JOINT TYPE = BUTT
POSITION = 1G
AMPERAGE = MACHINE SET TO 140 CONTROLLED WITH FOOT PEDAL
TUNGSTEN = 2% LANTHANATED, 3/32"
FILLER WIRE = 3/32” 4943
POLARITY = AC
GAS FLOW = 15 CFH argon
CUP SIZE = 6
ADDITIONAL SETTINGS = AC BALANCE 30% CLEANING, AC FREQ 100HZ
PRE FLOW = 1 SEC
POST FLOW = 10 SEC
TIPS: KEEP A FAIRLY TIGHT ARC AND WATCH TORCH ANGLE
Aim for an arc length that is equal or less than the diameter of your tungsten electrode.
Torch angle can be forgiving provided your arc length is tight.

Tips for passing a 1G aluminum .120" weld test
Passing a 1G aluminum weld test on 0.120-inch thick material requires preparation, technique, and attention to details. Here are the main considerations to ensure you make a weld that meets the test criteria:
1. Proper Material Preparation
Cleanliness is important when welding aluminum to prevent porosity.
- Degrease the Material: Use acetone or another approved solvent to remove grease, oil, or dirt from the aluminum.
- Remove Oxide Layer: Aluminum forms a tough oxide layer that melts at a much higher temperature than the base metal. Use a dedicated stainless steel wire brush or a dedicated abrasive to clean the surface thoroughly before welding.
- Clean Filler Rods: Make sure your filler rods are free from contaminants by wiping them with a clean cloth and acetone.
2. Machine Settings
Dialing in the proper settings on your TIG welder is part of the formula for success for aluminum
AC Current: Aluminum requires AC welding to break through the oxide layer and achieve proper fusion.
- AC Balance: Set the balance to around 65-70% penetration (negative electrode) and 30-35% cleaning (positive electrode). Adjust as needed based on practice beads.
- Frequency: AC frequency is a setting available on newer inverter machines and AC frequency will have an effect but many different ac frequency settings will work provided the correct amperage is used. 50-120hz is a good starting point.
- Amperage: For 0.120-inch aluminum, you'll typically use 120-140 amps, but adjust according to your welding speed and technique.
- Gas Flow: Use pure argon shielding gas at a flow rate of 2-3 CFH time cup size. So a #6 cup should require around 12-18 CFH.
- Tungsten: Use 2% lanthanated (blue) tungsten , LaYZr from CK, or E3, tapered but with a slight ball on the tip for AC welding.
3. Joint Fit-Up
Proper fit-up is important to producing consistent welds, especially on a weld test.
4. Heat Control
Because aluminum is so thermally conductive, amperage control is very helpful.
A weld test can quickly become saturated with heat.
- Foot Pedal Control: Use a foot pedal to dynamically adjust the amperage during the weld. This allows you to back off the heat in tighter areas or when the material heats up.
- Torch mounted amperage control: a slide or dial torch mounted amperage control is also an option but it can be difficult to hold the torch steady with some models of torch mounted amp controls.
5. Technique and Torch Control
- Tight Arc Length: Maintain a short arc length (equal to electrode diameter) to ensure a focused heat zone and proper penetration.
- Torch Angle: Hold the torch at a 10-15° angle from vertical for better shielding gas coverage. Torch angle can be forgiving provided arc length is tight.
- Consistent Travel Speed: Move at a steady pace to prevent overheating or cold laps. Aluminum heats up quickly, so be mindful of speeding up slightly as the weld progresses.
- Filler Rod Feeding: Feed the filler rod into the leading edge of the weld pool smoothly and consistently to avoid contamination or underfilling.
- Avoid Dipping the Tungsten: Contaminating the tungsten by dipping it in the weld puddle or by touching the filler rod can ruin the weld and require regrinding. If this happens, stop and fix it immediately.
6. Weld Bead Appearance
The quality of your weld bead is a major factor in passing the test.
- Even Bead Profile: Ensure the weld bead is consistent in width and height, with no excessive reinforcement or undercut.
- Clean Surface: A shiny, clean weld bead with no porosity or soot indicates good shielding and technique.
- Penetration: Check for proper penetration that is continuous and uniform.
What is the best cup to use for aluminum?
I think a #6 gas lens is a great all around cup for TIG welding aluminum.
A #6 gas lens allows you to extend the tungsten more than a standard collet body cup but also confines the cleaning action etch zone just a bit.
15 to 20 cfh of argon flow is usually adequate but that depends on your flowmeter as well as the type of joint you are welding as well as some other factors.

Argon Flow rates for each Cup size using 2.5 as factor

You might like these
Aluminum Welding Training on your own - just you and your tig machine
The best Aluminum Welding Training you can get on your own - How to Get better at Tig Welding
Welding Aluminum with Tig
Videos on Tig Welding Aluminum and learning how to tig weld


Would you like to get free welding videos in your inbox every week?


Tig FingersThe Real and Original TIG Finger® and XL model
Stubby Gas Lens and Pro TIG kits
2% Lanthanated, CK LaYZr, Purple, more
Our Weldmonger Stubby Gas Lens kit is the Best


