How to Tig weld Aluminum Boxes
- HOME
- TIG WELDING ALUMINUM
- How to Tig Aluminum
- How to Tig Weld Aluminum
Video Shows 7 Tips for TIG Welding Aluminum
If you were looking for a good page on how to tig weld aluminum boxes, you came to the right place.
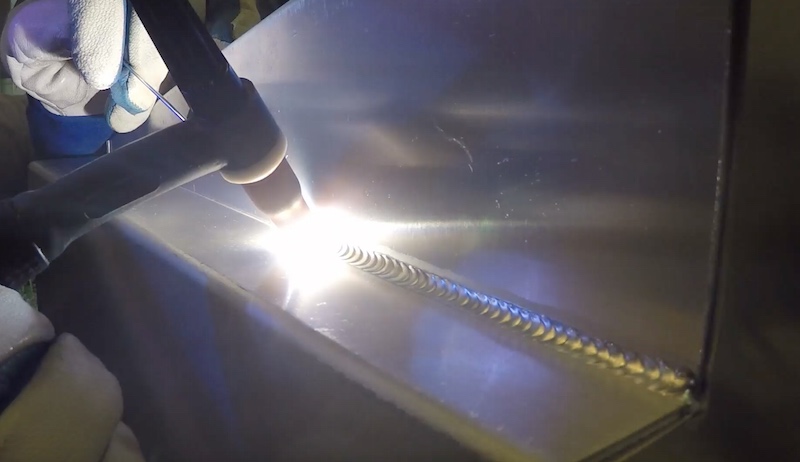
My Friend Roy "Crummy" Crumrine filmed himself tig welding aluminum iceboxes for corvettes. I am not a muscle car guy so all I know is that its some type of reservoir that aids in cooling air that turns into more horsepower.
see more tig welding aluminum videos or go to the main TIG welding page
Several months ago, I also filmed roy welding some inside and outside corner joints for another project... so when he asked me if I would like him to capture the welding on these boxes, I said heck yes.
I figured the boxes along with the arc shots I filmed earlier would make for a great instructional video for anyone wanting to learn how to tig weld aluminum...both inside and outside corner joints.
To start with, let me list the settings.
- amperage was set to around 140 but a foot pedal was used so 140 amps was used occasionally to restart a bead, but once heat built up , it was more like 100-120 amps.
- ac balance was set to around 33% cleaning (67% en)
- ac frequency was set to around 120hz ...a good all around setting
- #5 standard cup using 12-15 cfh of argon
- 3/32" (2.4mm) 2% lanth electrode
- 3/32" (2.4mm) 4043 filler ( sometimes a 1/16" 1.6mm filler was used for tack welding

CLAMS is a good way to remember what to look for when you are trying to learn how to tig weld aluminum
- C is for current which generally refers to amperage but there are other welder settings that fall under the C too.. and that includes other settings like ac balance, and ac frequency.
- L is for length of arc. a tight arc helps with most tig welding
- A is for Angle of torch...dont use too much angle or you will be cleaning your electrode often... a very slight push torch angle works best
- M is for manipulation and this means the torch as well as the filler rod....pay attention to how far roy moves the torch between adding filler rod...also pay attention to how much and how often filler rod is added
- S is for speed of travel. Roy is adding a dab of filler rod at least once per second..and when he gets rolling, he is adding almost twice per second. Sometimes a faster travel speed actually makes a better weld...but not always.
And remember the 3 main things that go wrong when learning to TIG weld any metal
visit the weldmonger store for special deals


