How to MIG Weld Vertical
- HOME
- How to Mig Weld
- How to Mig Weld Vertical
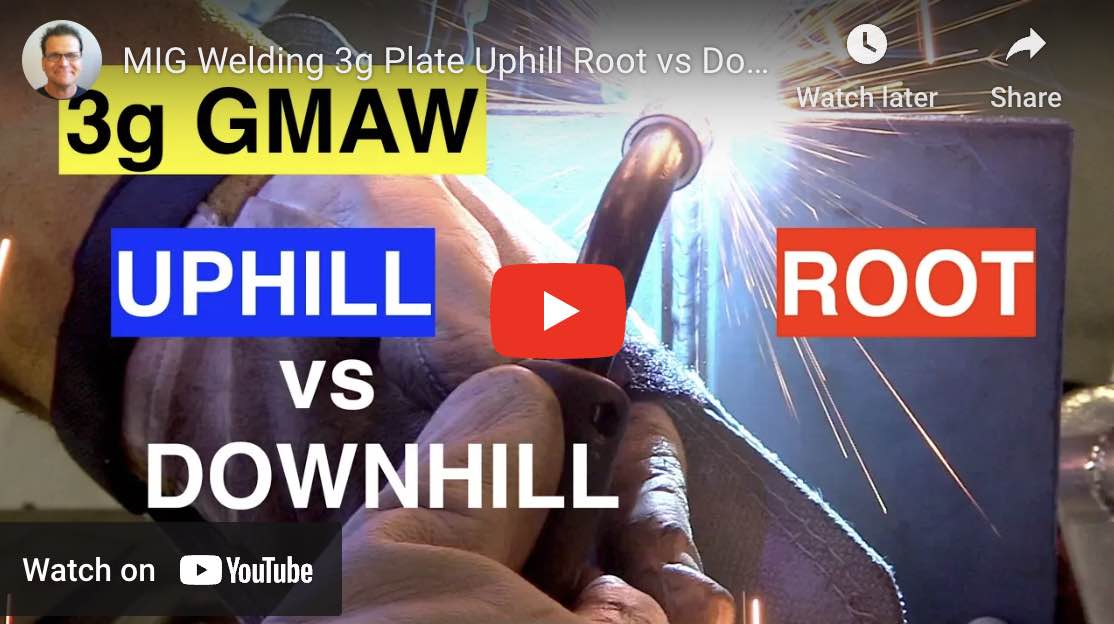
IF you were searching for a video on how to mig weld vertical then you found it.
There are several videos here showing How to mig weld vertical on different thicknesses, different wire diameters, different positions, etc.
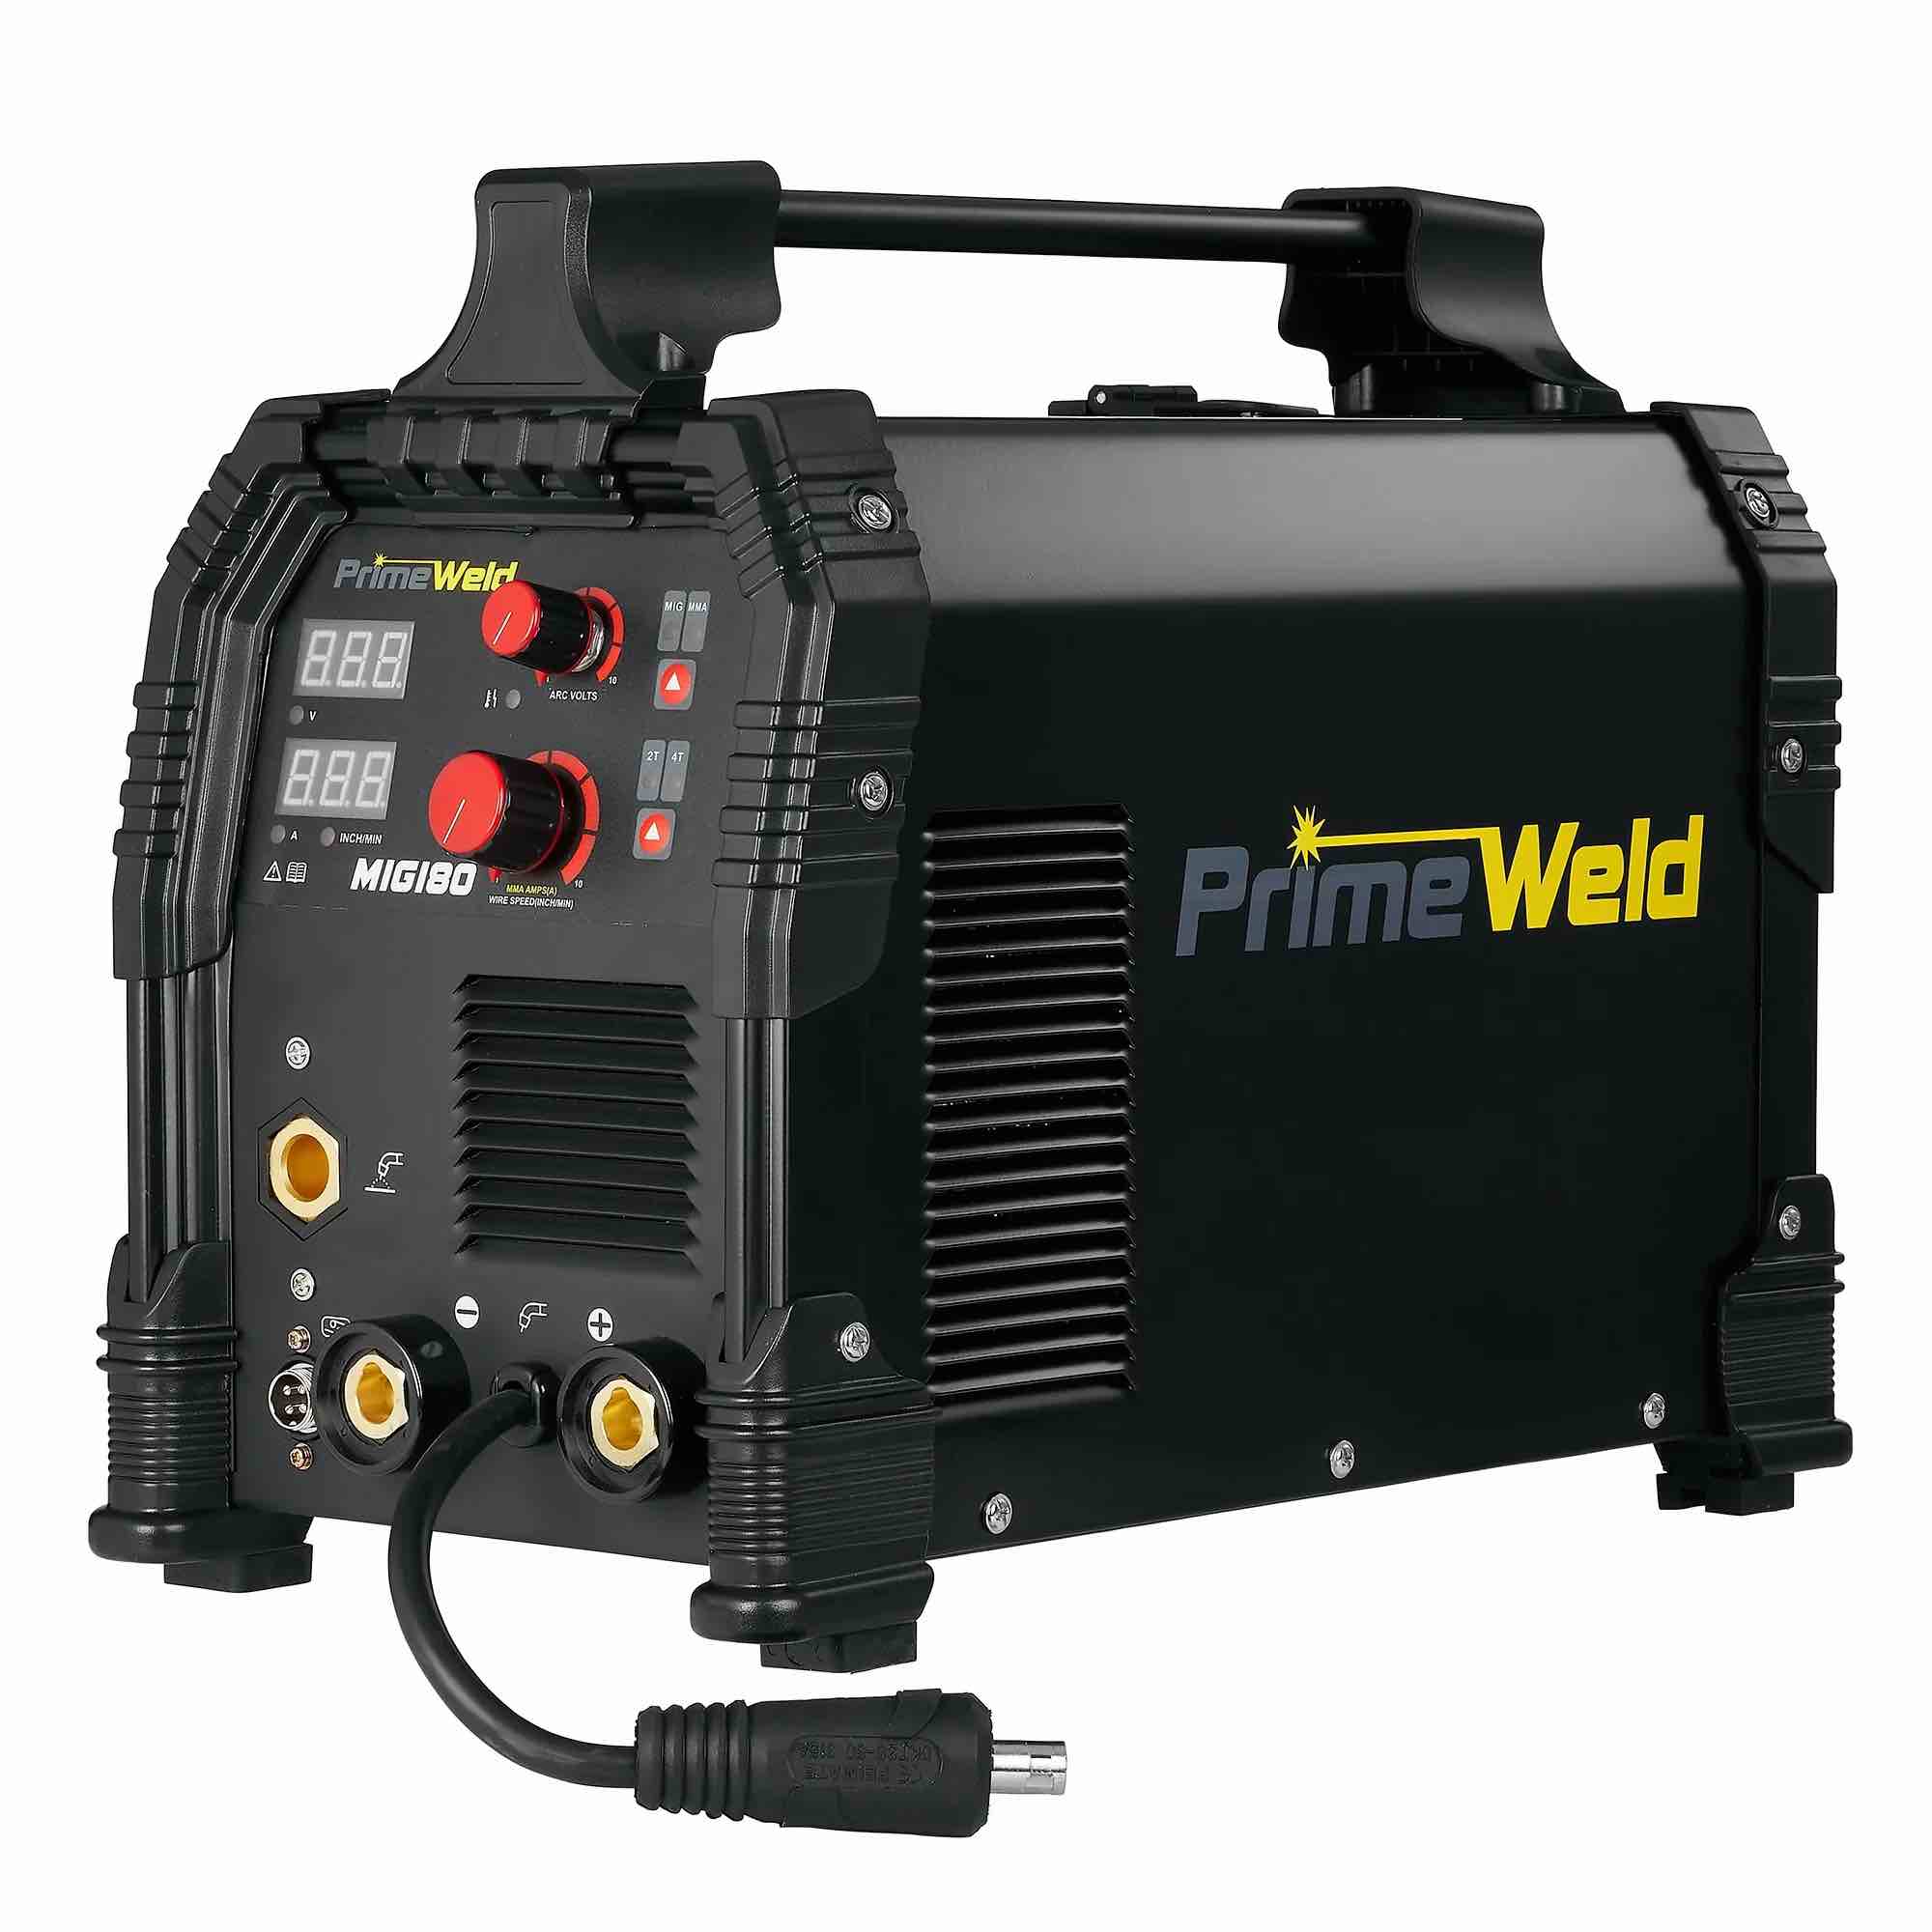
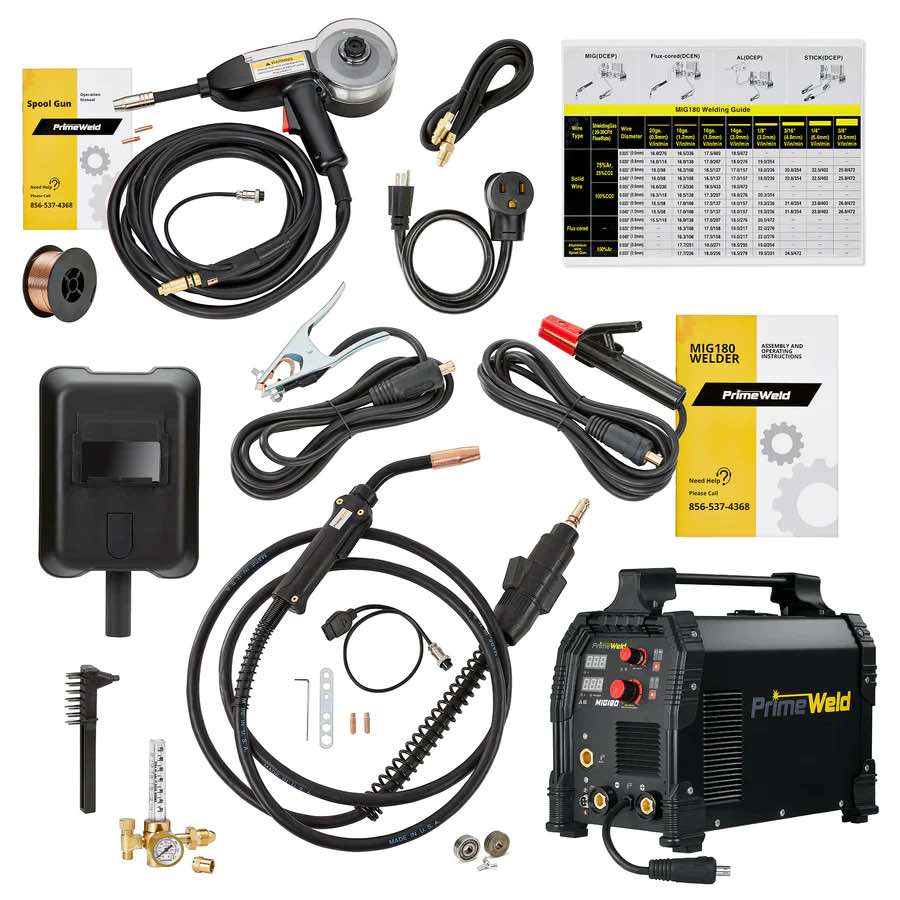
learn more about the MIG 180 at weldmonger.com
Short Circuit MIG has a tendency to crown up too much on vertical uphill welding.
A short stickout of 1/2" or less helps along with a slight upward push angle.
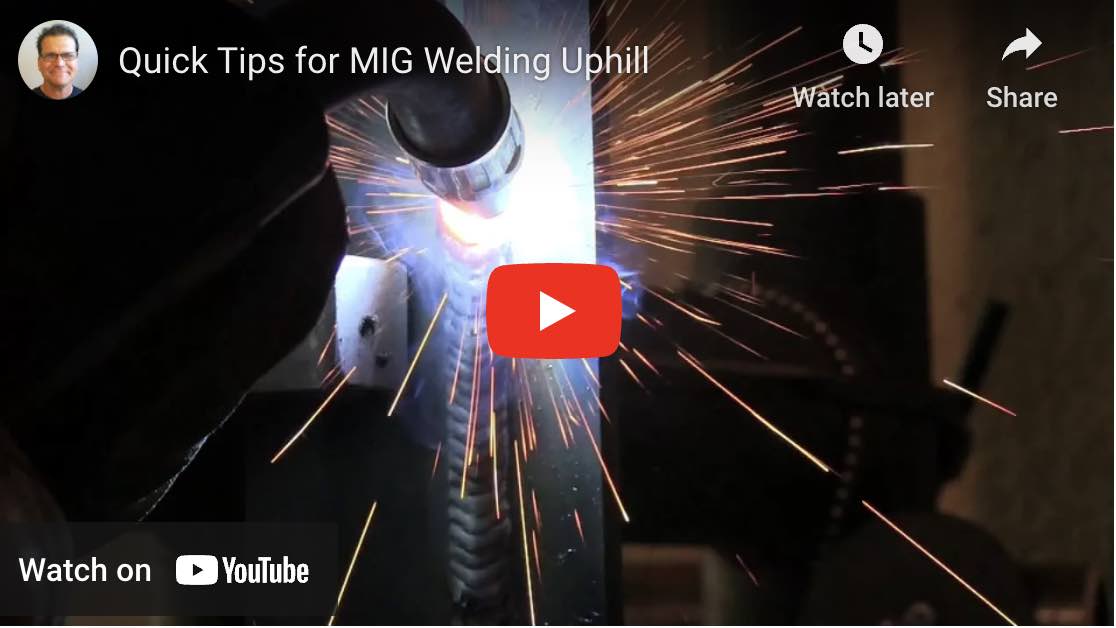
Here is a quick tip for you on how to mig weld vertical and select the best settings...
Most mig welders have a settings chart on the wire feeder door.
But these recommended settings are intended for flat and horizontal fillet welds and are way too hot for vertical up mig welding.
In order to find good settings that work for mig welding vertical uphill, all you need to do is select settings for a thinner metal....usually one or two thinner.
So if you need settings for 1/4" thick steel vertical uphill, you might just use the settings for 1/8" thick and then lower wire speed by 10% too.
I did exactly that for this vertical tee joint in the video above.
I used the settings for 1/8" thick metal and lowered the wire speed by 10% for this video on how to mig weld vertical and the settings worked pretty well.
How to use a mig settings chart for mig welding vertical uphill
To use a MIG settings chart, follow these steps:
- Get your hands on a MIG settings chart: Look for a chart specific to your MIG welding machine or welding wire brand. You can usually find these charts in the machine's user manual or on the manufacturer's website.
- Identify the variables: MIG settings charts typically provide guidelines for voltage, wire feed speed, and recommended wire size and type. Familiarize yourself with these variables.
- Determine the material and thickness: Know the type and thickness of the metal you are welding. The chart will usually include different settings for various materials, such as mild steel, stainless steel, or aluminum.
- Find the recommended settings: Locate the section on the chart that corresponds to your material and thickness. The chart will suggest specific voltage and wire feed speed combinations for optimal welding results. It may also recommend the appropriate wire diameter and shielding gas.
- Set up your MIG welder: Adjust the controls on your MIG welder according to the recommended settings from the chart. Typically, you will need to adjust the voltage and wire feed speed dials or digital controls on the machine. Remember that the recommended settings on a mig settings chart are intended for flat and horizontal fillet welds and are just too hot for mig welding vertical uphill.
- Test and fine-tune: Once your welder is set up, make a test weld on a scrap piece of the same material and thickness you plan to weld. Evaluate the weld. If necessary, make slight adjustments to the settings to achieve the desired results.
- Welding process: Begin welding on your actual workpiece, applying the proper techniques and maintaining a steady travel speed. Monitor the weld and make additional adjustments if needed.
Remember, MIG settings charts serve as a starting point, and some experimentation may be required to fine-tune the settings based on your specific welding conditions and personal preferences. Always prioritize safety by wearing appropriate protective gear and following standard welding practices.


