How to MIG Weld Steel
A few short videos to help you learn how to mig weld steel
- HOME
- How to Mig Weld
- How to Mig Weld Steel
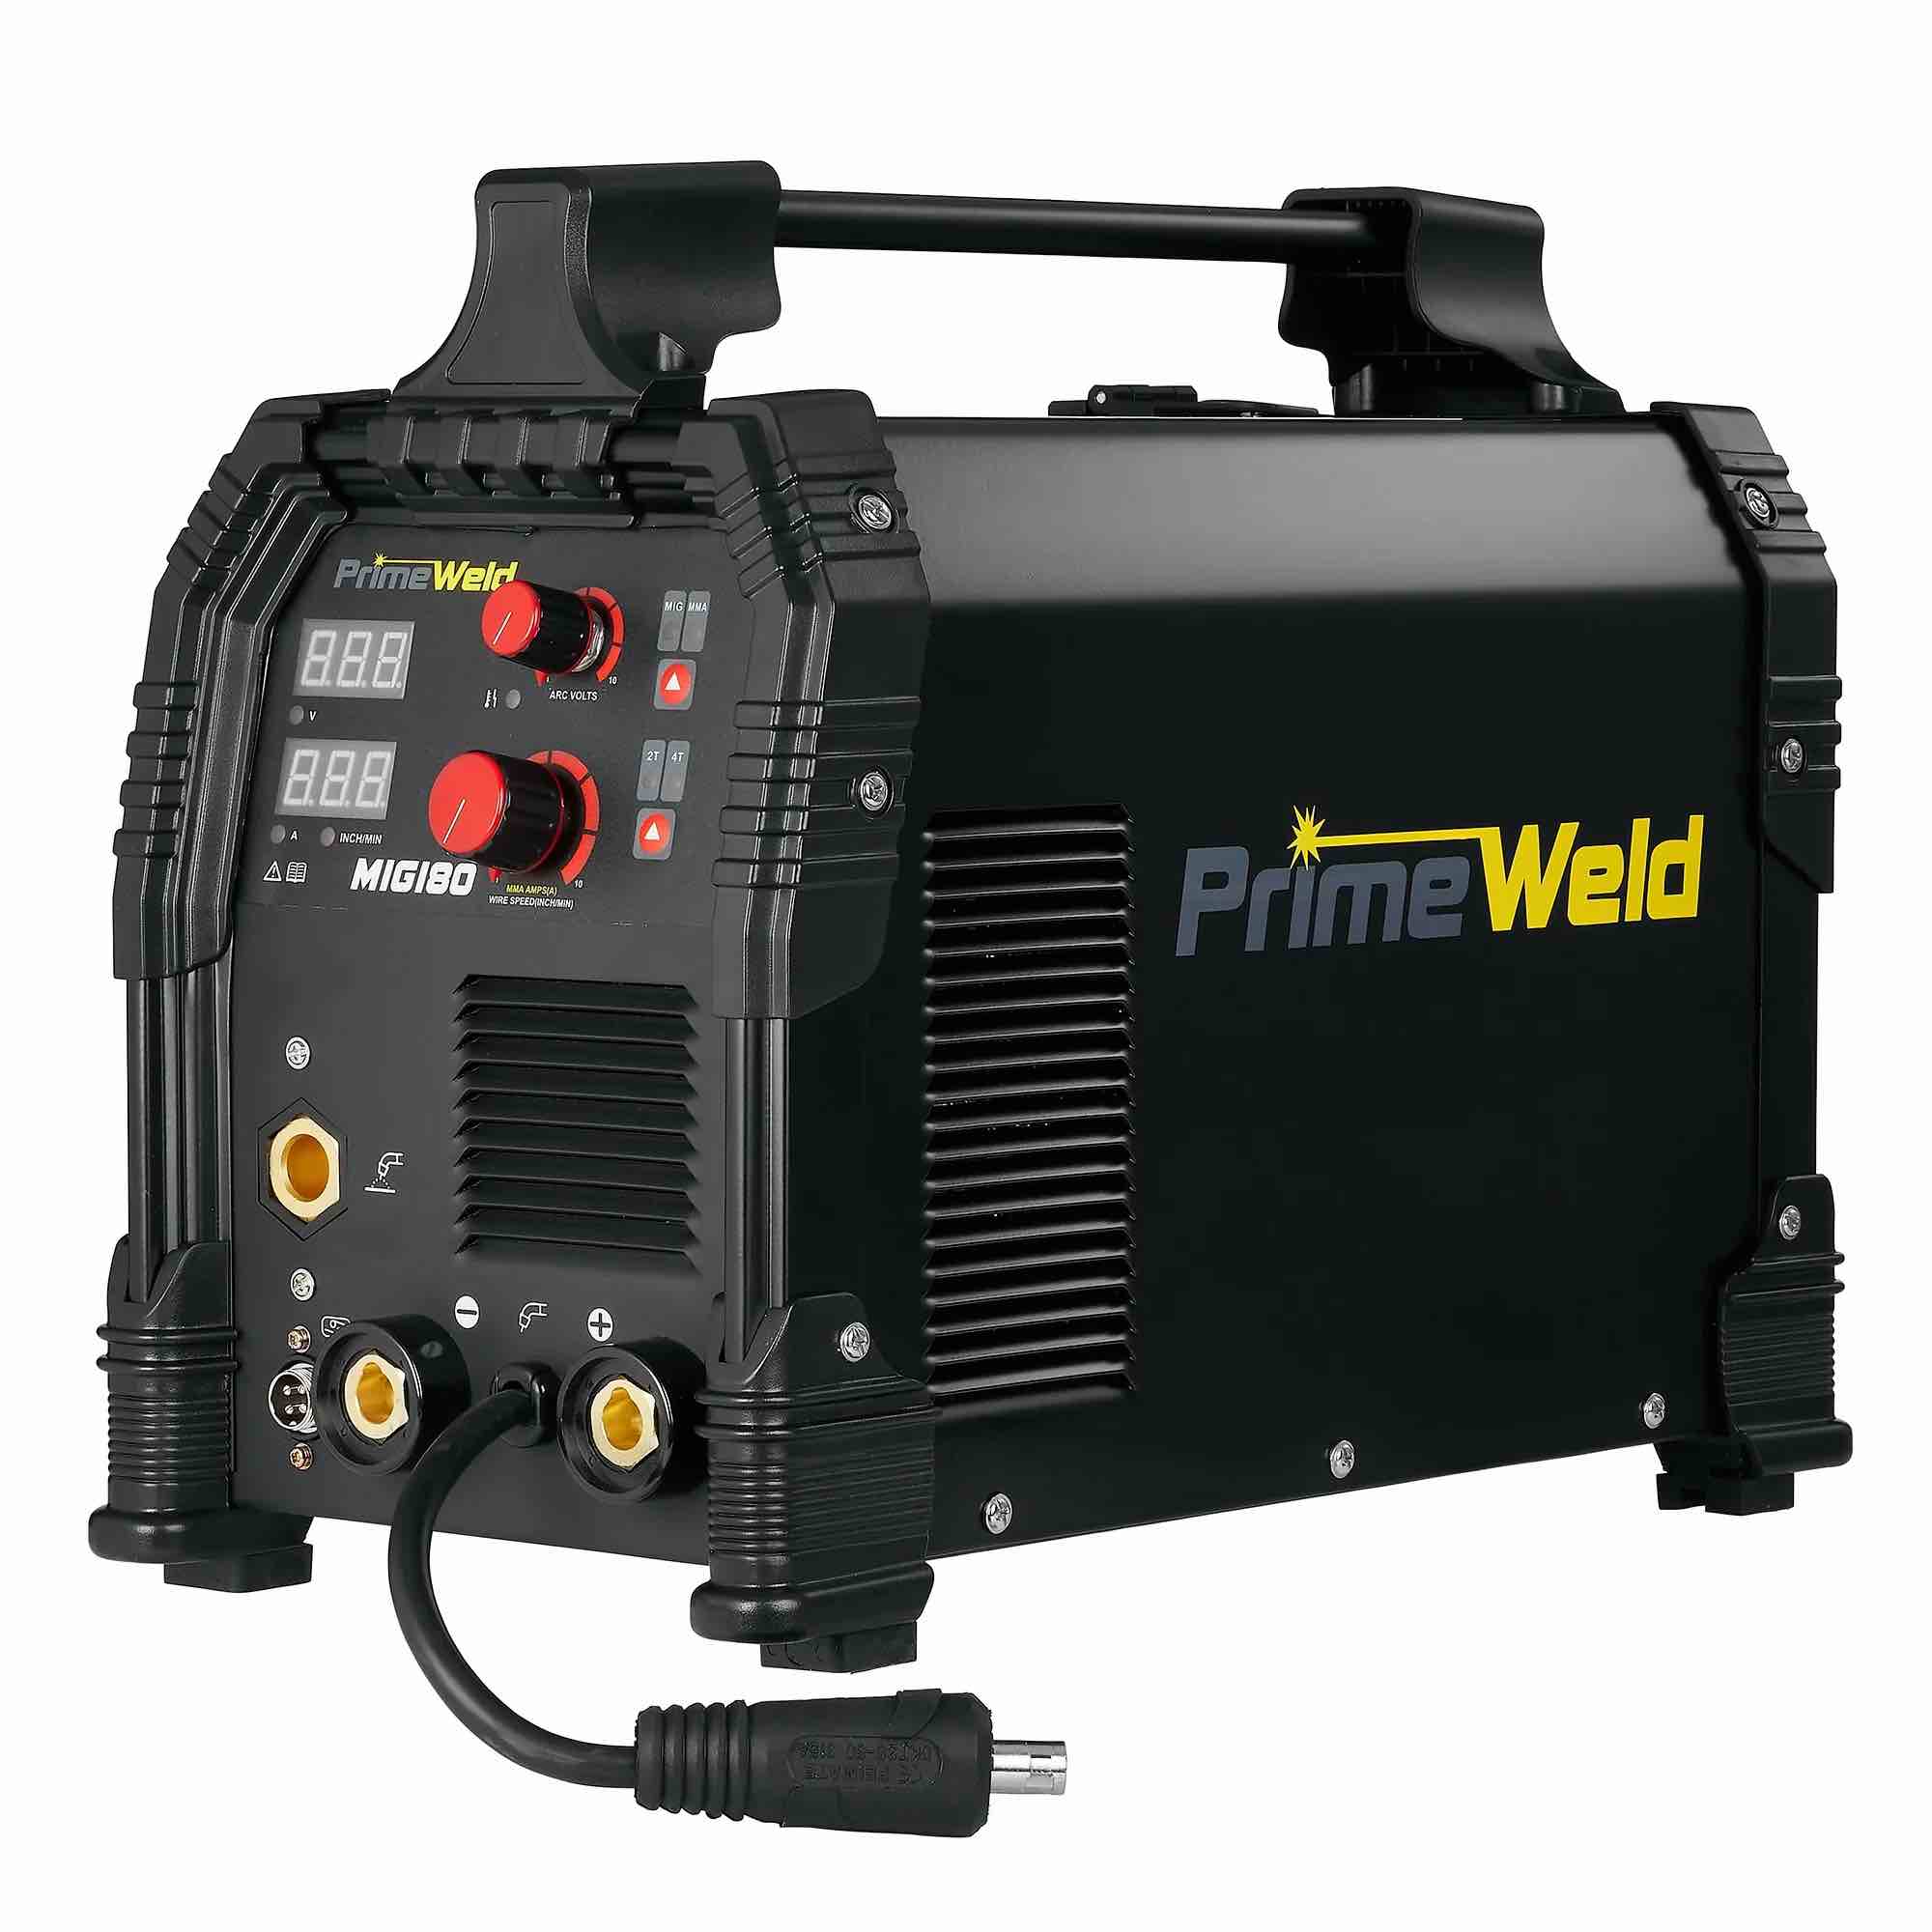
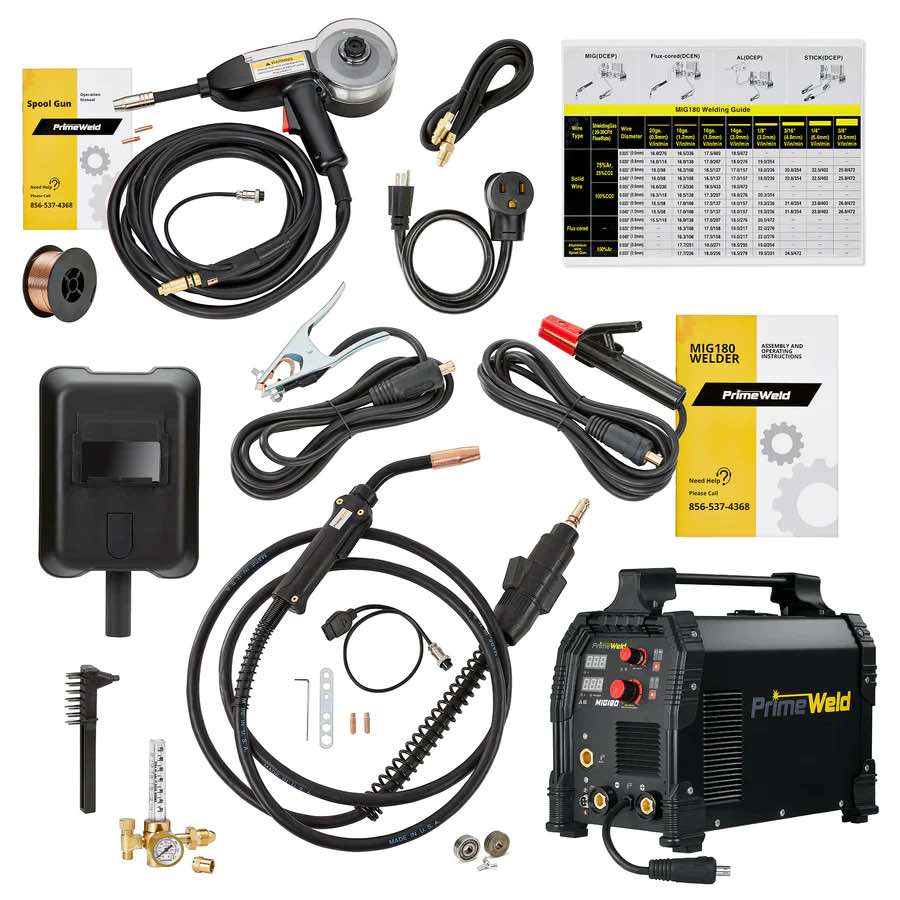
learn more about the MIG 180 at weldmonger.com
Here's a step-by-step guide to help you learn how to MIG weld steel:
Safety first: This goes without saying but ...always prioritize safety and Wear appropriate protective gear.
here is a free download that covers welding safety and even has a welding lens shade chart included
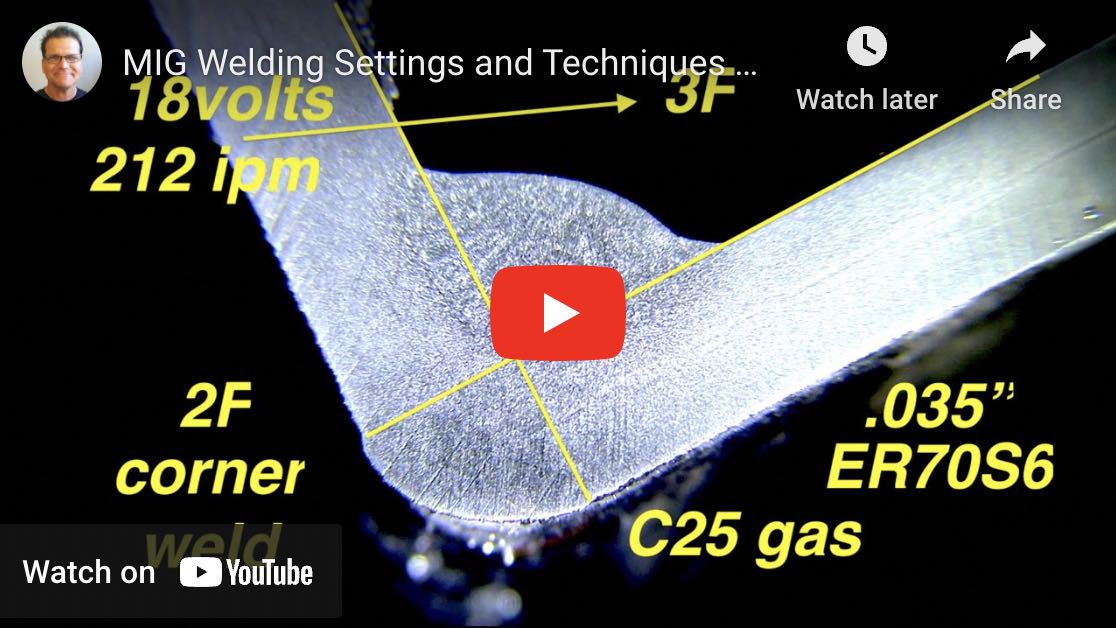
MIG welder settings: MIG welders are fairly simple and only have 2 basic settings...Voltage and Wire speed. Balancing these 2 settings takes a bit of practice and experience but fortunately, most mig welding machines come with a settings chart that helps. And even if your mig welding machine doesnt have a settings chart, you can easily find one by googling "mig welder settings chart".
The settings on a chart are listed according to gas type and wire diameter used so be careful to line up the right rows and columns for the gas you are using as well as your wire diameter.
Shield gasses for short circuit mig welding: If you searched for "how to mig weld steel" then short circuit mig is most likely what you are interested in and so the shielding gases used for that are either... , for mild steel, a 75% Argon and 25% CO2 mixture (C25) ...or pure CO2
Use the right wire type and size: For MIG welding steel, you'll need solid carbon steel wire. ER70s6 is the most commonly used mig wire in the USA although there are a few other otions. Use a diameter that makes sense for the thickness of metal you want to weld...
.023 is good for thin metal like auto body patch panels
.035 is good for thicker metal 1/8" and thicker
.030 is a good all around choice for mig welding a mix of thin and general fab work.
Maybe clean your metal: I say maybe because lets be real...not all metal needs to be cleaned before mig welding. Carbon steel square tubing for instance, has a very light mill scale coating and will weld fine without any further prep.
But on thicker metals, sometimes the mill scale coating is very thick and needs to be removed before welding.
Use both hands: I dont know any really good mig welders who use only use one hand for mig welding.
Tack welding can easily be done with one hand by propping the nozzle but for a consistent weld, use both hands.
Welding technique:push or pull? dont get hung up on this one.Both push angle and pull angle work. Keep a consistent travel speed and maintain a short stick out distance between the contact tip and the weld puddle. Aim to achieve a rhythmic motion because that is what will give you a uniform weld.
Pay attention to spatter: Spatter is usually not a huge problem but is a clue that your settings my be off..or your gun angle is too extreme.
Give extra attention to your ground clamp: Mig welding machines feed wire and dont care if you lose your ground ...the wire keeps feeding. And some ground clamps that come with mig welding machines are pretty weak. So it is important that you dont just clamp the ground just anywhere and without and effort. Take the time to grind off a spot on your welding table to clean shiny bright metal so that your ground clamp will provide a constant ground...otherwise when you lose your ground even for a millisecond, your arc will stutter and you might think you need to adjust some setting like wire speed when the problem is simply that you don't have a good enough ground.
Practice and experiment: Welding beads on plate is a great way to get the kind of practice and hood time you need to get better.
The practice Metal does not have to be expensive or very thick to get good practice. in fact, I have found that 11ga steel is plenty thick enough to use for mig welding practice.
You can grab some small pieces of 11ga steel off amazon or from jflf.org and set them up in kind of a vertical position but leaned back at an angle like this....

this puts the piece at a good angle where you can be comfortable and also have a good line of sight..and lets you weld bead after bead without burning thru a lot of metal.
Weld both directions, try pushing and pulling angles, Experiment with different settings, wire speeds, wire sizes, and techniques to find what works best for your specific application.
The mig settings chart that is on the inside of the wire feeder door on most welders is only a starting point. I have found that the wire speed is often a bit too much for some applications so while you are experimenting with settings, try using the recommended settings but then reduce the wire speed by about 10-15% and weld some beads.
good luck welder!
Jody Collier


