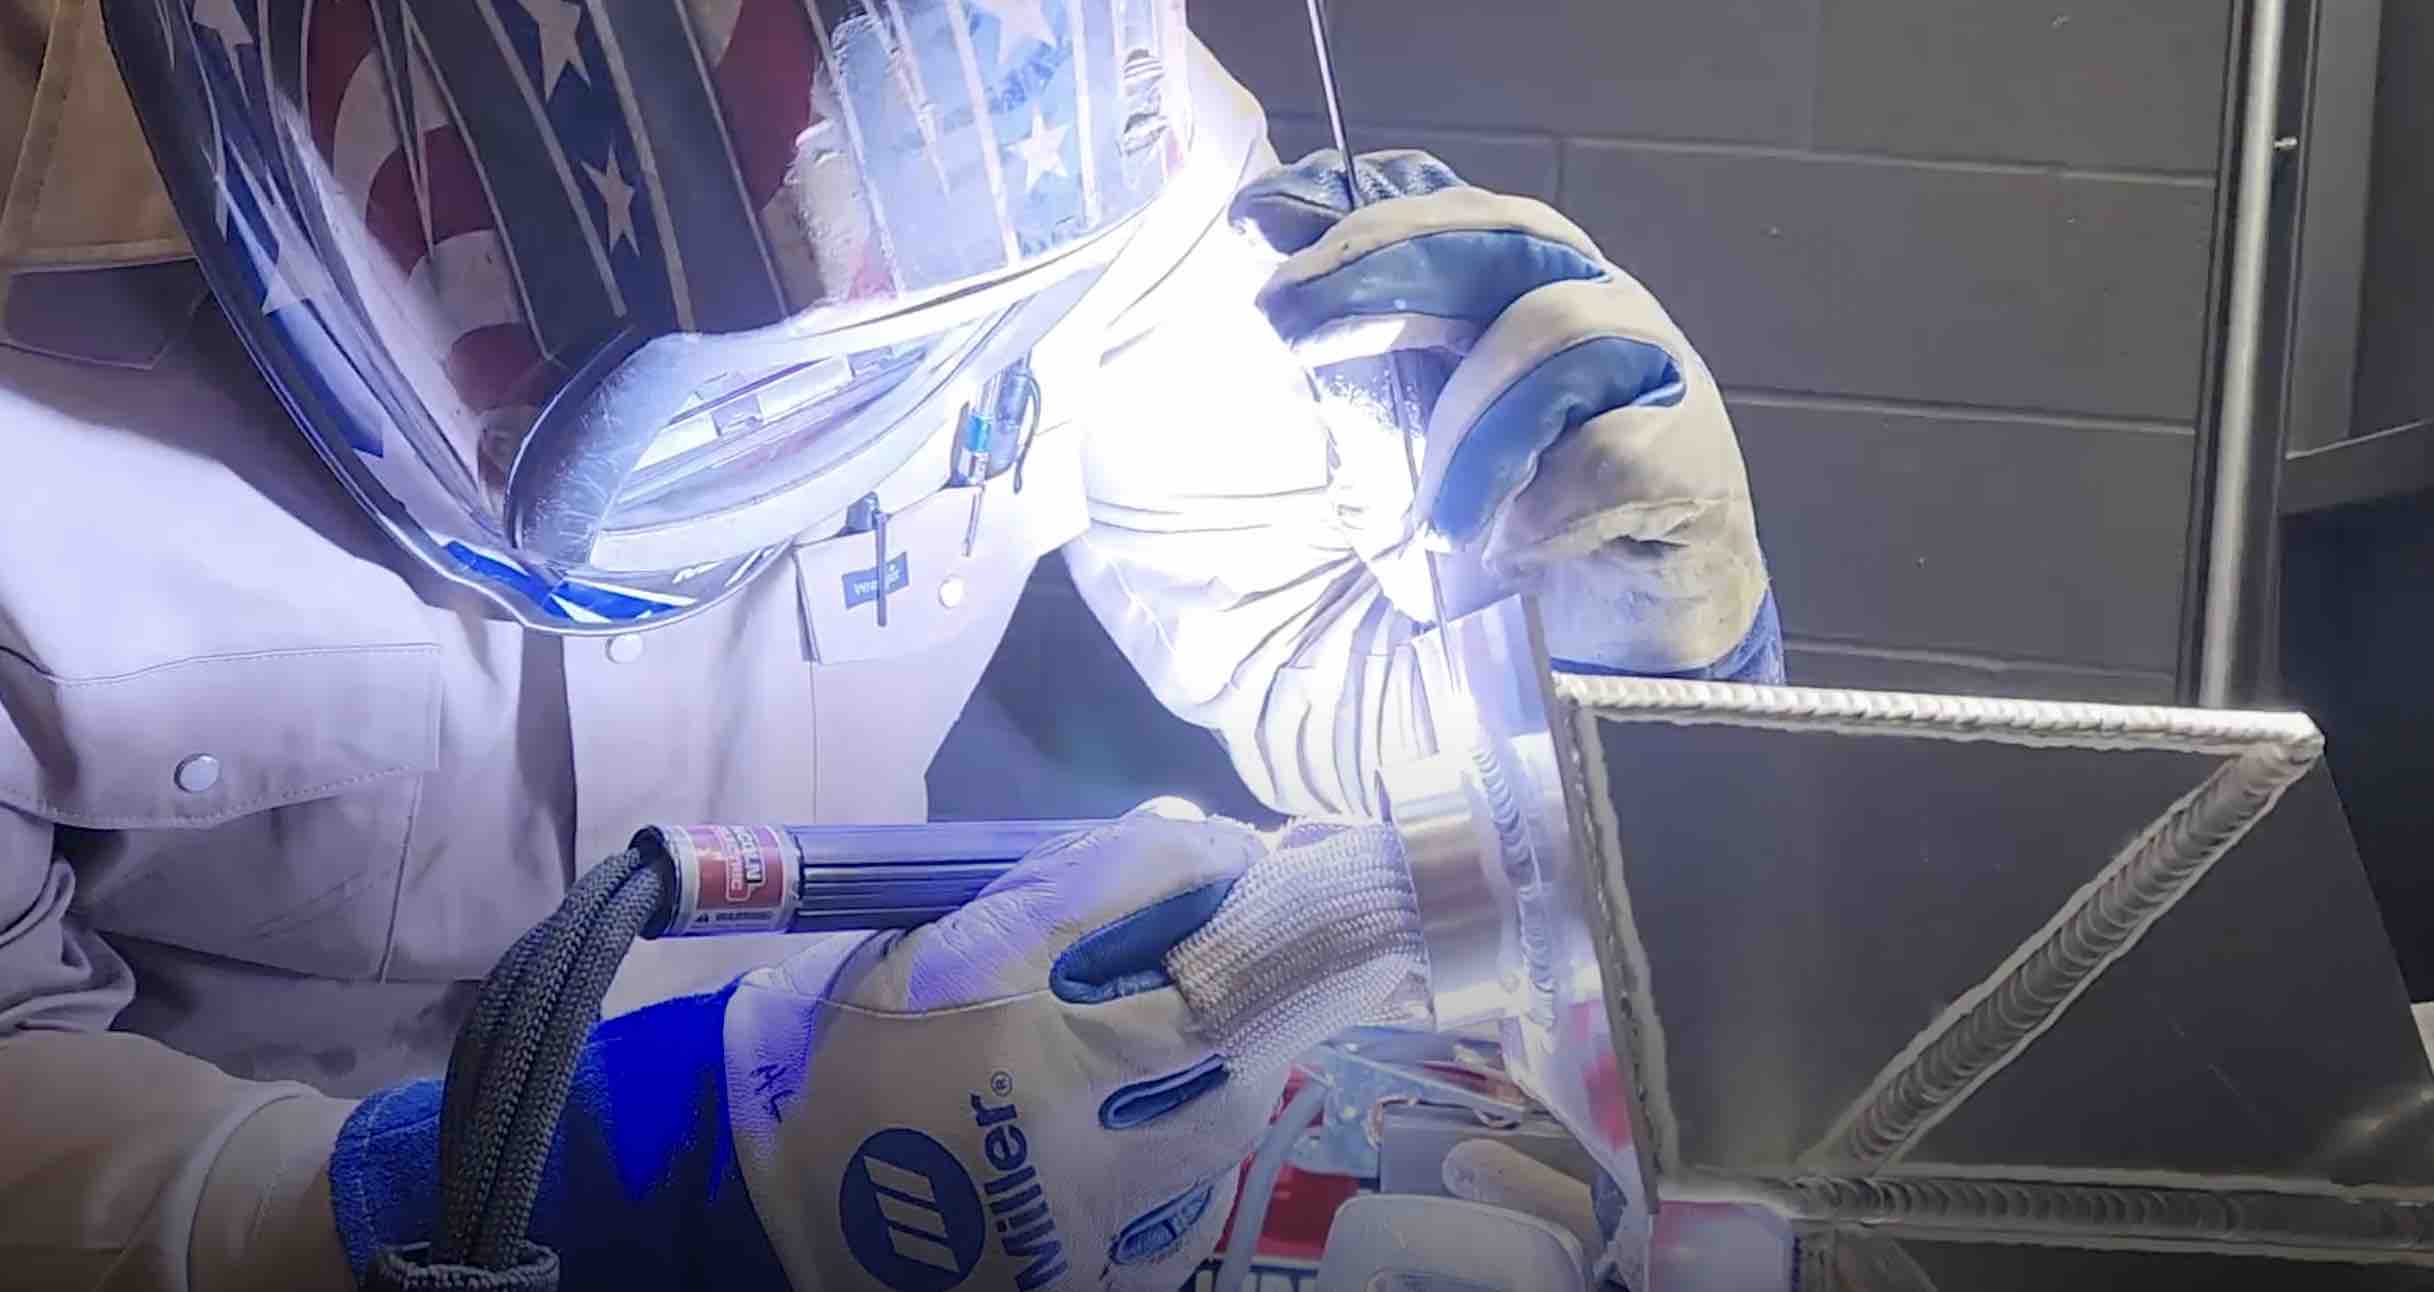
Aluminum Wheel Repair by Welding
I included these aluminum wheel repair welding tips in a video I did demonstrating the benefits of using a helium mix for welding aluminum.
You can see that video showing welding aluminum using a helium mix here.
This repair is one of those jobs where the addition of helium really helps. Especially if your tig welding machine is slightly under powered.
This repair was done by someone else who sent me the pics.
Credit goes to FH for all the pics and tips.
- HOME
- TIG WELDING ALUMINUM
- How to Tig Aluminum
- Aluminum Wheel Repair
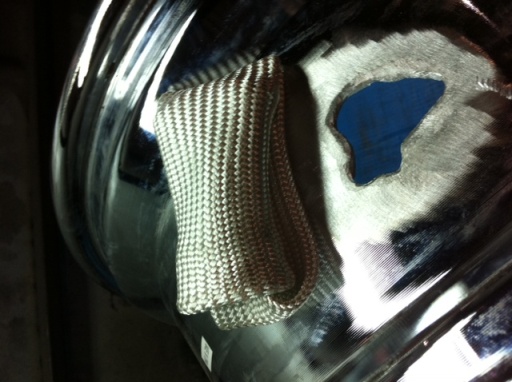
Thats a pretty big hole!
The reason for the tig finger in the picture is that the reader who sent me the pictures of this aluminum wheel repair, found the tig finger to be very useful for a place to prop on the hot aluminum.
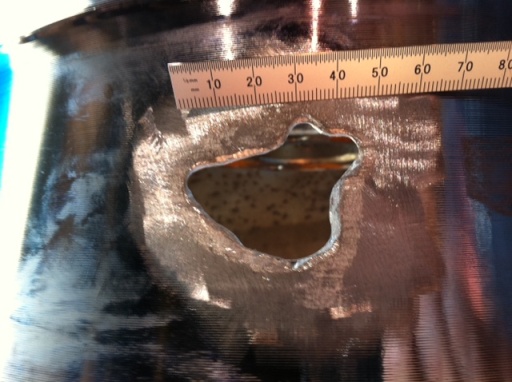
Like I said, thats a pretty big hole.
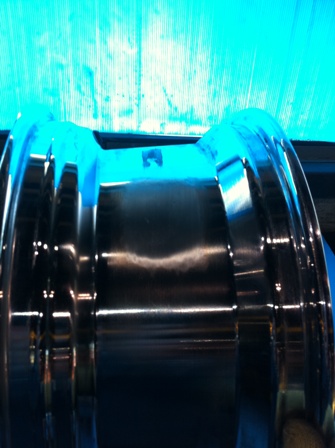
so how did he weld that thing shut and get it shined up to looking like new?
Read on and see!
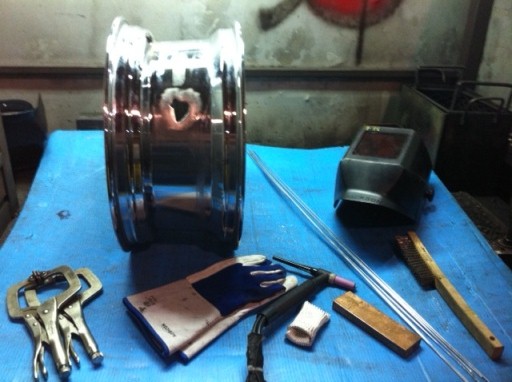
it all starts with preparation and the right tools.
a clean ss wire brush, a piece of copper for backing, tig gloves, a tig finger , and a clamp to hold the copper backing in place.
The copper backing is key. It does not have to be a big thick piece of copper either. Even an 1/8" thick piece of copper sheet works and is able to be formed to the contour of the back side of the part you are welding.
You dont really want or need it to fit exactly flush either .
A small gap will allow the weld metal to sink thru to provide some reinforcement on the back so that minimal or no touch up welding will be needed.
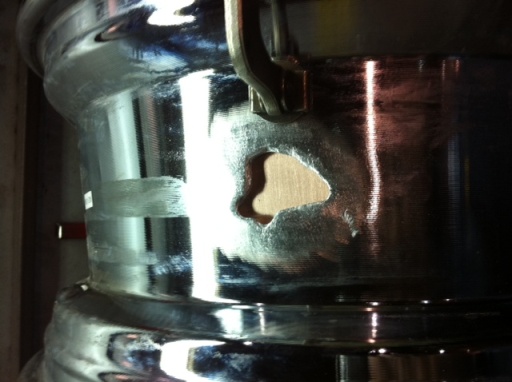
with the copper backing in place, running a bead all the way around the very edge gets the thing heated up and ready to proceed.
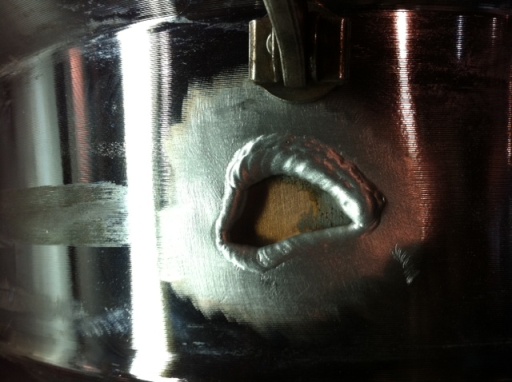
once a bead is welded all the way around, just start closing up the hole by adding more beads and letting it cool a bit in between beads
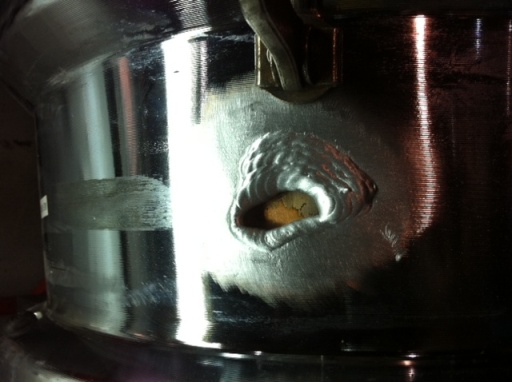
wire brush each bead with a clean ss wire brush. A fine bristle ss wire cup brush on a drill motor or grinder works great for this
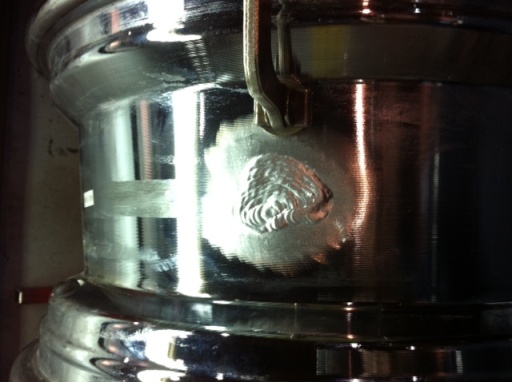
this side is done except for blending flush...just need to touch up the back side.
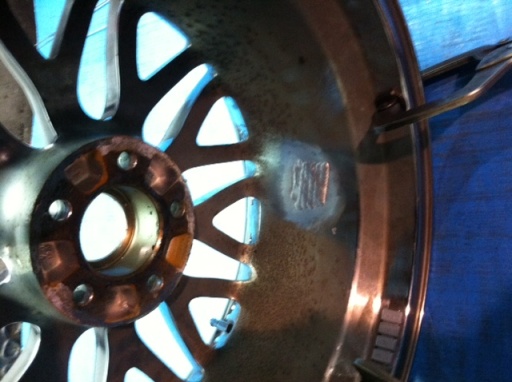
all blended and looking good. This dog will hunt.

exit aluminum wheel repair and see home page

