TIG Welding an Aluminum Cube
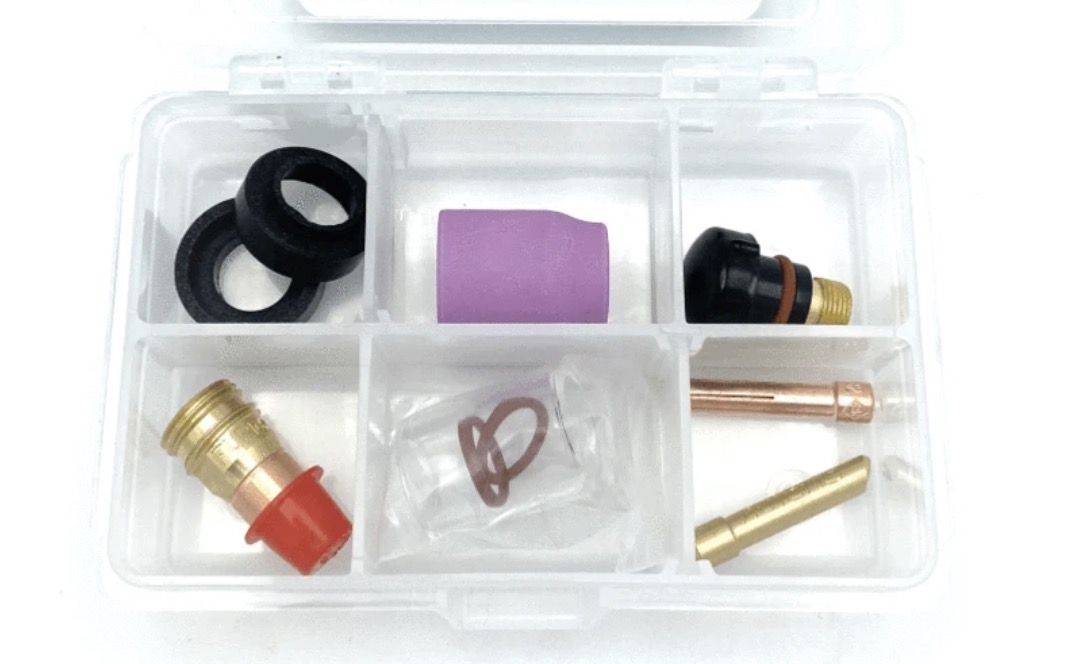
learn more about the clear #8 combo kit
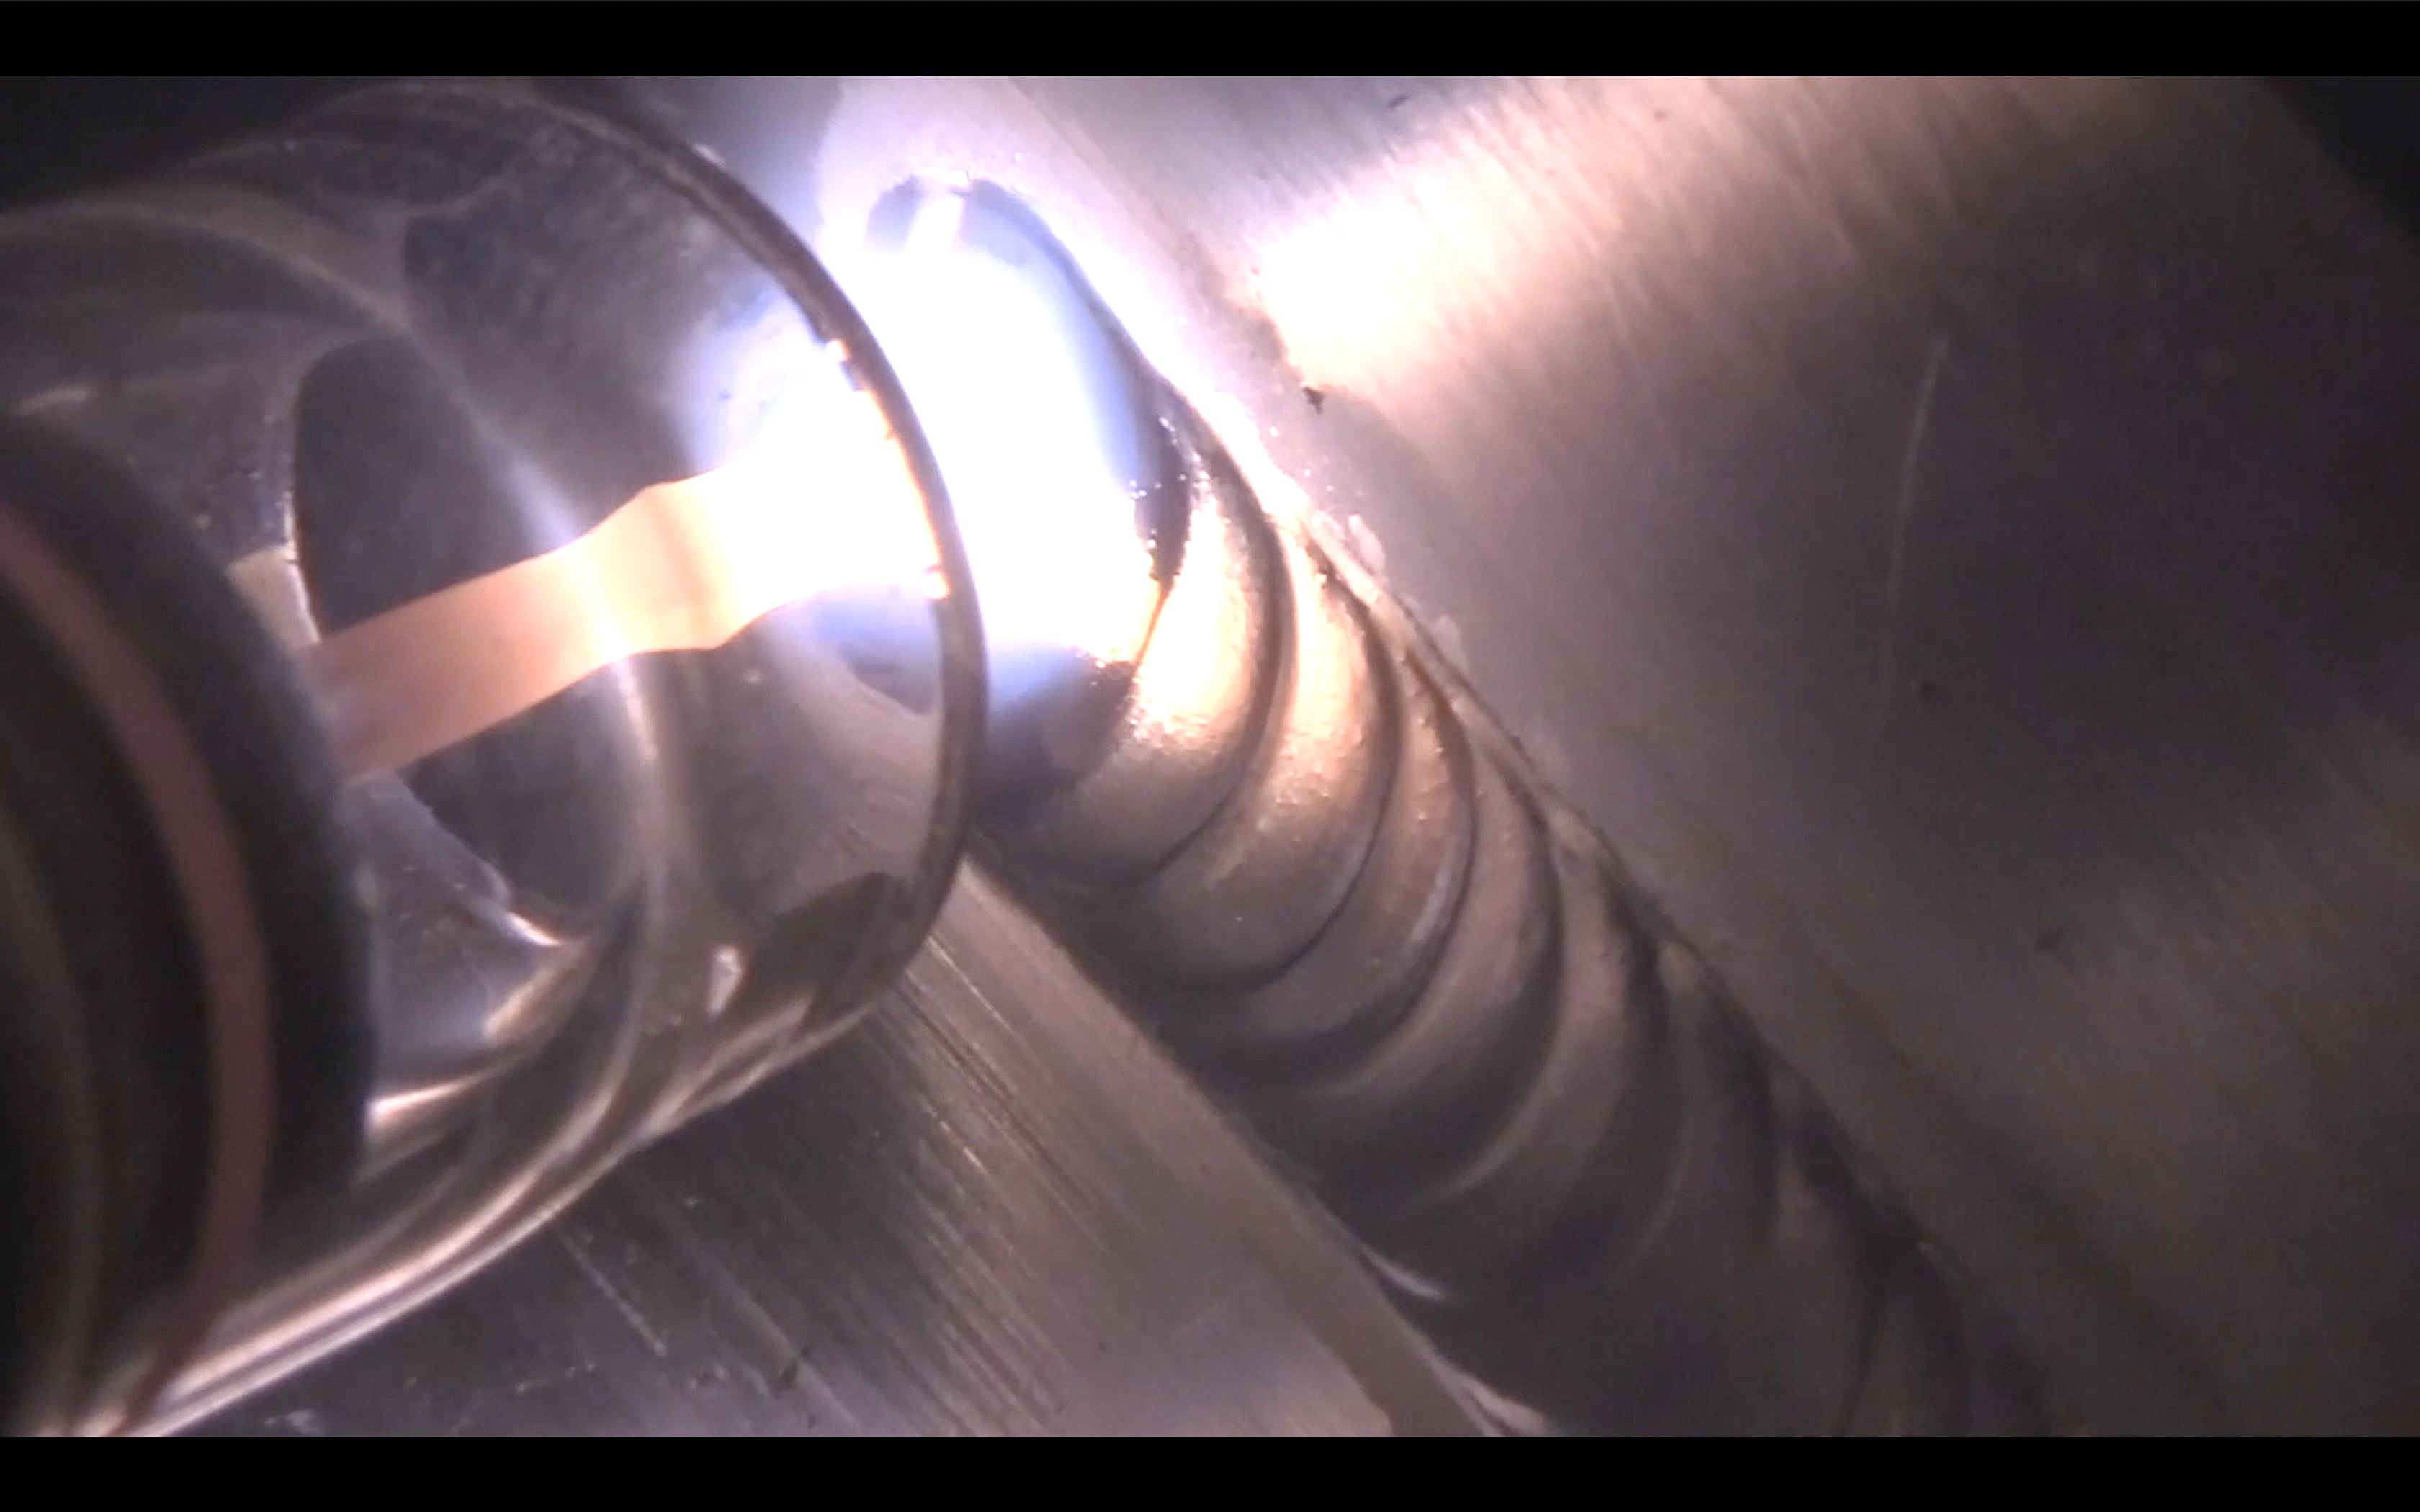
In this video on TIG welding aluminum cubes, you will see.
- using a fixture plate to fit and tack
- tack welding techniques
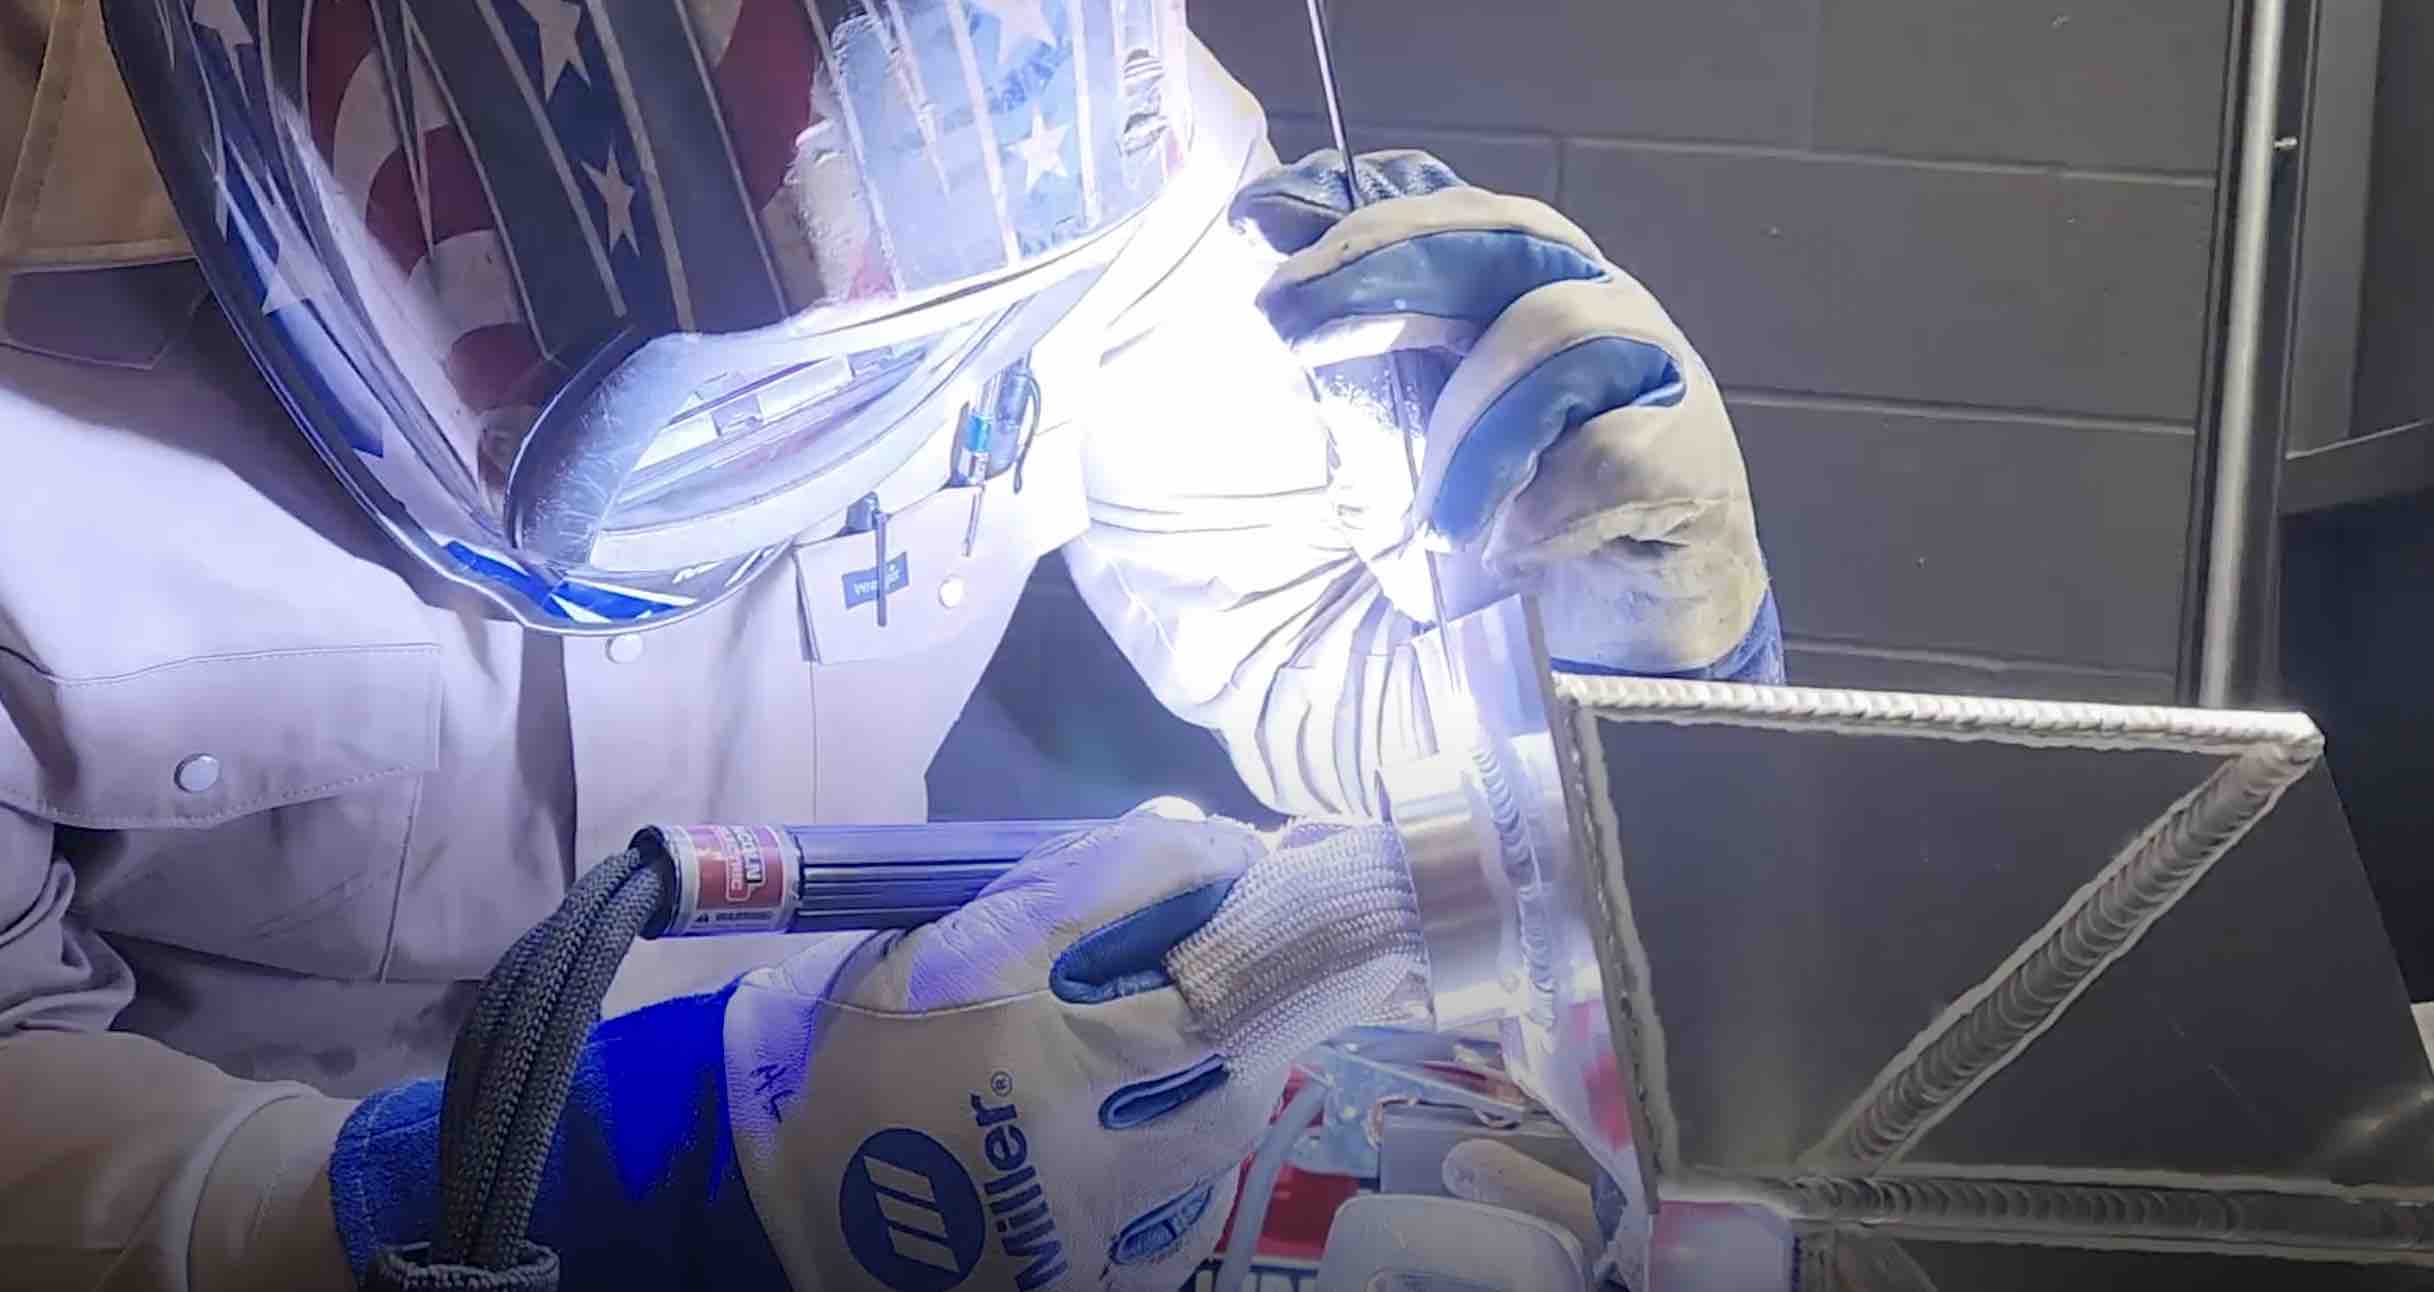
- plenty of arc shots showing the puddle
- using pulse settings for lay wire filling a gap
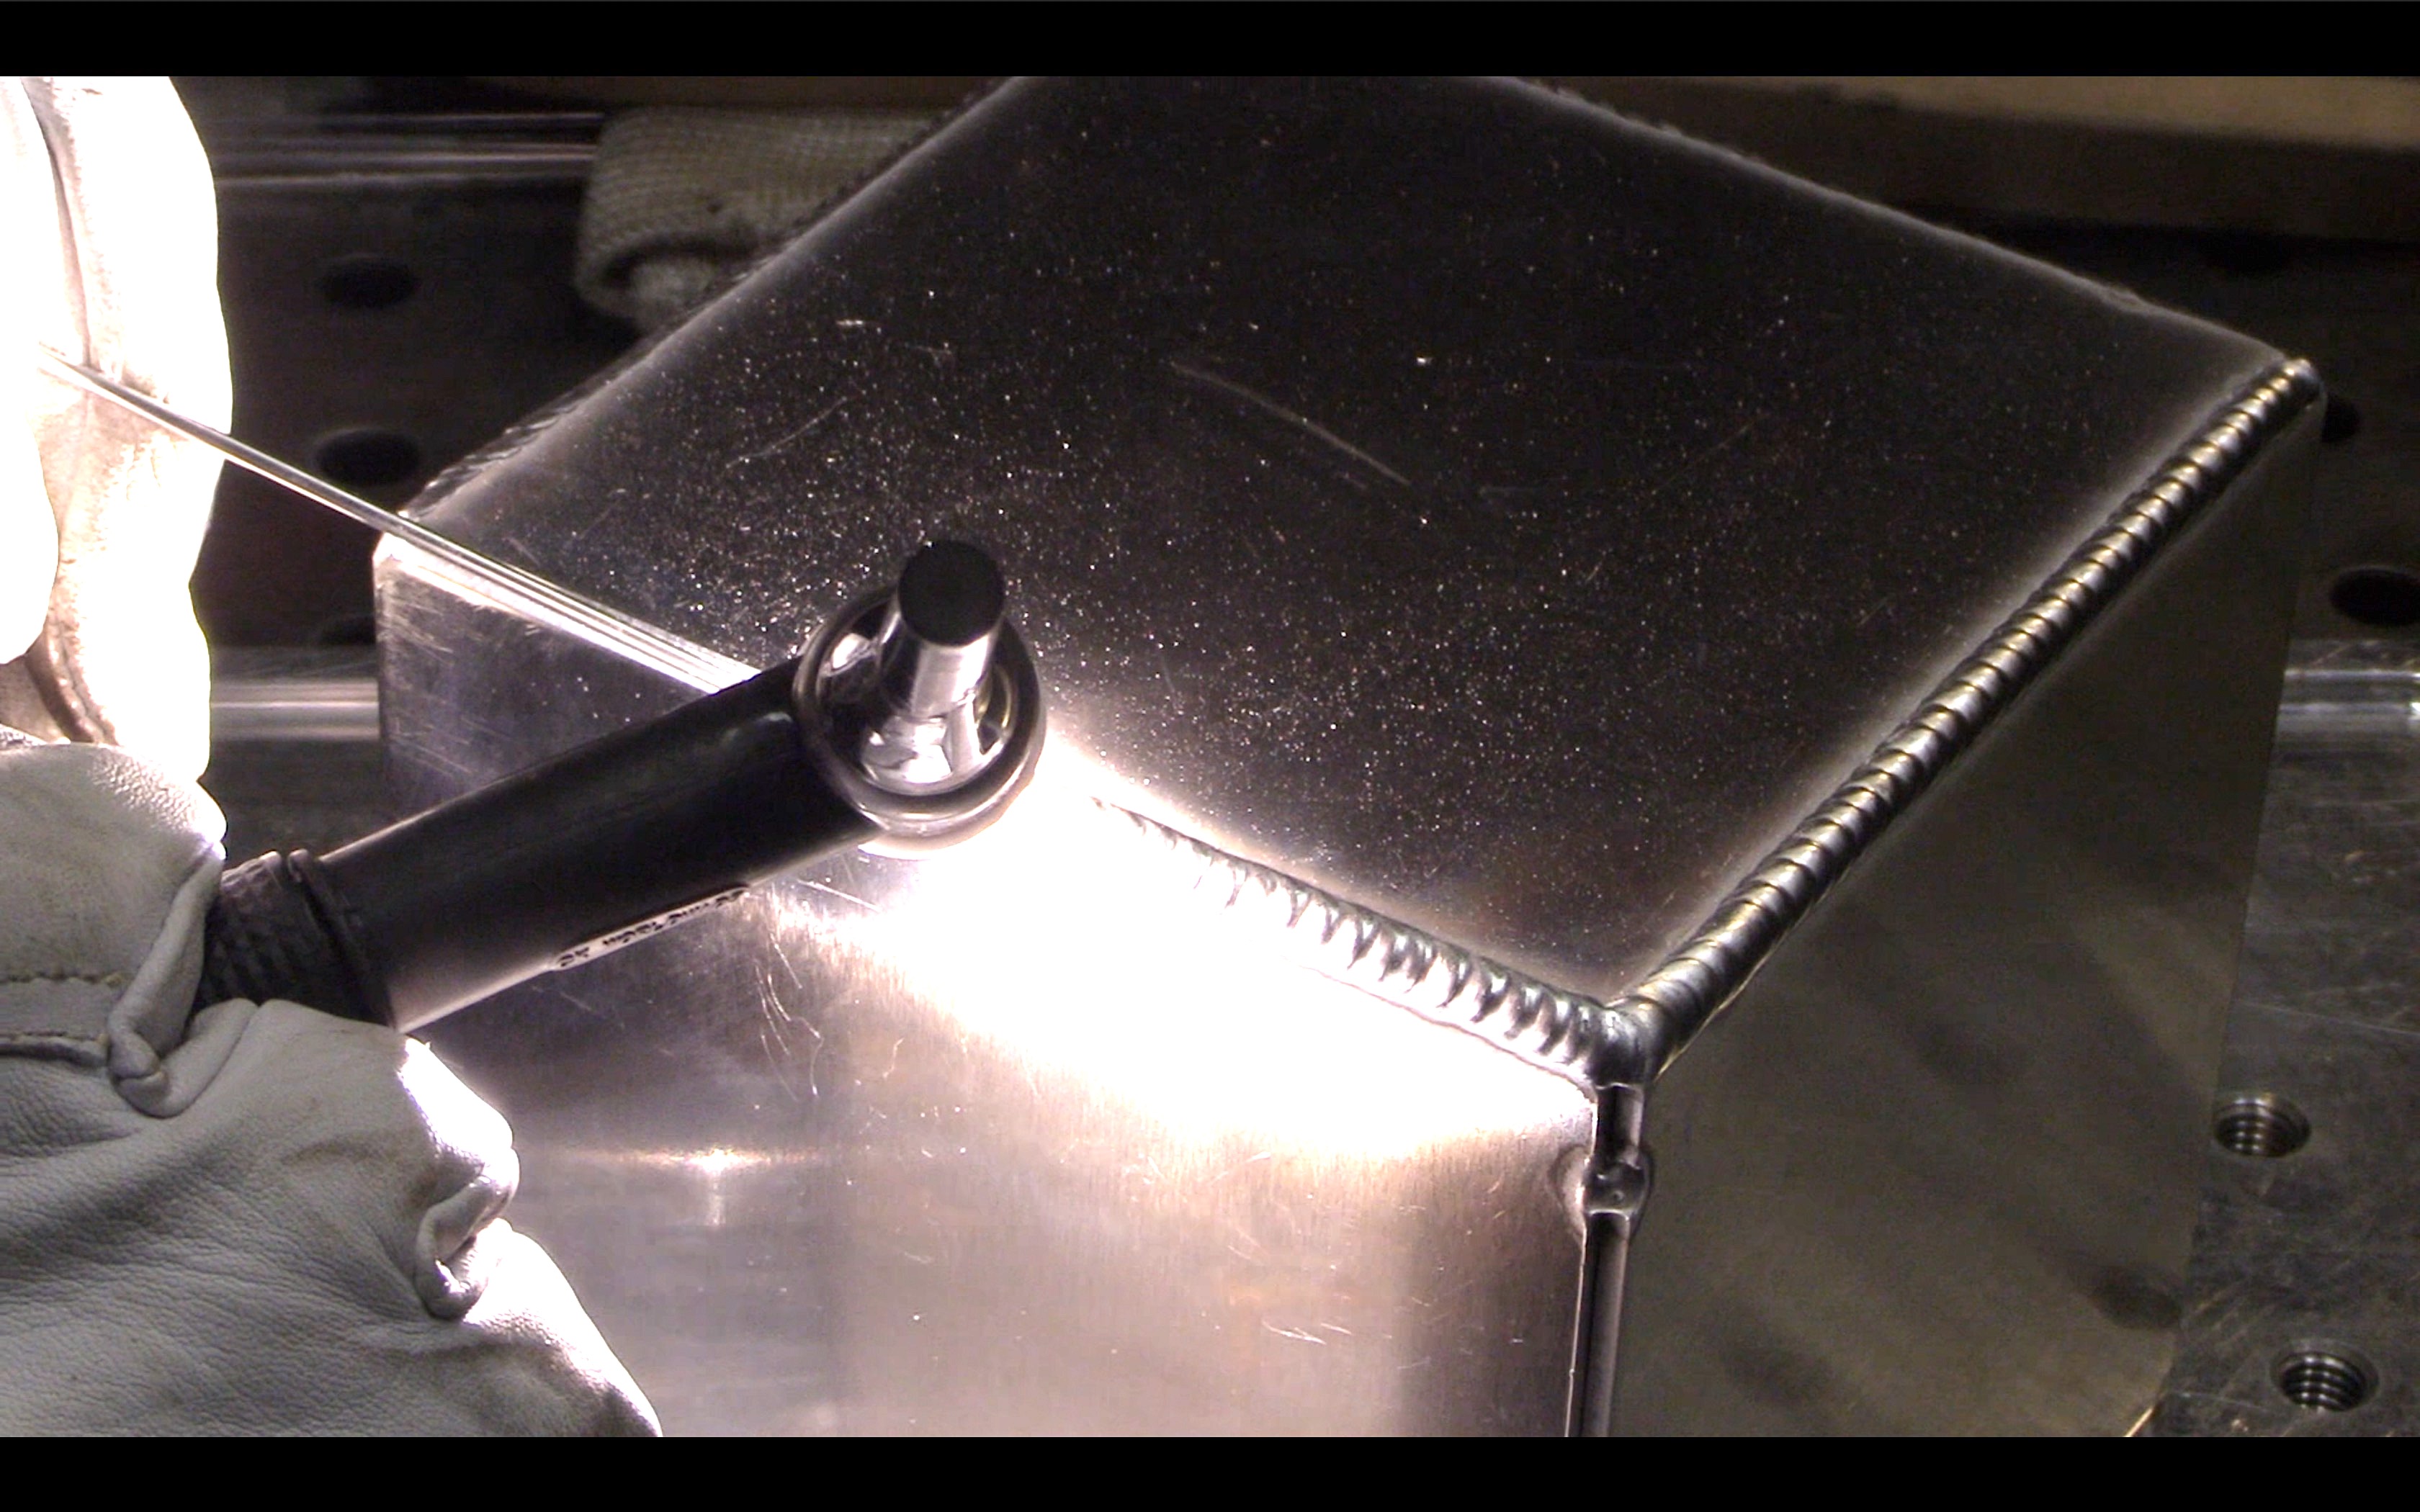
Materials and procedure for TIG Welding Aluminum Cube project
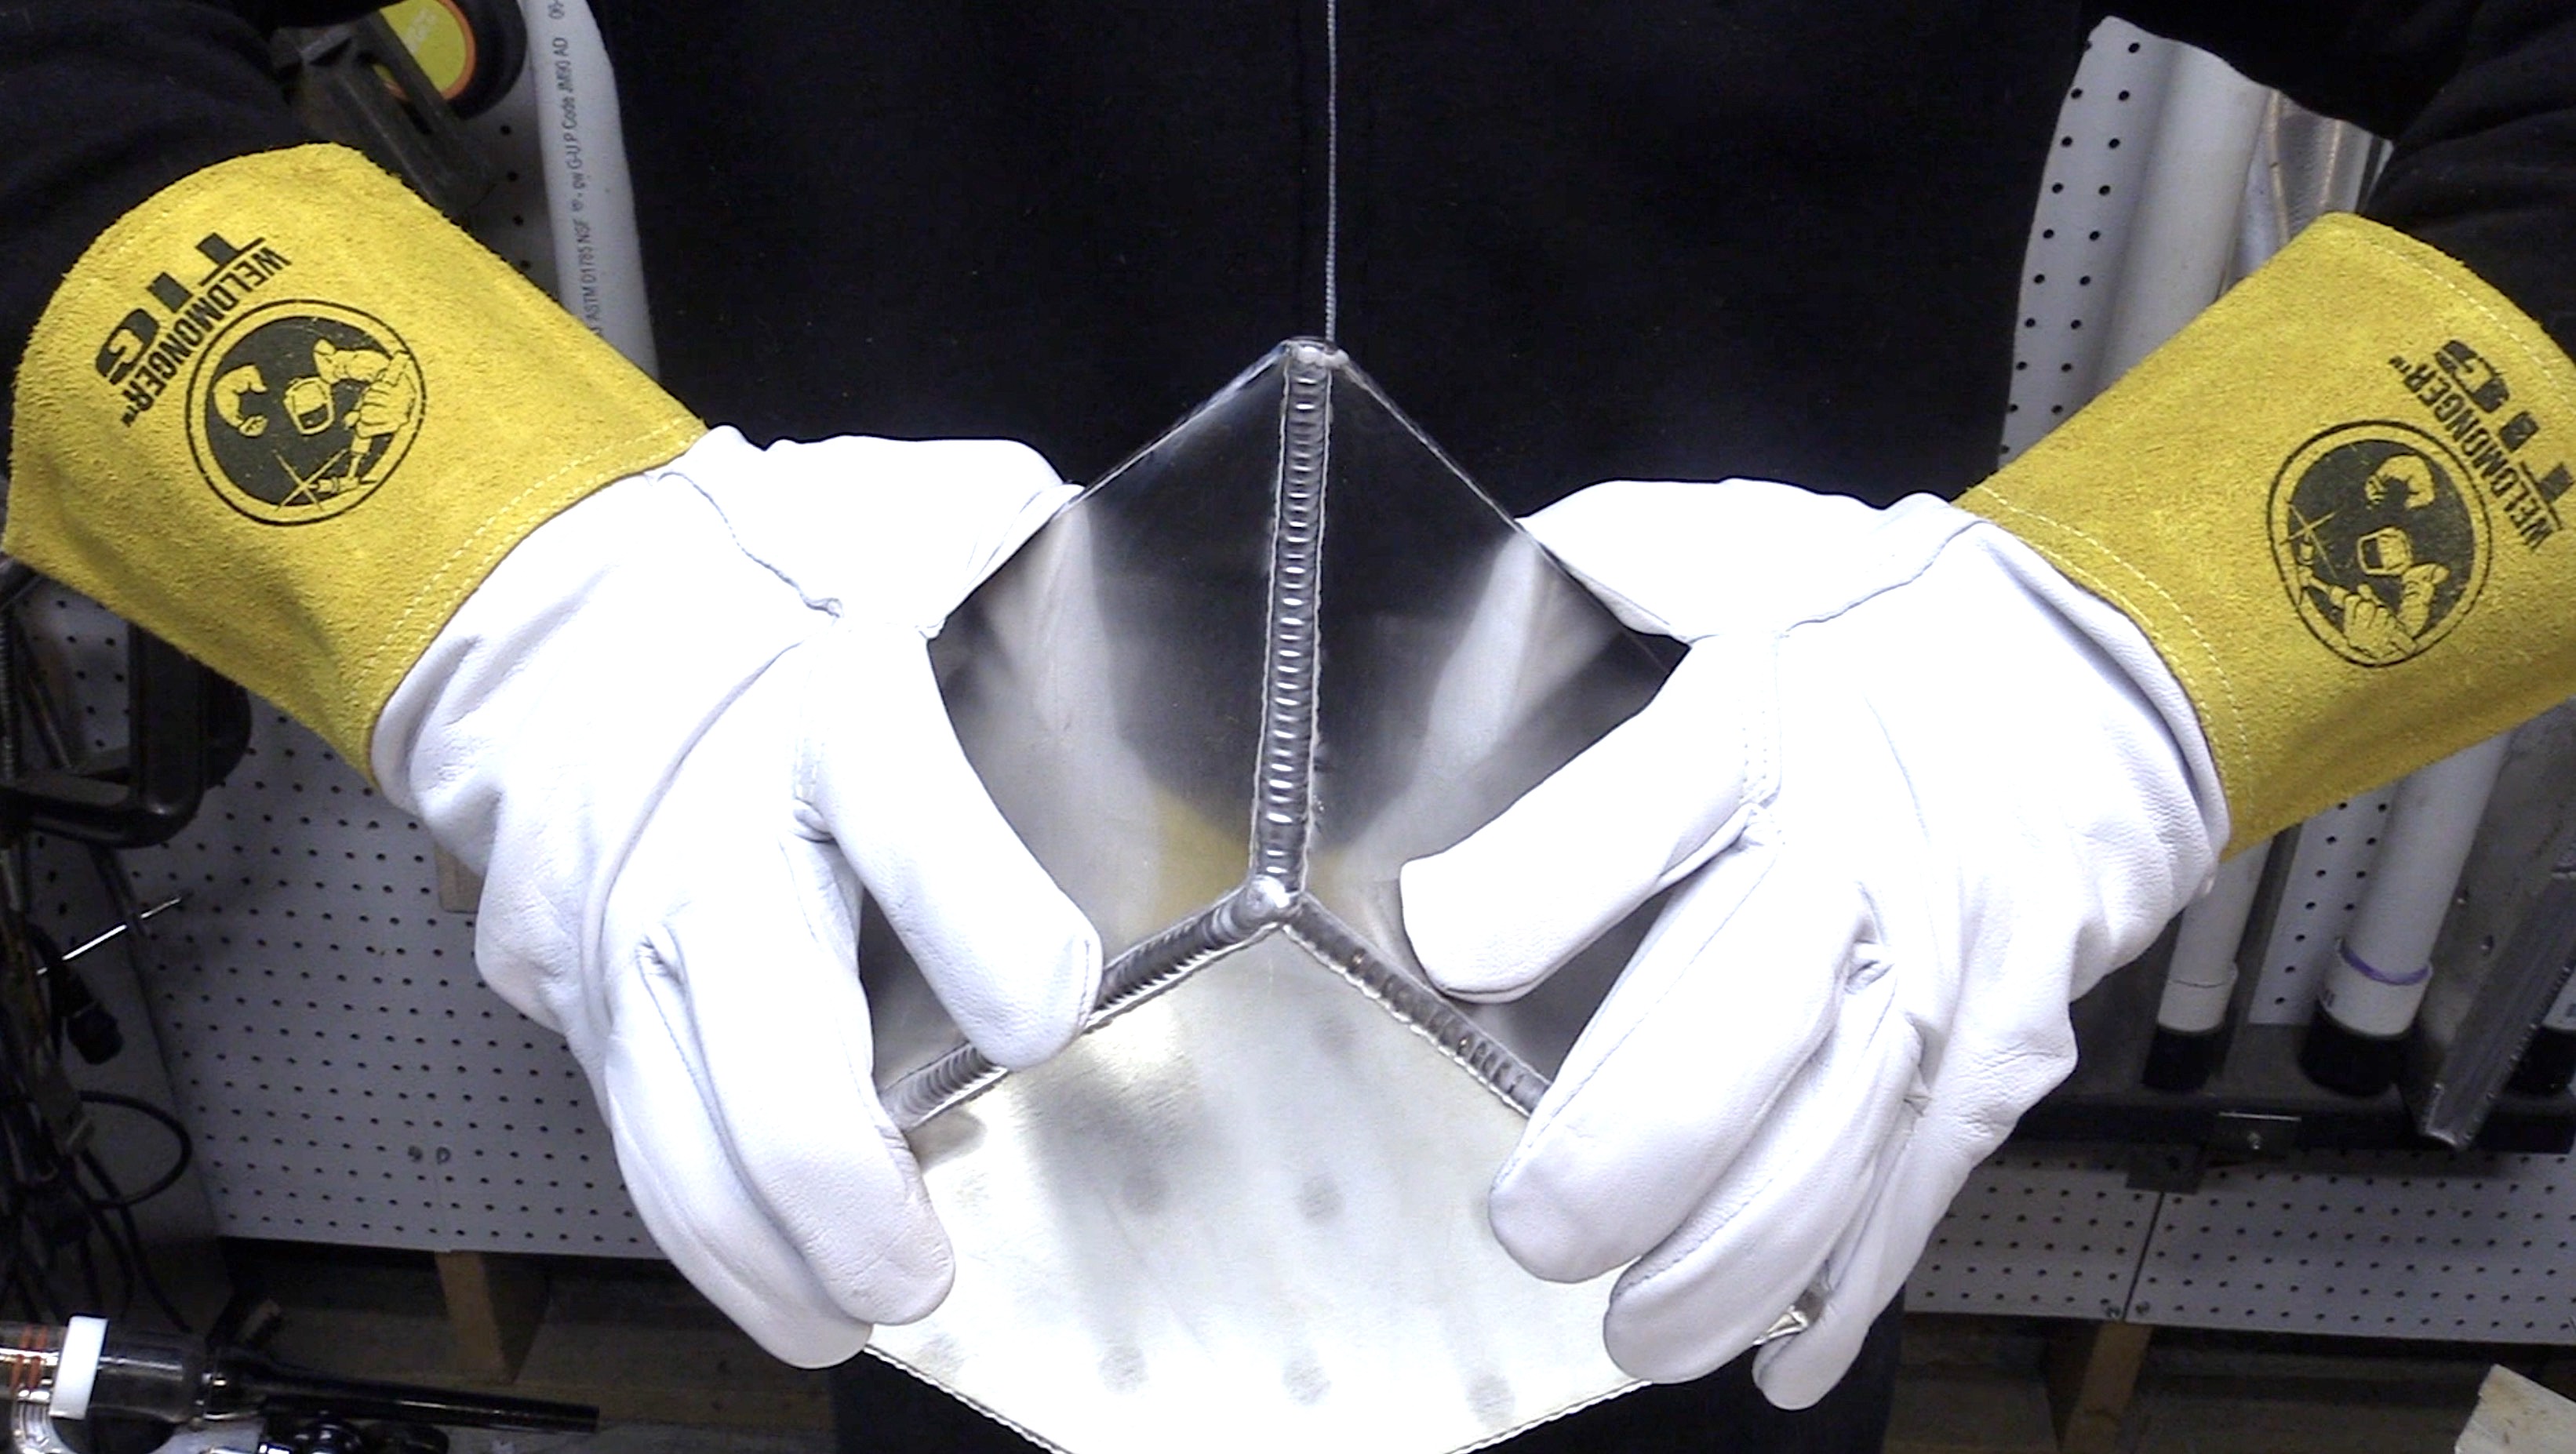
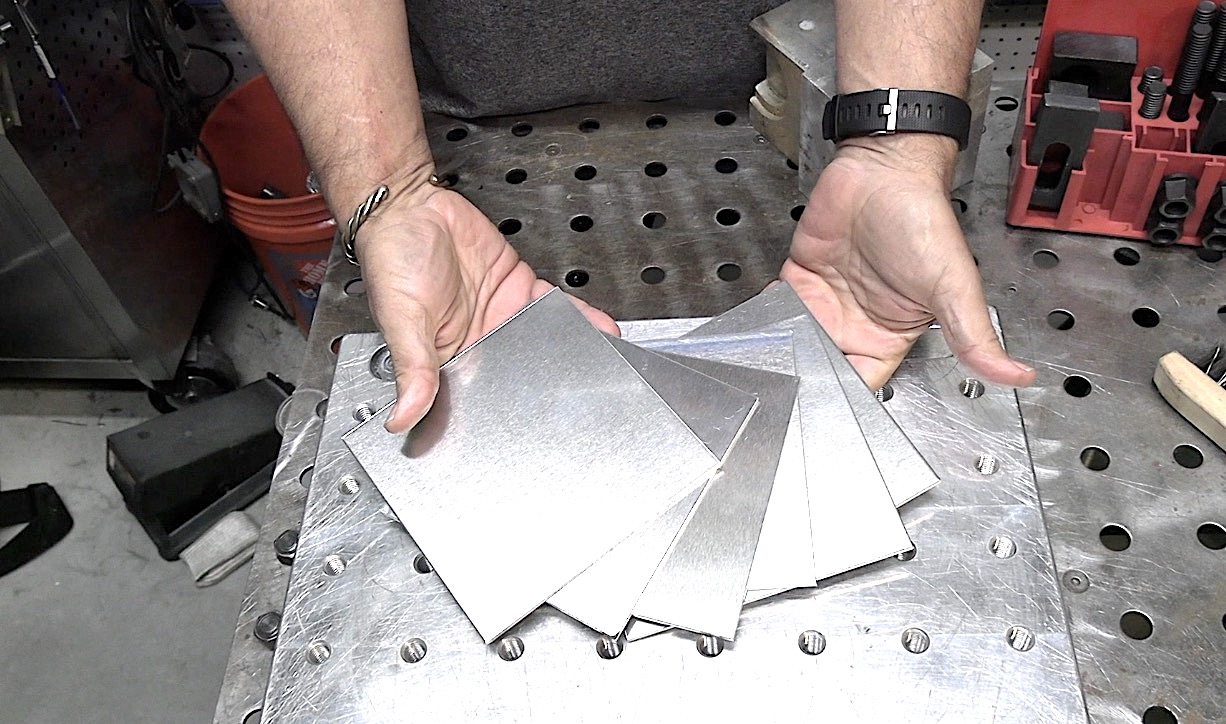
A cube requires 6 squares so I started with 6 pieces of 6"x6"x1/8" 6061 t6 aluminum.
I used my "Crummy" fixture plate along with some simple tooling to make it dead easy to fit true 90 degree angles.
This was definitely overkill since tack welding a cube is pretty easy to do by hand but I wanted to show how useful a fixture plate can be.
I used 1/16" 4043 filler rod for the tack welds so that my tack welds would be smaller than the final weld where I mostly used 3/32" 4043 filler rod.
Since outside corner joints tend to need a bit more argon shielding than inside corners...
...I chose to use a Furick #8 pro cup with a 3/32" 2% lanthanated tungsten electrode.
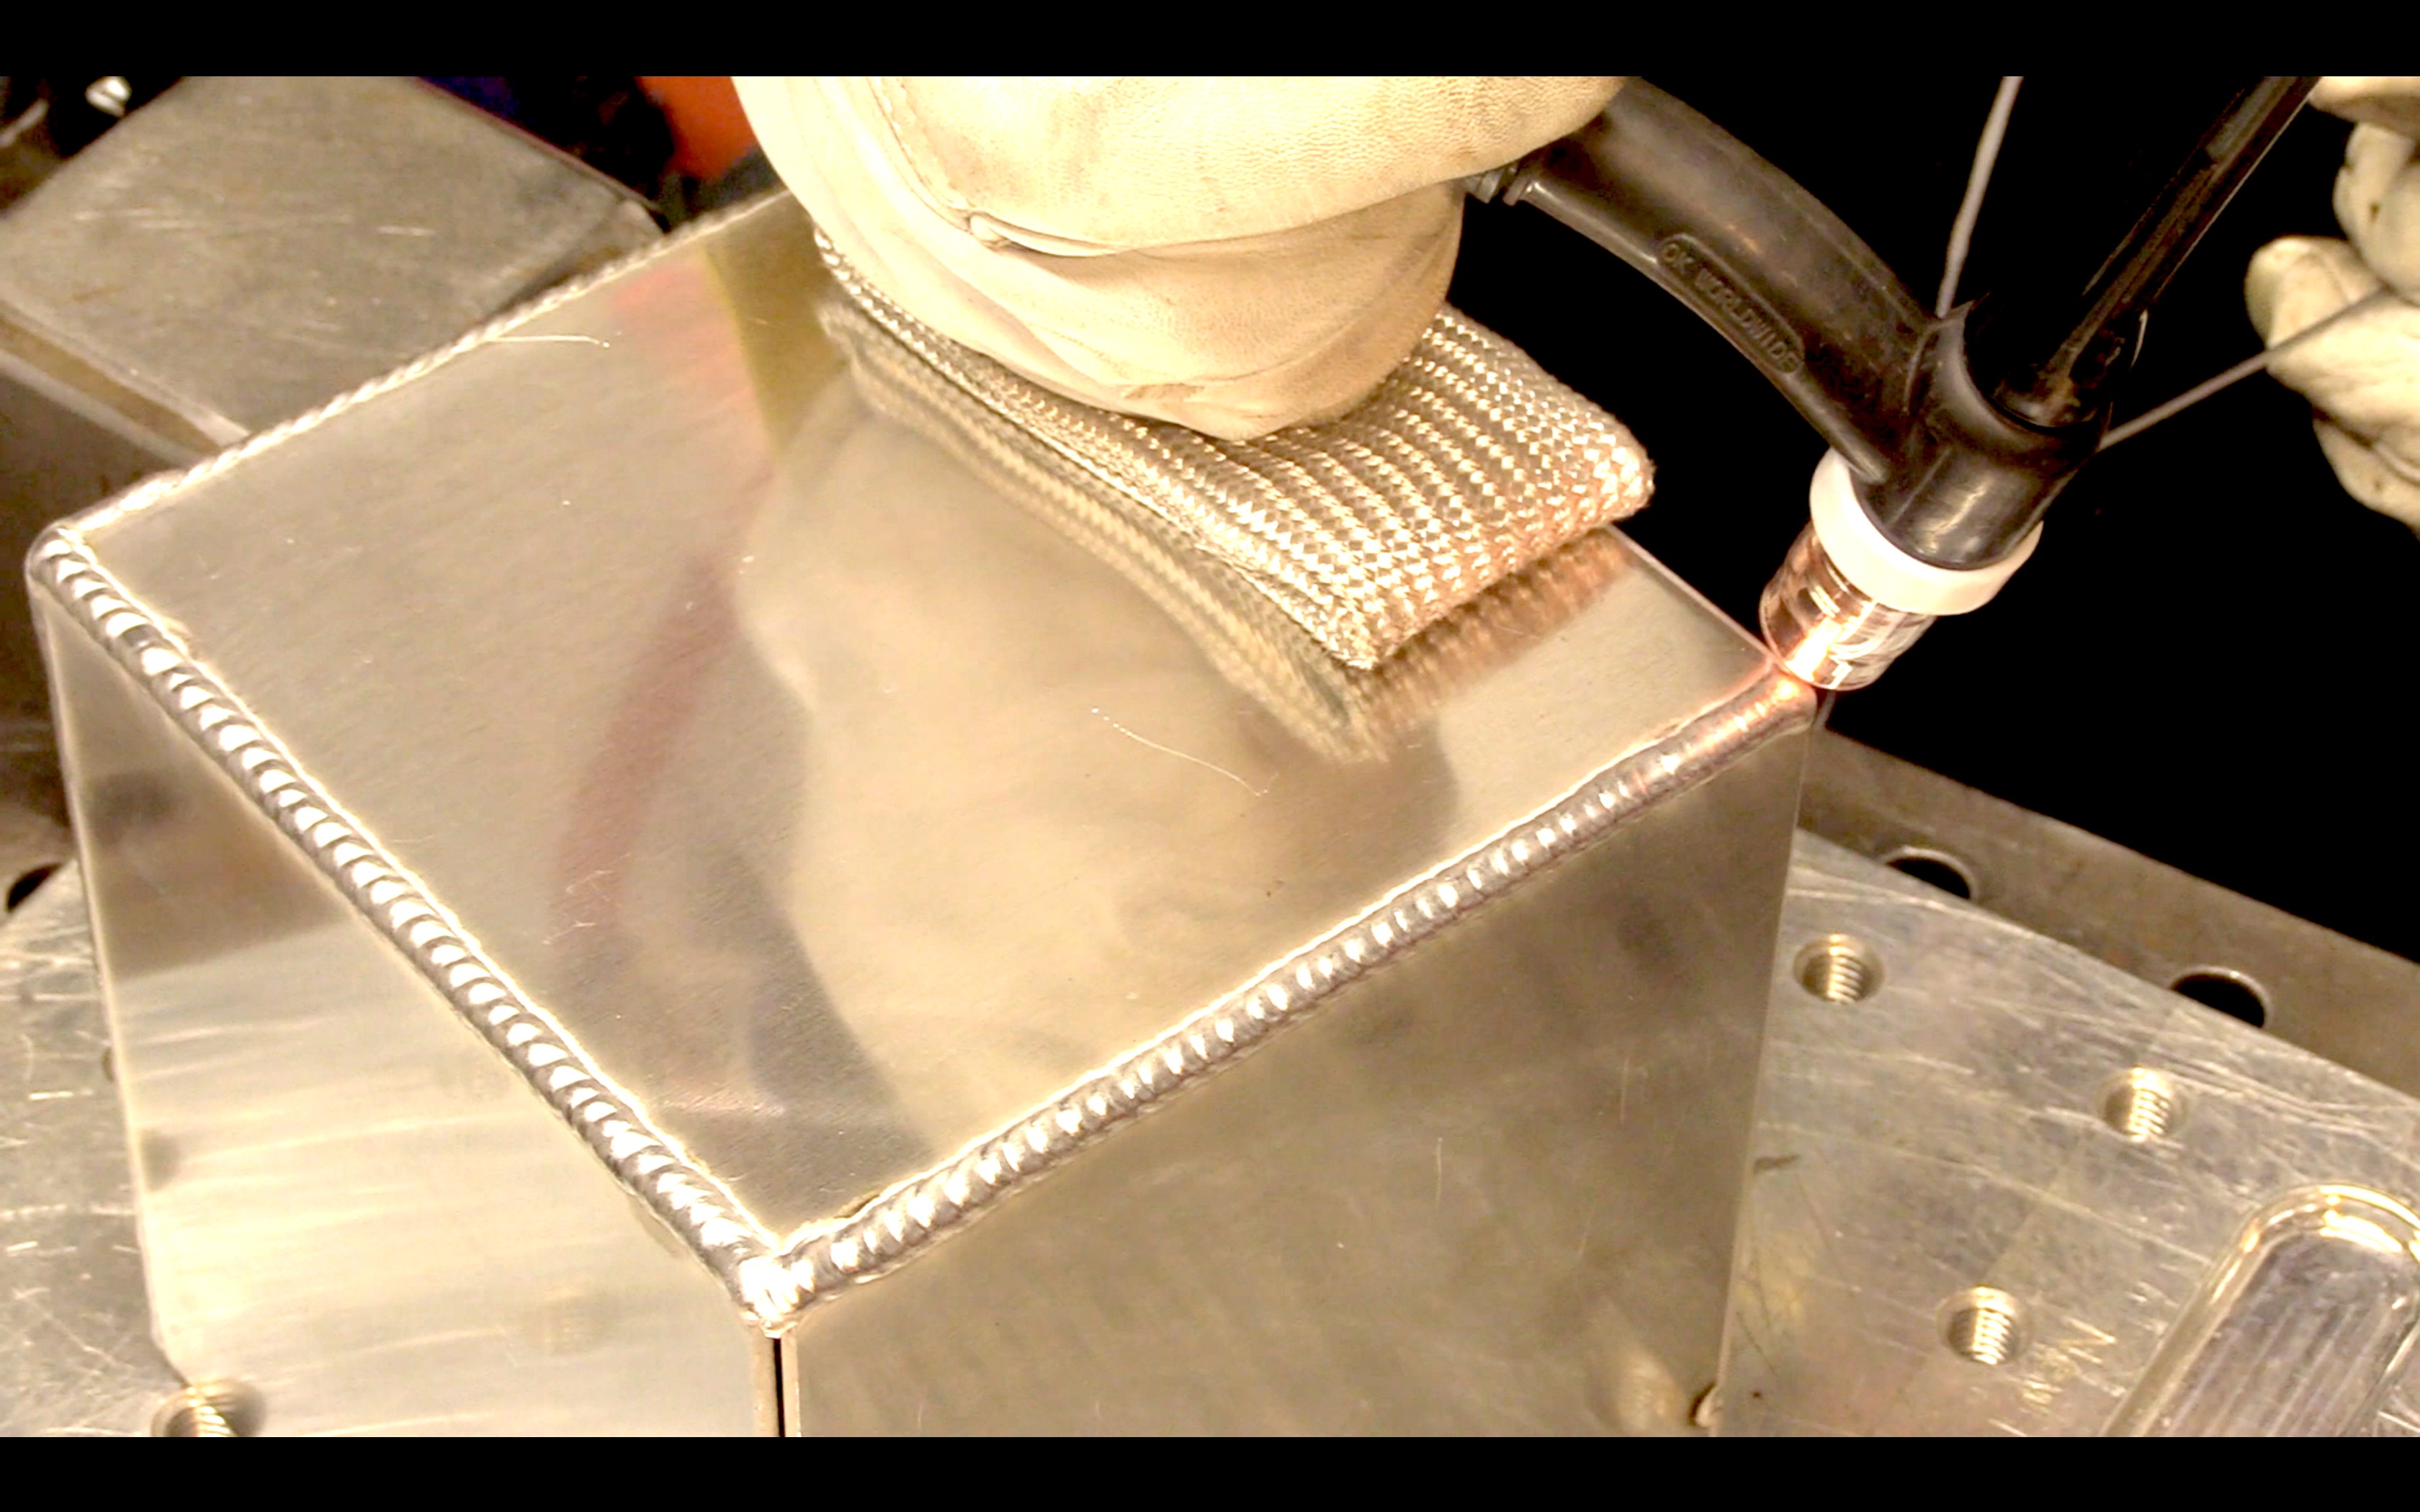
The #8 pro clear cup really helps me film so that you can see what is happening and it also helps me see the weld better and is a great all around cup for both aluminum and steel jobs.
I used between 15-20 cfh of argon
before I fit the cube pieces all together I used a clean file to chamfer one corner on 3 of the pieces so that I would have a vent hole for gases to escape.
Whenever you weld a small part like this that is completely sealed up, you need a vent hole.
Sometimes it is simply not possible but a vent hole really helps in preventing a blow out.
Without a vent hole, when the part is near completion, there is nowhere for the expanding hot gases to escape and pressure builds. then out of nowhere, you have a mess to fix.
So its good to have a vent hole in a place that is easy to access with a burr or grinder because even the vent hole can be challenging to fill.
I try to let the piece cool down a bit and then hit the vent hole hot and fast to seal it up before gases expand and blow away my argon shielding gas.
And sometimes I crank my argon flow up to 25-30 for filling the vent hole to combat the escaping gas flow turbulence effect.
Welding techniques
For most of the outside corner joints on this cube, I just used my old standby technique of slightly overlapping the corners with the puddle, dab filler while pausing, move ahead about 1/8", pause, dab filler, repeat.
Basic settings for this technique on the Dynasty 280 were...
- 140 amps
- 67% EN on the AC balance
- AC frequency 100hz
But there was one area that had a gap so I wanted to experiment using some pulse settings along with a bigger filler rod.
So I set the pulse settings to ...
- 180 amps (you need more amps with pulse settings)
- 33% background current
- 33% pulse time
- 1.5 pulses per second
I also stepped up to a 1/8" rod and just ran over the rod using lay wire technique and it worked like a champ.
I don't use pulse settings all the time but occasionally, you come upon a situation where pulse works really well and its nice to have.
Stuff I used in this Aluminum Cube Welding video...
I searched for a long time for a tig glove that was both soft and durable and also didnt run small.
I can actually wear a size Large with these and normally need an XL with other brand tig gloves.
TIG Finger
Aluminum gets really hot..really fast.
A TIG Finger® not only keeps you knuckles cool, it provides a glide rest
Furick #8 pro clear cup
Since trying out these Furick #8 clear cups, I have come to realize they not only help me see everything better, but they really help me to film the welding process so that you can see everything better.


