WeldingTipsandTricks YouTube Channel Celebrates 500,000 subscribers
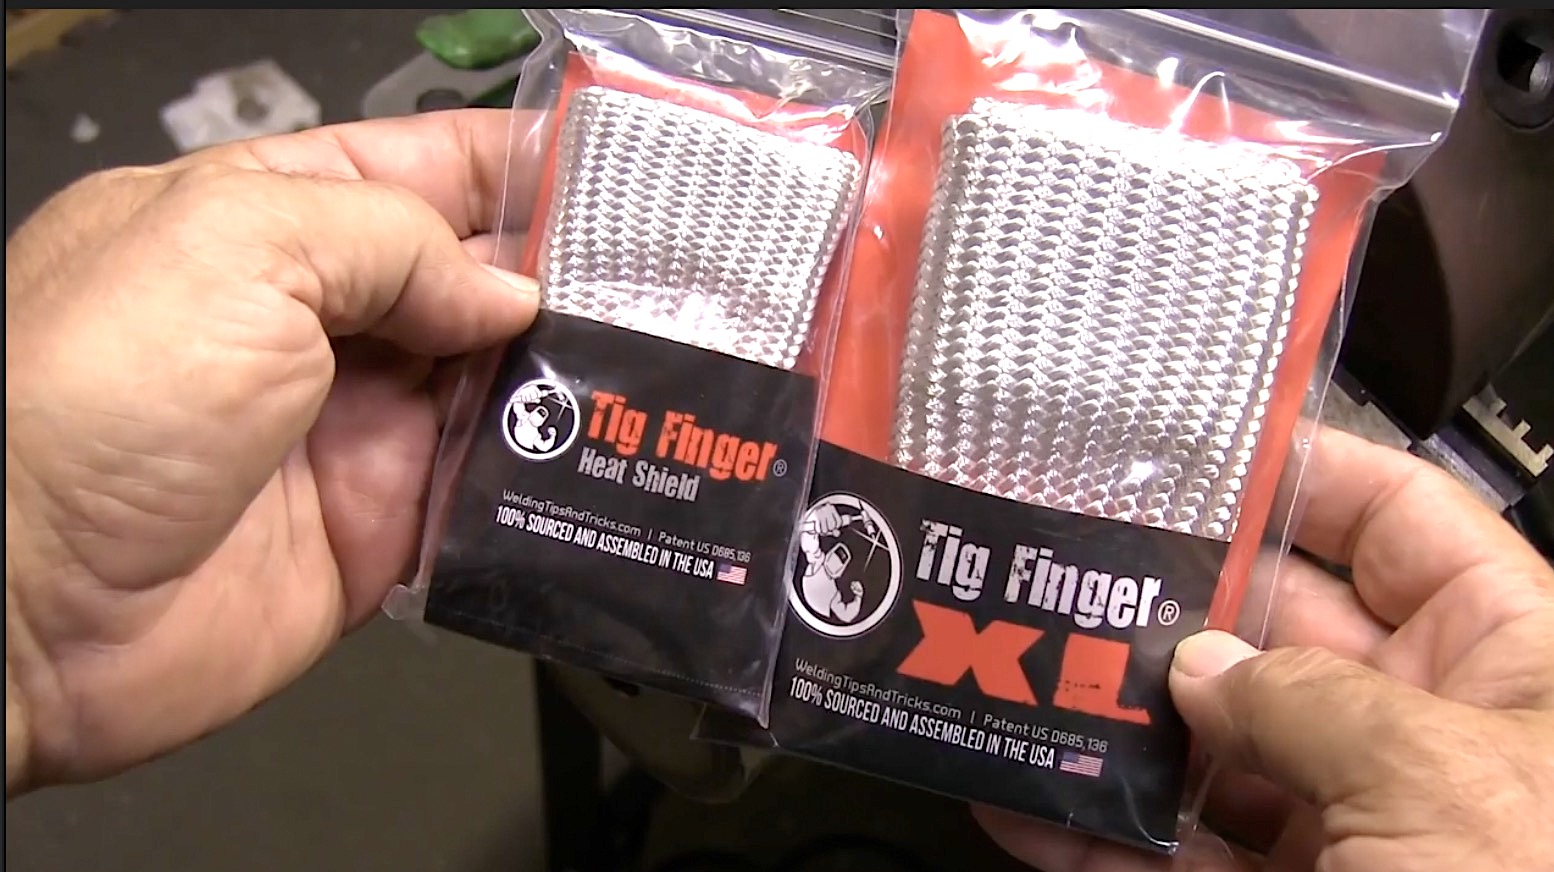
grab a tig finger at weldmonger.com
My weldingtipsandtricks youtube channel just passed the 700,000 subscriber milestone and I would just like to take a moment and say...
Thanks!
Its been a very rewarding journey.
I posted my first video on youtube around 2008 and in 2010 I committed to doing a video every week.
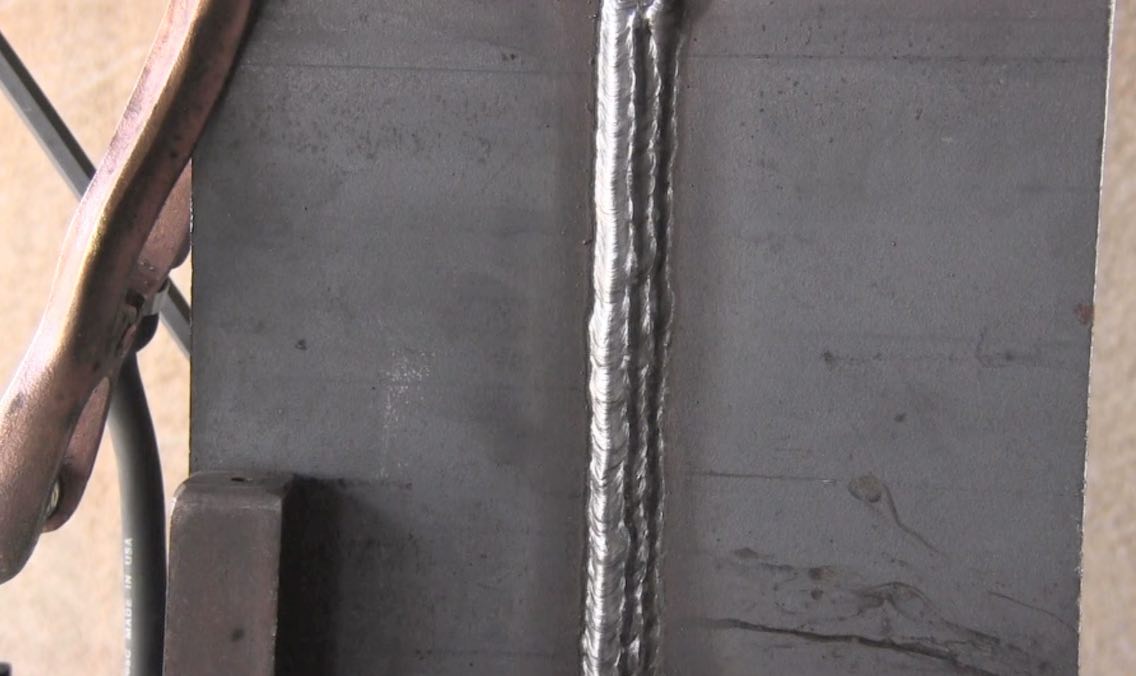
Video clip #1 is Tig welding a carbon steel fillet weld on a lifting device

This video shows some of my videos over that last few years.
The first clip is on Tig welding AISI 1018 carbon steel at 170 using a #8 clear furick cup and 3/32" (2.4mm) er70s-2 filler wire.
This part is typical of the type of work I do in my shop. I mainly only do work for one machine shop these days.
Video #2 is practicing walking the cup

Walking the cup is a tig welding technique that is mostly used on pipe welds.
In order to get some practice walking the cup, you can just weld a weave bead on a smooth piece of pipe or round stock.
I scored some lines with a grinder to simulate the edges of a pipe weld.
Amperage will depend on wall thickness. I think I used about 150 amps for this video clip.
click here to see the full page on walking the cup
Video #3 is called the "Aluminum Drill"

I like to call this skill exercise for tig welding aluminum...."the aluminum drill". click here to see the full web page and video on the aluminum drill practice video
This is some of the best tig welding practice you can do.
And all it requires is a piece of 1/8" to 1/4" thick aluminum...doesnt really matter what grade of aluminum.
I used a piece of .200" thick 6061 that was around 5"x8" .
I welded a bead around the edge first to preheat and also to provide a nice straight bead to stack on.
After that, welded bead after bead and I switched hands often to get plenty of left hand practice.
This type of practice really gets that filler wire feeding hand up to speed quickly due to the fact that aluminum requires a lot of wire feeding.
Video #4 is a root pass in a pipe using the lay wire technique

37.5 degree bevel, 1/8" gap, no land and 1/8" filler rod.
I like to use this pipe welding technique where you move the electrode forward and back.
Walking the cup is a great technique but on a root pass like this, being able to move backwards is a big benefit.
No sideways movement helps push the root thru.
Video 5 is a root pass in 2" schedule 80 6g pipe test using dip keyhole technique

Its called keyhole because the front of the puddle resembles an old timey keyhole.
The trick to getting the bottom part of the root pass to have reinforcement is to push extra wire in and not use much sideways motion.
I use a 1/8" gap and 3/32" filler rod and 90-100 amps with no land.
video clip #6 is a 3g plate welding test with a backing strap

This is a very common welding certification test and is often given along with a 4g overhead test.
This welding test uses a 22.5 deg bevel , a 1/4" gap, with a 1/4" thick backing strap.
Getting a good root pass is half the battle but each pass is important.
I welded the root pass with 120 amps
clip #7 is push vs pull mig welding using short circuit transfer
The push vs pull discussion will never die. But I have done many cut and etch tests that prove to me that for the most part, there are minimal differences in penetration when pushing vs pulling.
This is short circuit mig also called short arc.
For spray transfer mig, pushing is the way to go when possible.
clip 8 is uphill mig welding a tee joint fillet weld
at 19 volts and 250 ipm, I used a technique where I basically traced the puddle.
using a short stickout, and .035" er70s6 wire.
I also like the upside down V technique for uphill mig.
video clip 9 is a 4g plate welding test
The 4g test is overhead and is often given along with the 3g test because when both 3g and 4g tests are done, it provides an all position qualification.
#10 is an open butt mig welding test
This joint is a 3/8" plate with 37.5 degree bevels and a 1/8" gap with 1/32" land.
This entire joint can be welded out using 18.5 volts and 200 ipm with .035" wire.
The root is downhill, with fill and cap passes uphill.
#11 is socket welds with scratch start tig
Schedule 40 1-1/2" pipe socket welds usuall only require 2 passes.
I used a scratch start tig setup for these welds and I showed both freehanding with tig finger...and walking the cup.
#12 is scratch start TIG setup for root passes
I used my miller thunderbolt for this and 100-120 amps and welded a root and hot pass in a 2g open butt plate test.
Scratch start tig is still used all the time for portable field work.
#13 is dual shield flux core pipe welding at JD's shop
My friend JD Brewer runs a business that supports local factories.
Sometimes he fabricates piping assemblies like this air trunk for a blow mold factory.
The root pass was done with lift arc tig...and the fill and cap was dual shield flux core.
#14 is a 3g test plate using dual shield flux core
my good friend Andrew Cardin helped me film this video showing tips for passing a 3g plate test with dual shield flux core


