Welding Cart Project
click here for part 2 of this welding cart project
Welding carts that you buy at Northern tool or Harbor freight or other places can be pretty cheap and flimsy.
Most
of them are made for 115 V mig welders or small plasma cutters and will
not hold a very big welding machine without some of the machine hanging
over the front shelf.
So I decided to make my own welding cart....and if all goes well, I may make several of them.
I will be using inch and a half square tubing 1/8 wall thickness.
… And the reason I am using this square tubing is because it was free.
Why I chose 1-1/2" 11 ga square tubing for this welding cart
Free is good.
Even though 1-1/2" 11 ga square tubing is slightly heavier than it needs to be, too heavy is better than too light...
There is no kill like overkill.
The
only slight problem is that it has some light rust on it from being
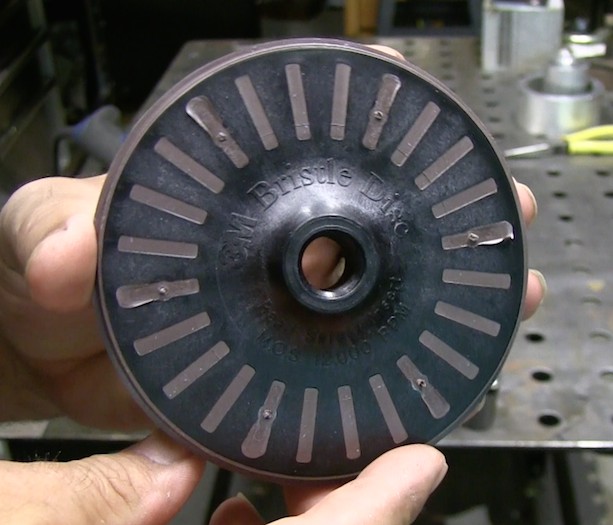
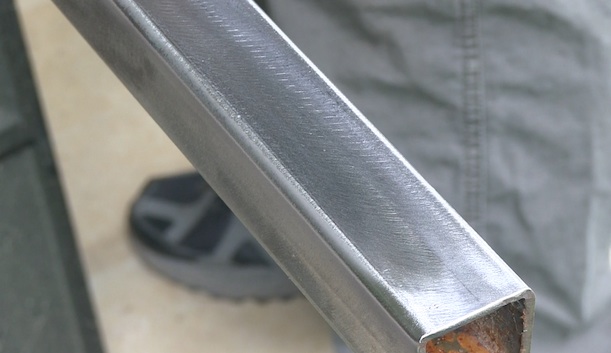
outside for a month or two. So I decided to try a 3M bristle disc on it
to remove rust and hot rolled mill scale and it worked out great.
A friend of mine (Roy Crummy Crumrine) told me about this product and I found one on Amazon for around 25 dollars so I got one.


I have tried lots of different disks and wheels to remove
mill scale and most of them load up after only a few minutes and then
quit working. A wire wheel works ok from removing light rust but for
mills scale, a wire wheel just does not work very well ... and besides
it slings wire bristles and sticks in your clothing in the worst
possible places. You feel me?
But this 3M bristle disc is a
different animal. It does not load up. The one I used was a brown 36
grit and I think it has ceramic particles embedded in the splines.
As long as you don't catch an edge it lasts a fairly long time. And does a great job removing mill scale and never loads up.
I dont think it would work on really heavy mill scale like you find on hot rolled plate but square tubing mill scale is usually pretty light
So after removing the rust I cut all the pieces on a chop saw that belongs to a friend. I owe him a new 14" disc now.
I
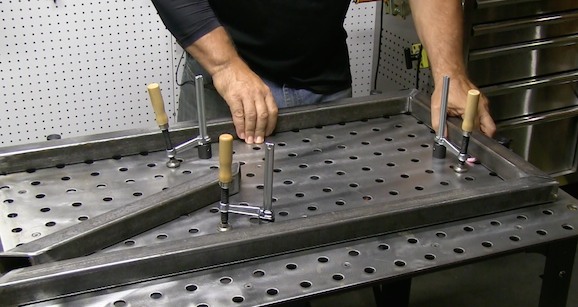
am using a Stronghand fixture point welding table. And for framing
small projects like this it is a time and work saver. If I had to do 50
of these it would really save a ton of time.
The Fxturepoint table is a light duty modular fixturing table.
It's
much lighter duty than the heavy duty BuildPro table with a thinner
table top and the holes are punched instead of machined.
So accuracy is not quite the same as the heavier duty build pro table.
However, it's pretty darn accurate.
Fixturing the bottom shelve of the welding cart

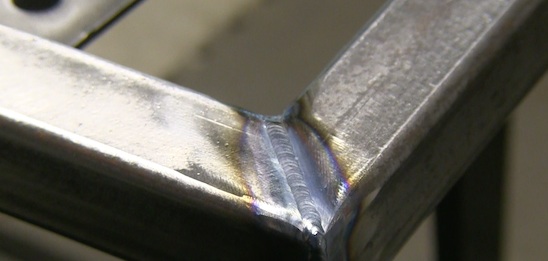
And it's very easy to set up a 90° angle anywhere on the table and clamp down anywhere on the table as well. My frame came out dead nuts square.
The dimensions of the base of this welding cart are 36" x 18" so you can see that pretty much takes up the entire length of the table top.
My plan is to build two more shelves just like the base except a little shorter like somewhere around 24 to 30 inches .... And then to tie them altogether with riser pieces that are about 18 inches long.
The bottom shelf will provide enough space for a tig cooler , and the other two shelves will hold a Tig machine and a big tote tray.
I am not trying to build the mother of all welding carts here.... But I do want it to look nice so I ordered some aluminum tread plate for the decks....And also to make some places to hold the Tig torch and ground clamp cable.
Since the cart is 18 inches wide it should be able to hold two gas cylinders ....owners model cylinders that is. And that's important to me because I would like to have an argon cylinder as well as a helium cylinder on a TIG welding cart.
I might even decide to put my thermal arc fabricator 252 on this cart and having enough width for 2 cylinders should let me to use an argon cylinder as well as a 75/25 cylinder....for lift arc TIG or spool gun, as well as short circuit mig.

I didnt want to go any wider than 18 inches just for the reason that I want to be able to maneuver it around the shop easily.
I
hope it all comes together good and winds up being a really cool
looking welding cart. I will try to post some type of drawing with
dimensions when it's done.
I used the fixturepoint table to fit this first part of the cart together and I know most folks dont have that luxury so the next pieces will probably be framed up with a table and square or maybe even on the shop floor.
And the rest of the frames will be mig welded or stick welded.
Best regards,
Jody


