Tig Welding Tips and Tricks ...avoiding crater cracks, electrode extension, amperage suggestions, non weldable aluminum, and more
More Down and Dirty Tips For Tig Welding and How to Tig Weld
READ ABOUT THIS NEW TIP FOR PRACTICING TIG WELDING ALUMINUM
Click here for Tig Welding Tips # 1--7
Click here for Tig Tips # 8--11
Click here for Tig Tips # 18--23
Click here for Tig Tips # 24--28
Click here for Basic Tig Welding Tips
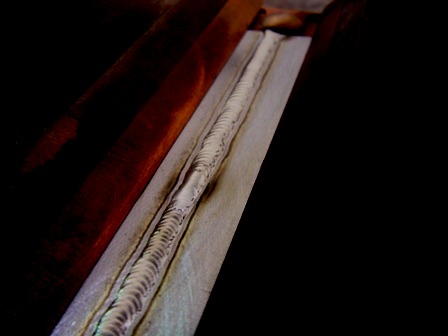
Tig Welding Tip # 12...Taper off Slowly
certain alloys like inconel, hastelloy X, haynes 188 and others will crater crack if you let off the amperage too quickly. 4130 chromoly will do this too. Its a good habit to taper off the amperage while you keep the torch moving.
Tip #13...Set the machine so that you are at welding amperage with the foot pedal depressed about 3/4 of the way
Set the machine so that you are at welding amperage with the foot pedal depressed about 3/4 of the way.
The 1/4 pedal that you have left is for just in case reserve, just like driving a car..
Having the amperage set this way gives a lot more control than just setting the machine to 200 amps and controlling everything with the foot pedal.
I don’t know about you but sometimes I lose focus when welding long periods.
I don’t want any chance of welding with 200 amps if all I need is 50 amps.
My ankles pop sometimes too, one ankle pop and you might jump or drop 30 amps if your machine amperage is too high.
keep scrolling for more tig welding tips...
Tip #14...Extend your Tungsten Electrode out Far enough but not too Much

Too short of a tungsten stickout from the cup will not let you hold a close enough arc length and will not let you see the tip of your electrode.
You need to be able to see the tip of the electrode without getting a kink in your neck in order to keep your arc length right.
Some textbooks are just plain wack when they only recommend extending your electrode one tungsten diameter past the end of the TIG cup.
Holding too long an arc will not pinpoint the heat well enough and will let your rod ball up and blob into the weld.. but we already covered that didn’t we?
I remember a consulting gig once where the welder at the aluminum body truck repair shop could not get the aluminum socket weld to puddle. The only thing wrong was that the electrode was recessed back in the cup. Once I extended it out about 3/8", Everything was fine. ( I also talked them into getting some helium argon mix.)
keep scrolling for more tig welding tips...
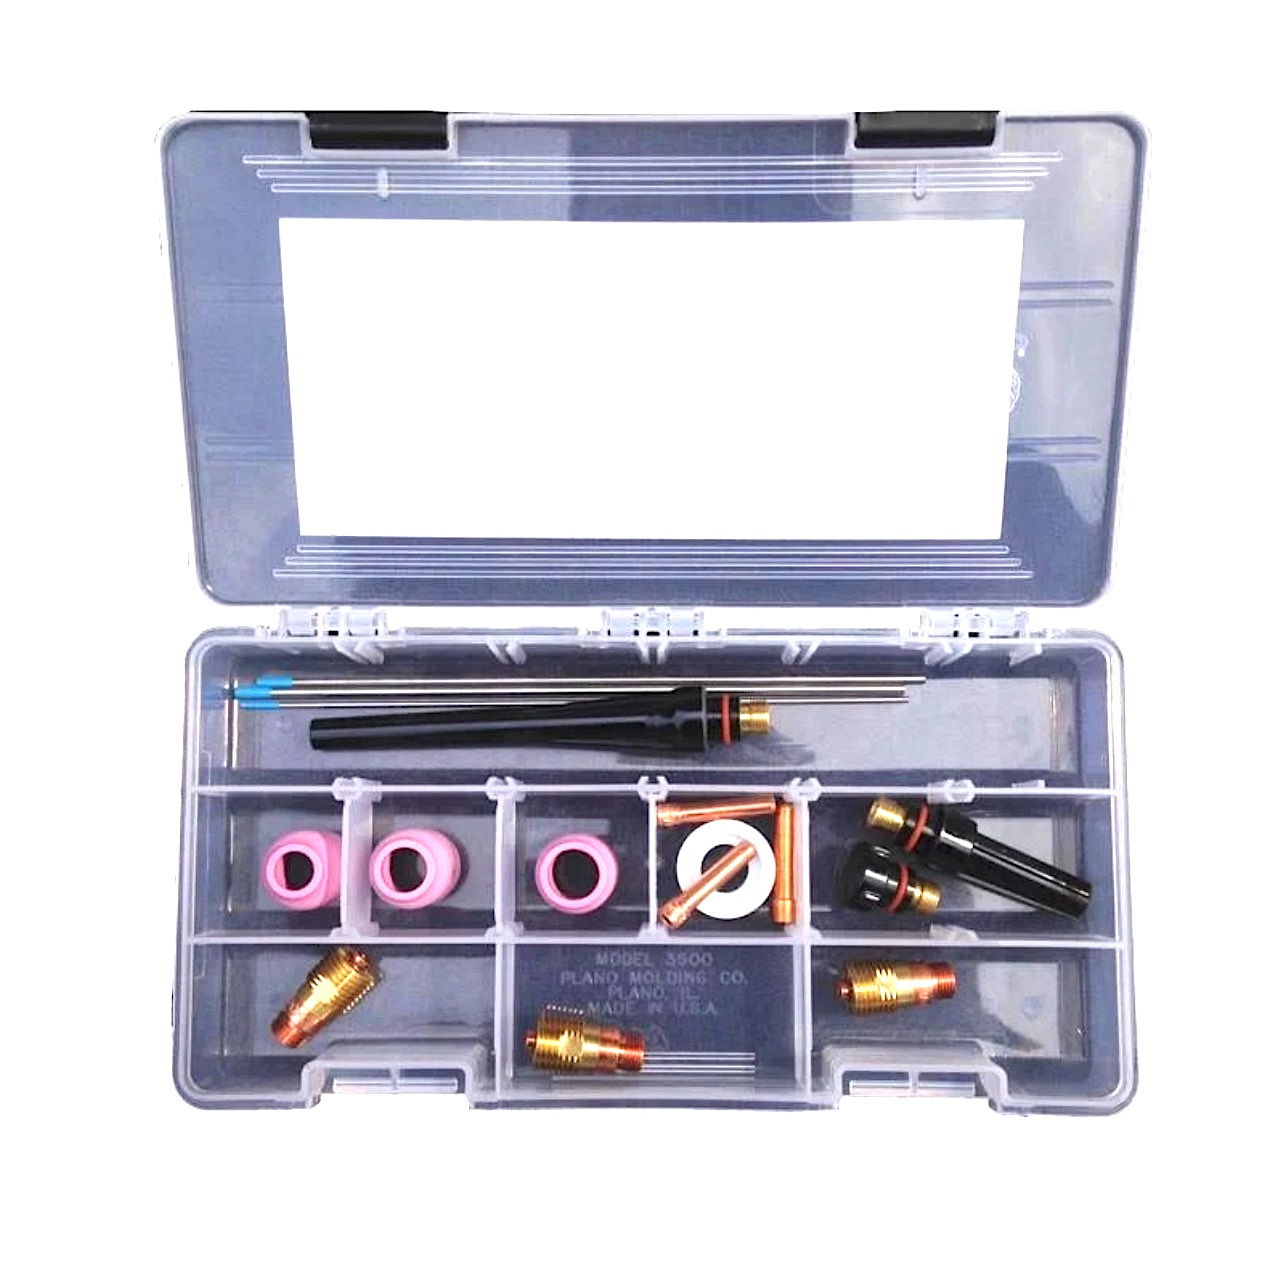
Tip #15 ...Use gas lens style collet bodies and cups to weld stainless steel
Use gas lens style collet bodies and cups to weld stainless steel. The screen in the gas lens allows far better gas coverage of your welds. You can use gas lenses to weld all materials is you want; they also allow you to stick your tungsten up to 1” out of the cup by increasing gas flow. Sometimes you need to extend it just to reach a tight spot. The screen diffuses gas at higher gas flow rates eliminating turbulence which is what you would get if you tried this without the gas lens. Too much gas is as bad as too little gas. (Especially for TIG welding aluminum) Typical gas flow rates are around 15 to 20 cfh. Bu it really depends on the nozzle/cup diameter.
While I am on the subject, what do the numbers on TIG cups mean?
I am glad you asked… A #4 means 4/16" or 1/4" A #7 means 7/16"
In other words the number cup means how large the inside diameter in 1/16's
When you use a #4 cup remember to adjust the argon flow to around 10cfh. And the bigger the cup inside diameter, the more gas flow....to an extent.
more tig welding tips below....
Tip #16... Not all aluminum alloys are weldable. I SAID NOT ALL ALUMINUM ALLOYS ARE WELDABLE!

For example: 7075 and 2024 are not considered readily weldable using TIG welding.
You can usually TIG weld them and they might be fine for a tool tote or some little art project...but don’t be fooled.
You can’t depend on the welds in critical applications.
Take a tree stand for instance.
Lets say Joe gets a good deal on some aluminum angle iron at his friends scrap yard and he decides to make a tree stand.
Joe has no way of knowing what alloy of aluminum he got from the scrap yard. He makes the tree stand, it holds together and looks just fine.
The welds are real pretty…like a stack of dimes.
One day he is sitting in his tree stand about 20 feet up a tree. The stress corrosion that has been happening on a microstrucutural level since he finished welding the tree stand finally comes home to roost and CRACK!!
Down goes Joe.
Now Joe is being fed thru a tube and slurs his words.
Did you know that Alcoa will not even sell you aluminum if they even think you are going to build a tree stand. They won’t even sell you the weldable grades like 6061 for tree stands. The moral of the story is…For any aluminum weld that is critical , know what alloy you are welding and use this aluminum filler metal chart found here.
This is a really good resource….you’re welcome.
keep scrolling for more tig welding tips...
Tig Welding tip # 17...Tungsten size should be selected mainly according to amperage AND polarity
Tungsten size should be selected mainly according to amperage AND polarity and not always dependent upon metal thickness.
When TIG welding aluminum, If your tungsten begins to ball up and quiver, this means your tungsten is getting near its capacity. This can be minimized by using the A/C balance dial and setting it for more penetration and less cleaning…or if you are using a TIG inverter like a miller dynasty, the a/c balance should probably be set to 65-70% EN.
For transformer machines like the syncrowave, The a/c balance set to the cleaning side means more of the dcep side of the a/c wave which means more heat is on the tungsten tip = more wiggling.
The more to the penetration side, the more the arc is on the negative side and the Less heat on tungsten tip and less cleaning action but the square wave usually provides enough cleaning anyway even in max penetration mode.
A/C balance explanation Again… the Higher the number, less cleaning and more penetration and less heat on the tungsten.
This applies to square wave machines. So if you are using one of the older sine wave machines that have no adjustments for this, you might need to preheat material and use hotter gases like 50/50 argon/helium so that less amperage is required to do the same work.
If you weld a lot of thick aluminum...like 1/8" and thicker...get some 50/50 helium/argon.
tig welding tips 1-7
tig welding tips 8-11
Click here for Tig Tips # 18--22
Click here for Tig Tips # 23--28
Basic Tig Welding
tig welding 4130

