Tig Welding Techniques for Lap joints and butt joints
Not what you were looking for?.... try this Search Tool.

Custom Search
What do tig welding techniques for lap joints have in common with the techniques used for butt joints?
Almost the same exact technique works on both laps and butts.
Forward and back , forward and back…
Or
Forward and pause , forward and pause…
I like to move the arc in a dead straight line on sheet metal no matter what. It does not make any sense to me to move the torch sideways if you are welding sheet metal because it just slows your travel speed down and spreads the heat where it doesn’t do any good.
If you watch the video closely, you will notice that there is not a whole lotta difference in my tig welding techniques for lap joints vs my technique for butt joints… Maybe some subtle differences but mostly just the same thing going on.
And you know what? The same technique works for other metals like stainless steel, aluminum, 4130 chromoly, titanium, inconel, magnesium, hastelloy...you name it.
Watching the video, it looks almost like pulse welding because the rod chills the puddle momentarily when the rod is dipped, and then you move ahead with a tight arc penetrating into the root of the joint. Then you move backward and bit and lengthen the arc while you add the rod. This technique does vary the voltage somewhat...the voltage increases when the arc length increases but when you tighten the arc moving forward the heat is pinpointed into the root.
I find this technique especially helpful for thin gauge tee joints.
Thin gauge tee joints are always a balancing act between getting enough heat to penetrate into the corner, and using too much heat causing the back side to be all melted back….and ugly.
Using the forward and back tig welding technique lets you move the puddle with technique instead of just using more amperage. It lets you move the puddle forward and then to get back over the weld puddle while you add the rod….gives you more time to add the rod without hanging out over the thin sheet metal.
Walking the cup vs freehand tig welding techniques
Learn more about the TIG FINGER

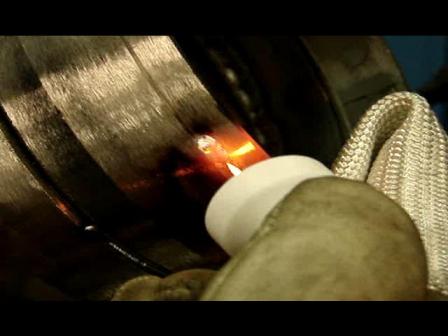
Learn more about the TIG FINGER “Walking the cup” is a tig welding technique that involves wiggling the cup and sliding it on the walls of the pipe bevel for the root and second passes and for the cover pass and most other passes, the walking effect is much like walking a 55 gal drum across the shop floor.
“Walking the cup” is very popular among pipe welders. In fact, there is not whole lotta walking the cup done on anything except pipe. But even on some pipe welds, its better to move the torch in a straight line for the root pass using what has become known as free handing.
The term “free hand” when used in reference to tig welding techniques does not mean not propping on anything.
“Free Handing” usually just means not “walking the cup. “ and it usually means welding with your knuckles , or pinky finger resting on the pipe.
If you have ever done this, you know how hot your knuckles or pinky finger can get. And its always when you need to weld just one more inch to make that tie in.
With a tig finger your knuckles and pinky finger wont get hot.
Then you can just concentrate on making a good weld.
Here are the tig welder settings used to make the lap joint and butt joint welds in the video.
• polarity = DCEN
• 100-125 amps using a foot pedal to vary amperage
• 2% lanthanated or thoriated electrode 3/32”
• #7 cup with 15-20 cfh flow of argon (in this video an oversized cup was used to allow the camera a better angle to capture the arc and puddle)
exit tig welding techniques for laps and butts and learn about tig welding pipe


