Tig Welding Stainless - Techniques for high speed pulse tig welding right next to an edge
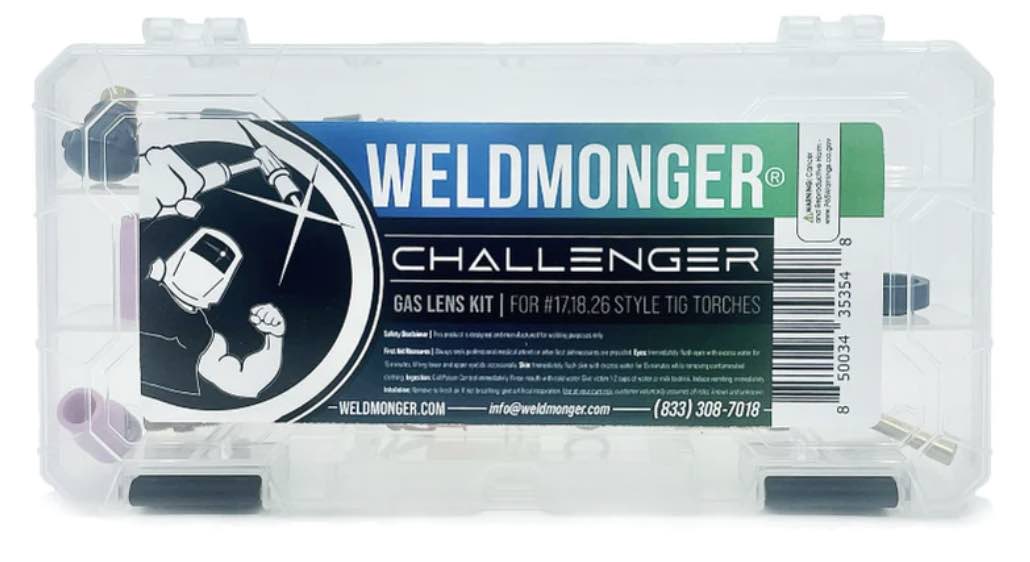
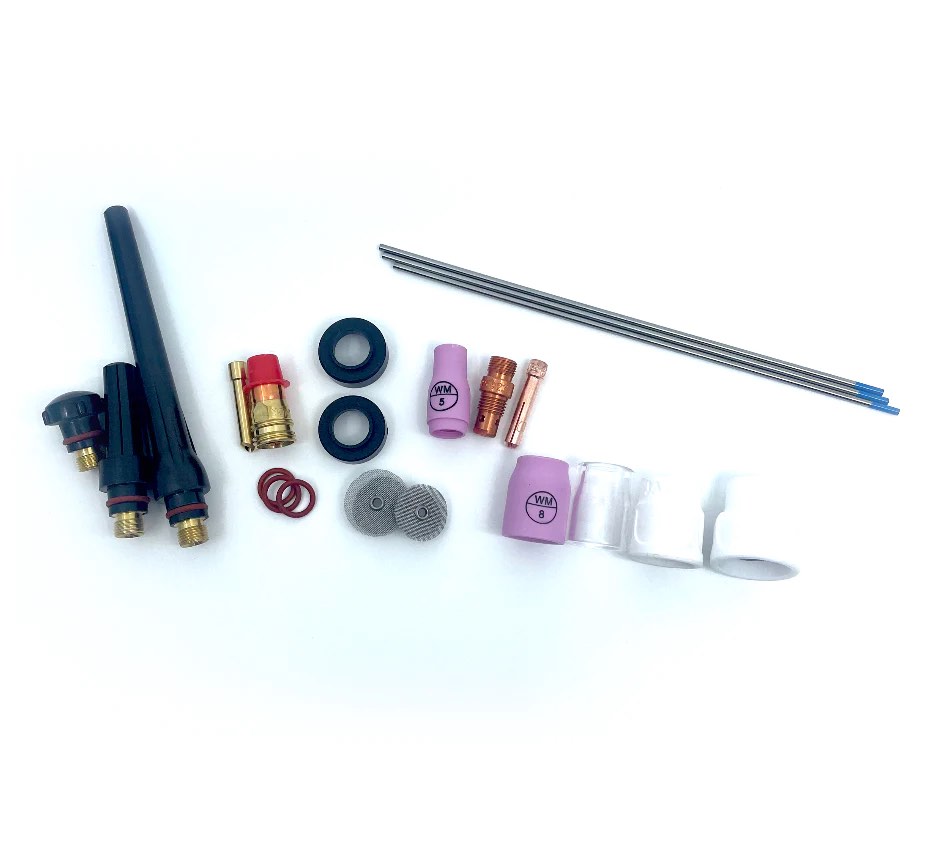
...Introducing the New WeldMonger Challenger TIG kit that includes the most frequently used Cups.
Tig Welding Stainless near an edge.
We have all heard of Pulse Tig welding right?
But what is not talked about much is where do you need pulse and where don’t you need it.
Before I end this series on Tig welding inverter settings, I wanted to mention one of the best applications for using pulse TIG welding that I have found.
TIG WELDING STAINLESS NEAR AN EDGE! OR ANYTHING ELSE NEAR AN EDGE!
Know what I mean? you feeling me?
The example I use in this tig welding stainless video is welding a .125" thick stainless cap on the end of a 2" stainless tube that is .063" thick.
As with any tig weld near an edge, the bead will try to wander over to the corner and melt it off. A shiny stainless steel part like this looks a lot better if a nice tight bead is run that stays away from the corner…and The customer does not want the nice sharp corner nipped here and there either.
So what are the tig welding procedures for using high speed pulse and welding near an edge?
Here they are:
the instructions for tig welding with pulse using an Everlast Powertig 250 EX inverter tig welder … The pulse parameters I used for tig welding stainless that is….
20 pulses per second or pps. ( 30 pps would be even better if you are manually welding with filer wire)
30% ratio (also called background current…that means the background current is 30% of the peak current)
30% pulse on time ( also called pulse width…meaning that the pulse peak current is high 30% of the time)
I set the main amperage to around 54 which gave me roughly 24 amps of output. (I was not using a foot pedal amperage control for the video…so I had whatever was set on the main amperage when I hit the trigger)
Remember that when you are pulsing, you need to set the main amperage to roughly twice what you think you will need because the output is an average of the high and low pulse and percentages of times you set.
Forget trying to figure that all out with some formula…if you are doing manual pulse tig welding and using a foot pedal, just set the machine to about twice what you normally would without pulse and use the foot pedal to control it.
In this pulse tig welding video, I demonstrated the bad things that can happen when you have to weld near an edge. Heat builds up and the puddle runs over to the edge and melts if off if you are not careful.
It makes an ugly hook too that takes a long time to fix. By using pulse, I was able to set the machine to run a nice tiny bead right next to the edge without the bead wicking out to the edge. Pulse helps the bead stay where you put it.
If you know how to tig weld next to an edge and have enough finesse with the foot pedal, you can probably run a bead without using pulse and still not melt the edge away.
But its easier if you use pulse.
For me , the difference is this…
I can whistle Dixie through the graveyard if I use high speed pulse tig on this weld.
Without pulse, my butt will be drawn up tight. especially if the part is some high dollar part machined out of 17-4 ph polished stainless that has to be delivered the next day.
So that’s it. One of the main applications for using pulse tig. In my opinion anyway.
exit tig welding stainless tubing and see more tig welding tips


