TIG Welding Stainless Steel
- HOME
- TIG WELDING
- Tig Welding Stainless Steel

This page is about TIG welding stainless steel .063" thick butt joint in 2G horizontal position and also in the flat 1G position.
AWS D17.1 is the specification for aerospace welding and this test weld is sometimes required for aerospace tig welding tests.
Usually, for aerospace welding tests, the stainless steel used for the test would be 17-7 ph or 15-7 ph stainless because it qualifies for a larger range of alloys.
But for the sake of practice, I used 304L stainless steel.
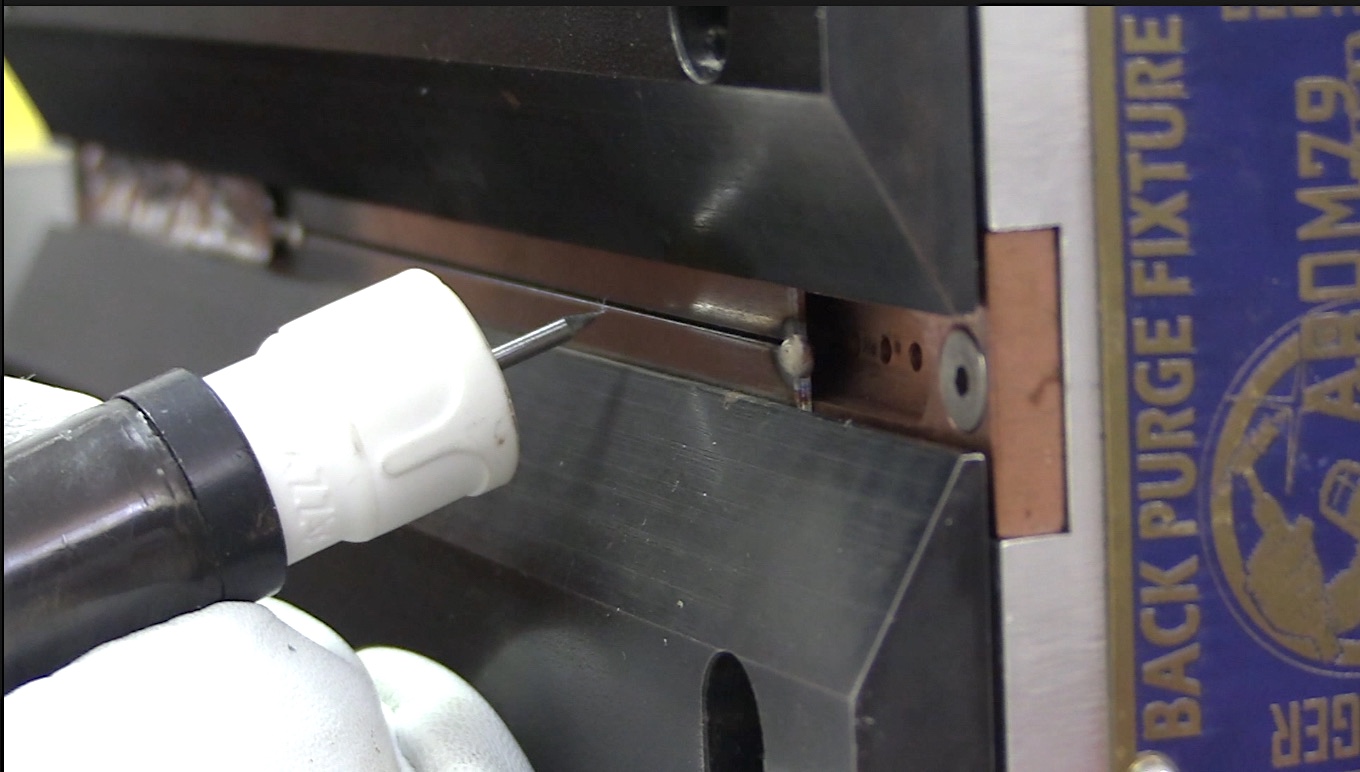
usually a fixture that provides argon shielding to the penetration side of the weld is used.
The fixture I used for this practice plate was made for me by none other that Adam Booth( abom79).
Do you need to clean stainless steel prior to welding?
Brand new stainless steel...even if it has a peel coat on it, needs to be cleaned with at least an acetone wipe.
for a test weld per AWS D17.1, cleaning the sheared edge of the test weld is very important...in fact might be the most important step in passing x ray tests.
the sheared edge of sheet metal can be impregnated with oil or grit and so needs to be cleaning using a clean file, or with a clean sanding disc....or even a de burr tool.
How much purge gas is enough?
Too much flow is just as bad as not enough on a test joint like this.
On a test fixture like the one used here, there is a very small area that is purged so very little argon gas is needed.
Sometimes as low as 5 cfh is enough. but since this fixture is longer than some, around 10 cfh seems to work fine.
The flow rate needed will vary with different fixtures.
To save argon, I often tape off the unused argon ports on each end of a test plate.
Does the chill block fixture change the amperage needed?
Yes it does.
the same weld made outside of a chill block fixture would need much less amperage.
If 60 amps are needed using a fixture like this, 45 amps might be enough without the chill block fixture.
What are the main tips in passing a 2g butt joint for AWS D17.1
1. clean the sheared edge using a clean dedicated file
2. make sure fixture is wiped clean before loading plates
3. wipe filler rod with acetone and lint free cloth
4. use an upward torch angle ...never used a downward torch angle on 2g
5. keep the hot tip of filler metal shielded in the argon envelope...snip the tip of wire before every restart.
6. taper amperage slowly to avoid crater cracks and to avoid melting off ends


