Tig welding Rod Rack
- HOME
- TIG WELDING
- Tig Welding
I always try to provide as much value as I can in a video.
This one is no exception because there is just so much to talk about even on a simple tig welding project like this one.
I made some Tig rod holders a few weeks ago and in order to secure the rack to the wall, I needed to make some brackets.
Now
I could have driven to Home Depot and looked for some off the shelf
steel brackets but the fact is, it was quicker just to make them.
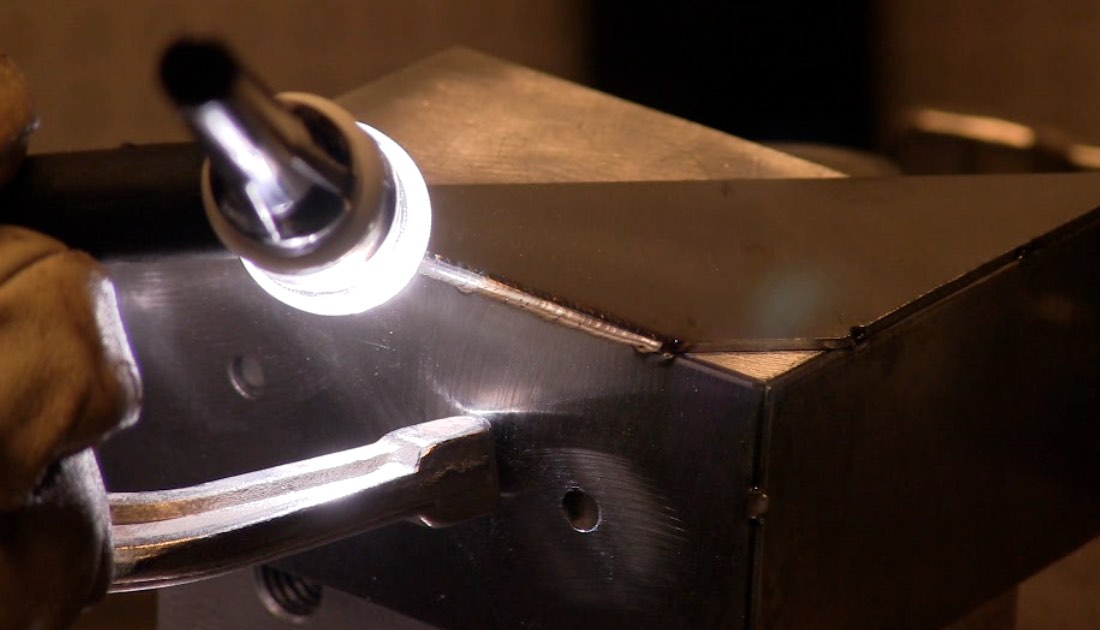
Especially when I fit and tack the parts using aluminum chill blocks and a technique I call “speed tacking”
What
speed tacking involves is setting amperage above what is called for for
normal welding and then making really small fusion tack welds by using a
short blast of amperage.
Since I had some extra 14 ga crs, I decided to use it …so 14 ga steel is somewhere between .070”-.080” ( 1.7mm-2mm) thick.
Using
the one amp per one thousandths of thickness rule of thumb, around 80
amps would be plenty to weld outside corner weld in .080” cold rolled
steel.
But for speed tacking, I set the amperage to 105 ( I even
experimented with 111 amps and it worked too but made for bigger tack
welds)
Then , using a torch switch so that I would get a 105 amp
blast without the time it takes to press a foot pedal all the way…I was
able to make lots of small clean tacks very quickly.
Copper Welding Spoon or home made tool for TIG Welding tacks

I bought 2 copper welding spoons a Harbor Freight a while back for less than 10 dollars each. They are nothing more than a curved piece of copper welded or brazed to a handle.
…but they work great as backing for welding misdrilled holes in sheet metal …and they also work really well as a hold down tool.
Probably the best purchase I ever made from Harbor Freight...no regrets.
(not the case with the tube notcher I bought)
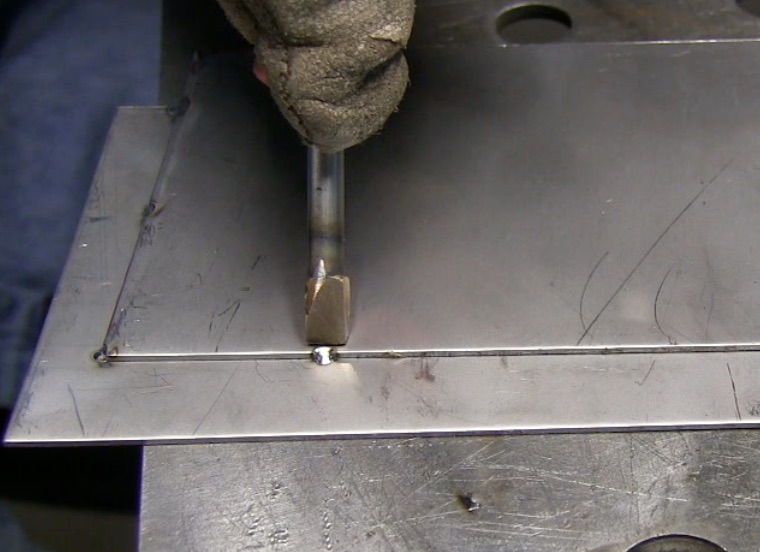
But if you want to make an even better tool for tack welding thin sheet metal lap joints and outside corner joints, all you need is a cheap screwdriver and some silicon bronze tig rod.
I like my hold down tools to be rather short so I chopped a long screwdriver using a cutoff wheel and an angle grinder…Then I wrapped some stranded copper wire around the shaft to pull heat out and make sure I didn't melt the plastic handle.
By building up the tip of the screwdriver with silicon bronze and then sanding it down with a nice flat spot on the end, you get a super handy hold down tool that works better than anything else I have tried for getting small tack welds on thin stainless lap joints and outside corners.
Its important not to have gaps on thin lap joints but on large parts, its not always possible to use clamps.
That's where this little tool works like a champ.
Since silicon bronze is mostly copper , it wont contaminate the stainless. and you can tack right next to it without hurting it or taking a chance on getting carbon in a stainless steel tack weld.
Aluminum Chill blocks for tig welding sheet metal

I have lots of odd shaped aluminum blocks. I save them.
the blocks I used for this video where scrap parts from a machine shop.
Anyone who welds a lot of sheet metal needs to have lots of aluminum blocks to use for chill blocks.
they can really help with distortion and discoloration.
Pulse settings to limit heat input.
There are 3 basic settings when it comes to pulse tig…
pulse on time
background current
pulse frequency …pulses per second aka pps
For limiting heat input, pulse on time and background current can be set to 15 to 20.
What pulsing does is to alternate between a high and low amperage.
so
if you set a machine to 100 amps and the set pulse time to 20 and
background current to 20 also, the welding current will alternate
between 20 amps and 100 amps.
The pulse on time control how long
the high amperage pulse stays on…. so a setting of 20 provides for a
situation where the current is at 100 amps only 20% of the time…meaning
its at 20 amps 80% of the time.
This can really help when you are tig welding thin stainless steel that is easy to warp.
These are pretty good settings for limiting heat on thin stainless steel...
- pulse time 20%
- background 20%
- pulse frequency 1 to 2 pps


