TIG Welding Pedal Technique for manual pulse
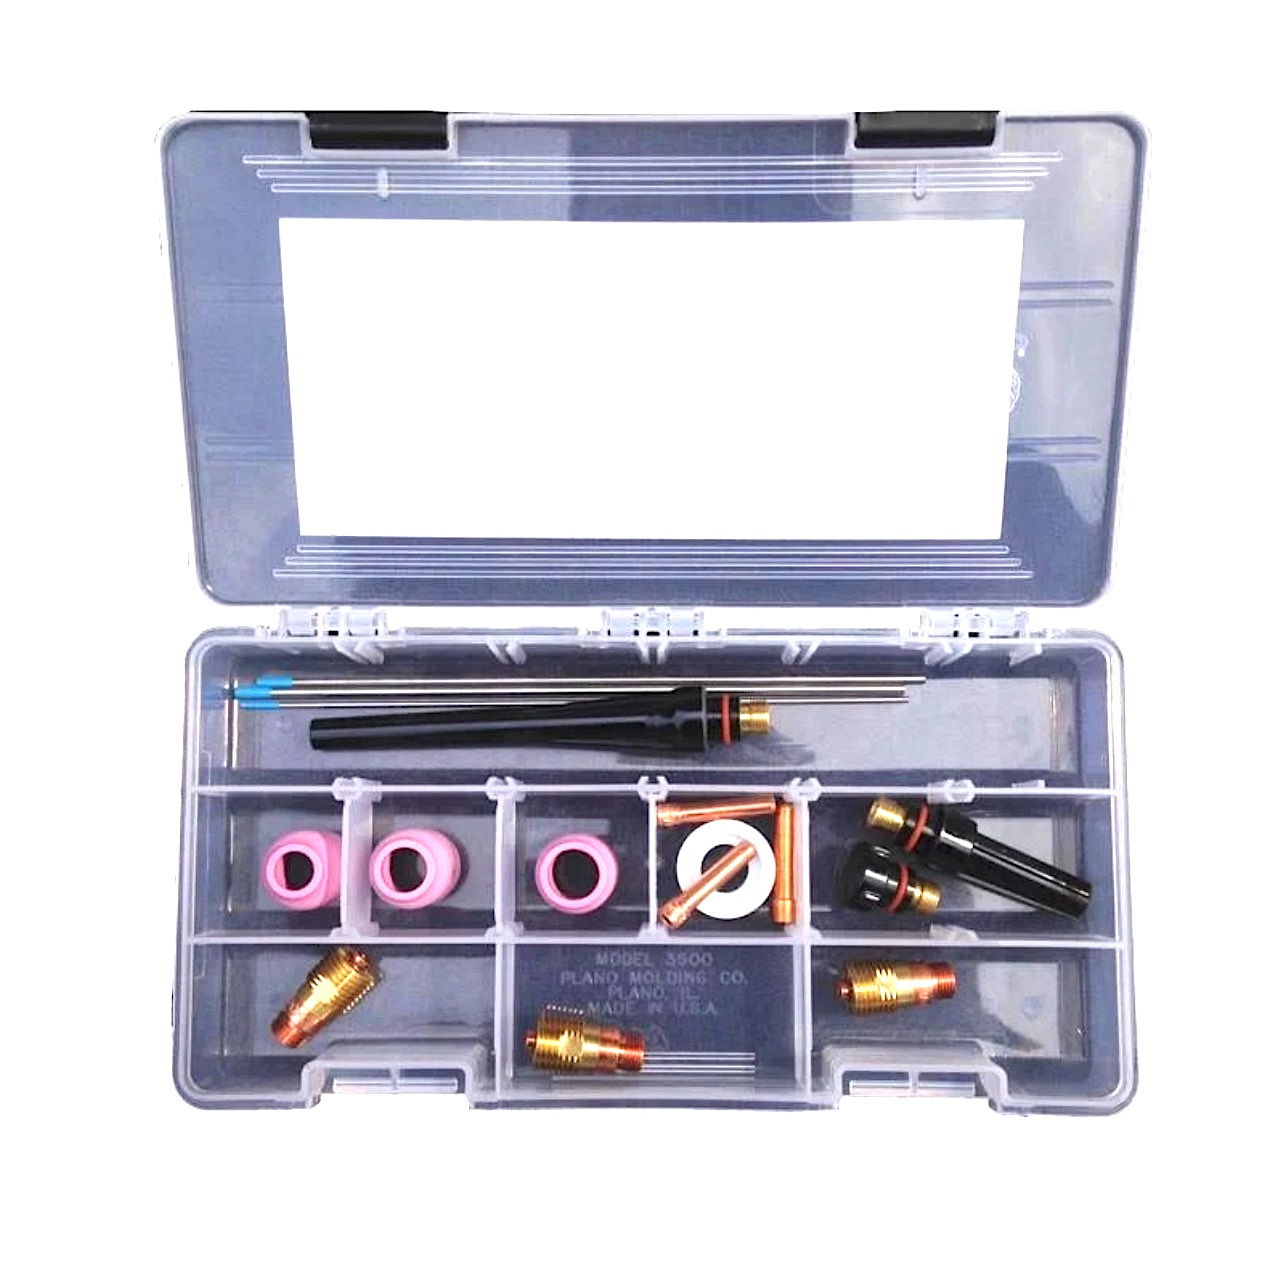
Stubby gas lens kit...click on image to check it out
I recently started posting some TIG welding and other pics and short vids on instagram (@weldmonger) and I am glad I got on there because there are tons of welders on instagram posting weld pics that are nothing short of artwork.
It really makes me want to up my game.
Anywho, after years of working on nuclear plants, paper mills, coal fire power plants, sheet metal fab shops, and even in the aerospace industry I never needed to pulse by pulsing with the foot pedal.
It might have even got me fired from a few of those jobs.
Yet, it seems common place in motorsports and in the hot rod fabrication community.
"I think that sometimes....maybe even most of the time, innovation in one industry comes from paying attention to what is going on in another industry."
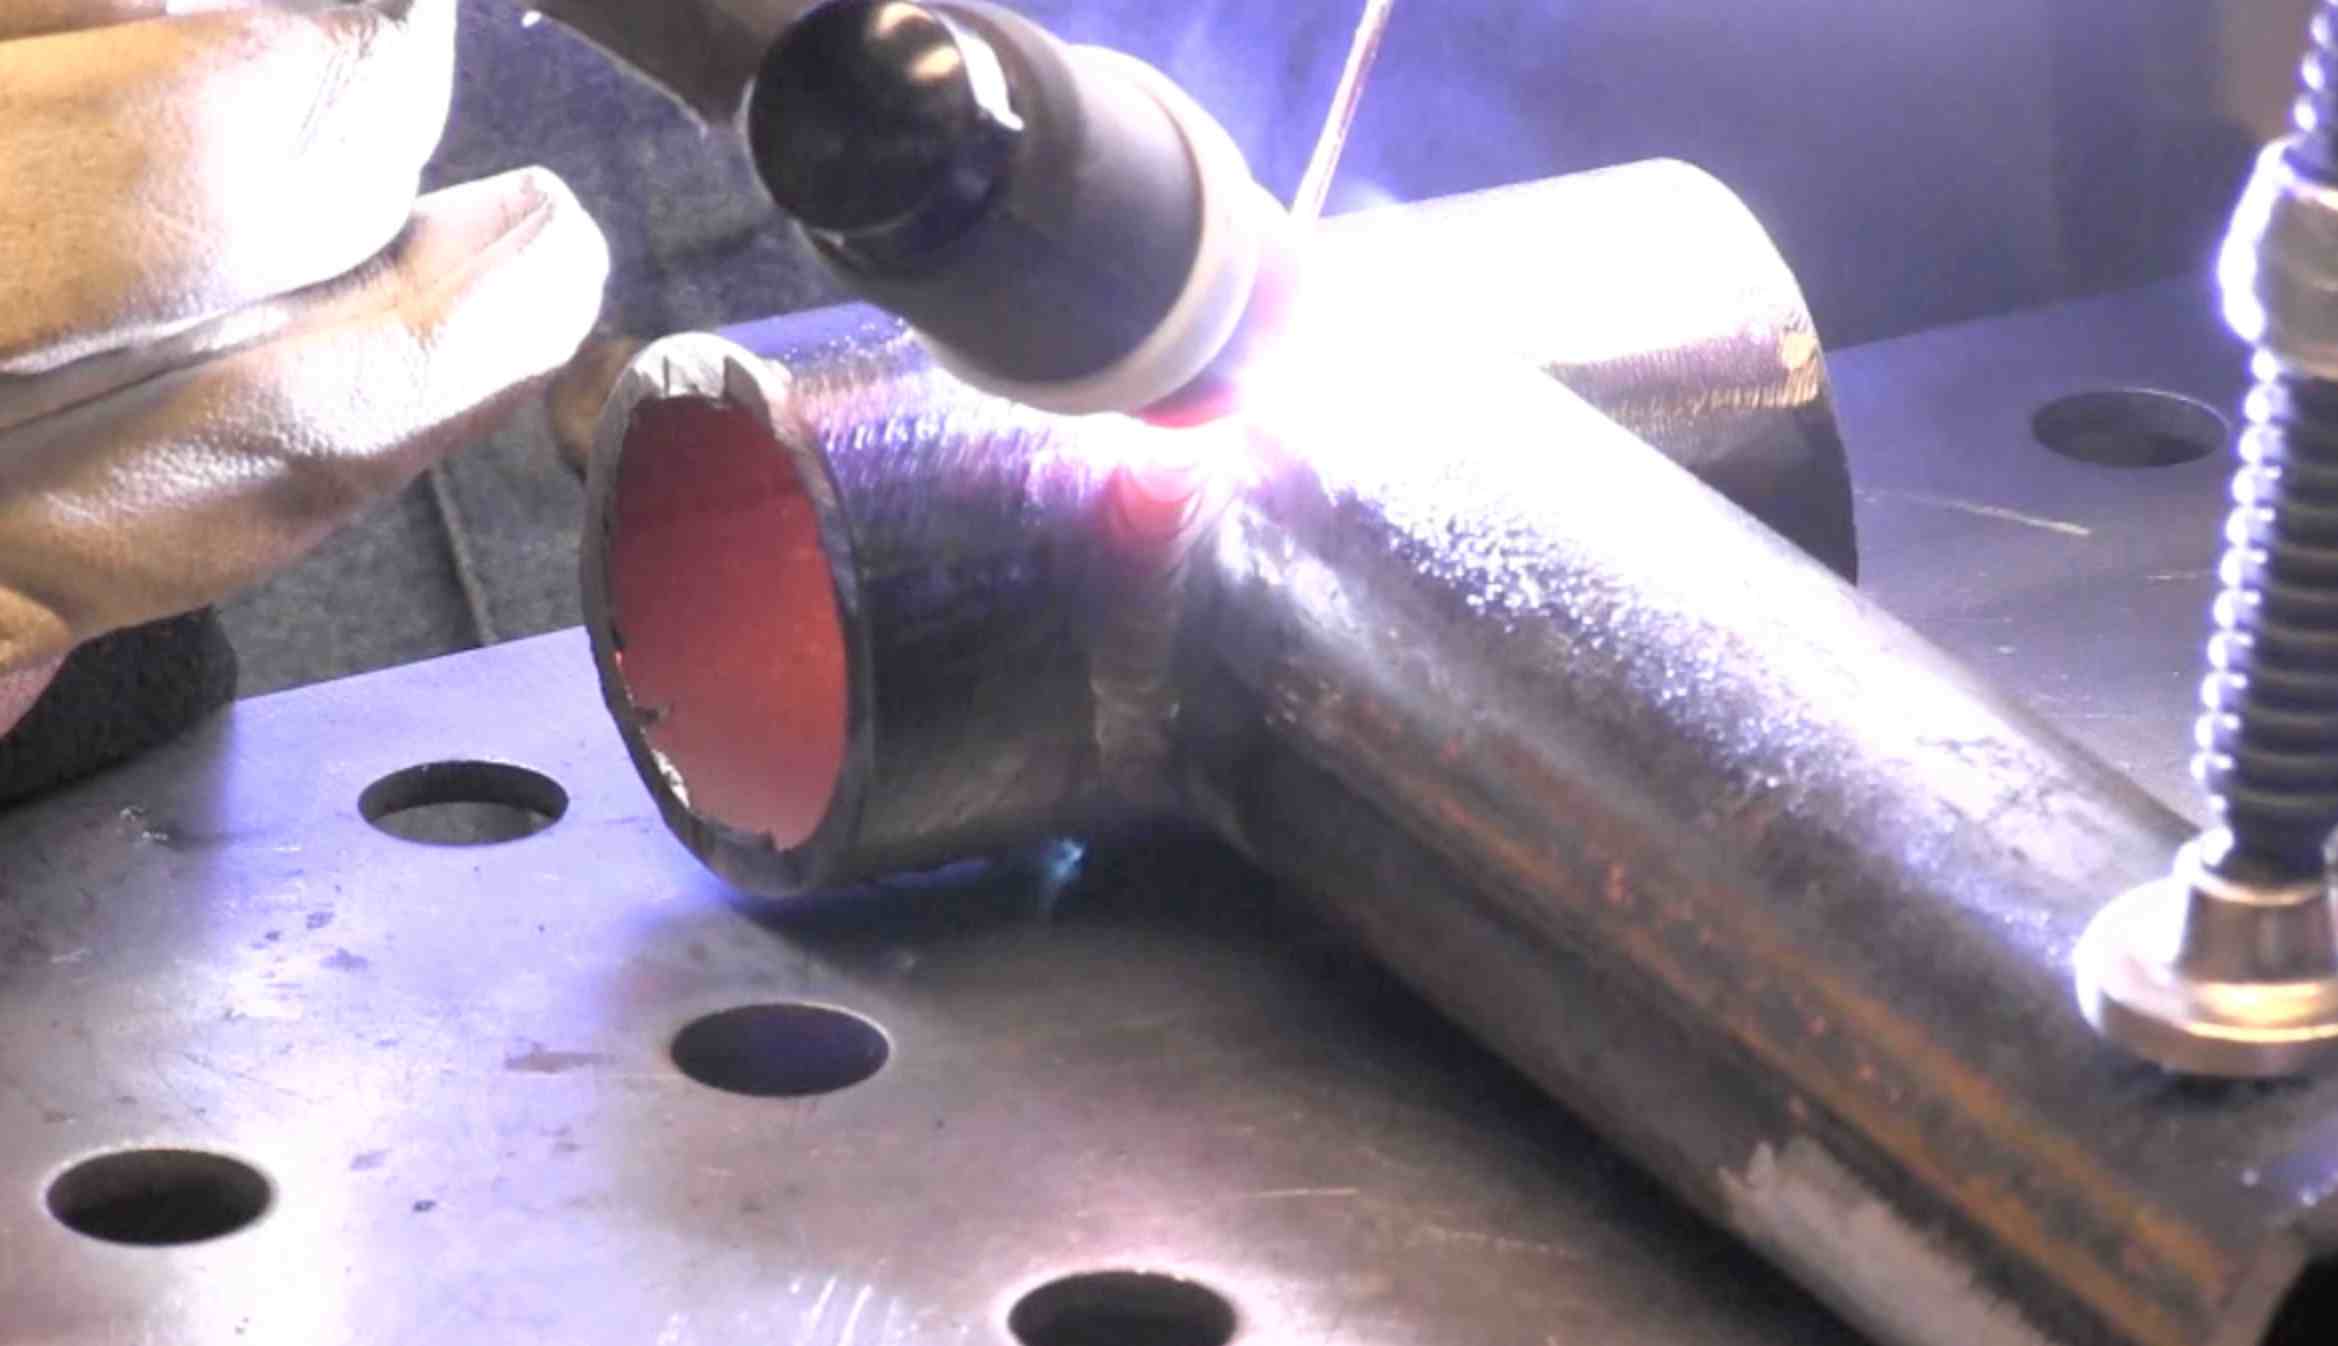
So after watching a youtube video several years ago where a guy was pulse tig welding car parts using a foot pedal, I thought I might learn something if I gave it a shot.
see the stubby gas lens kit for 17, 18, and 26 torches here
Quick Tips from the video
- use a very short tungsten stickout
- set amps to one amp per thousandths plus 10%
- use 1/16" (1.6mm) filler
- prop the cup directly on the joint
- press pedal to floor,
- add filler, release pedal about 3/4, move torch ahead
- REPEAT

amperage for manual pulse TIG welding

First, if you are going to pulse using the foot pedal, you need to set the amperage right.
For carbon steel, you can start with the "one amp per one thousands of an inch rule" or ( 40 amps per one mm).
But on some joints (especially on thicknesses above .100" or 2.3mm) it helps to add about 10 percent to that.
So I set my amperage to 150 -160 for the .140" wall thickness pipe I was working with.
Cup size
For this Tig Technique, where you prop the cup directly on the bead while you add filler metal, a #5 cup is big enough.
And when you use a #5 cup , you only need about 10-15 cfh of argon.
A #6 , 7 or 8 would work fine as well, its just easier to set the electrode stickout with a #5 .
Tungsten size and type
I use 2% lanthanted for everything.
So for the video, I used 3/32" (2.4mm) 2% lanth electrodes.
2% lanth is not the best for every situation but I thing it is the best all around electrode and so I use it for everything.
I dont care to have a toolbox drawer full of different color coded electrdoes.
filler rod type and size
The pipe being welded is standard schedule 40 carbon steel pipe.
er70s2 is the cheapest and best all around filler for carbon steels.
Sometimes, when you are welding something that will be fully penetrated, er70s6 works better.
why pulse?
I will go deeper into tig welding pulse settings in future videos but for now, let me just say that pulsing makes a little bit of difference.
but only a little.
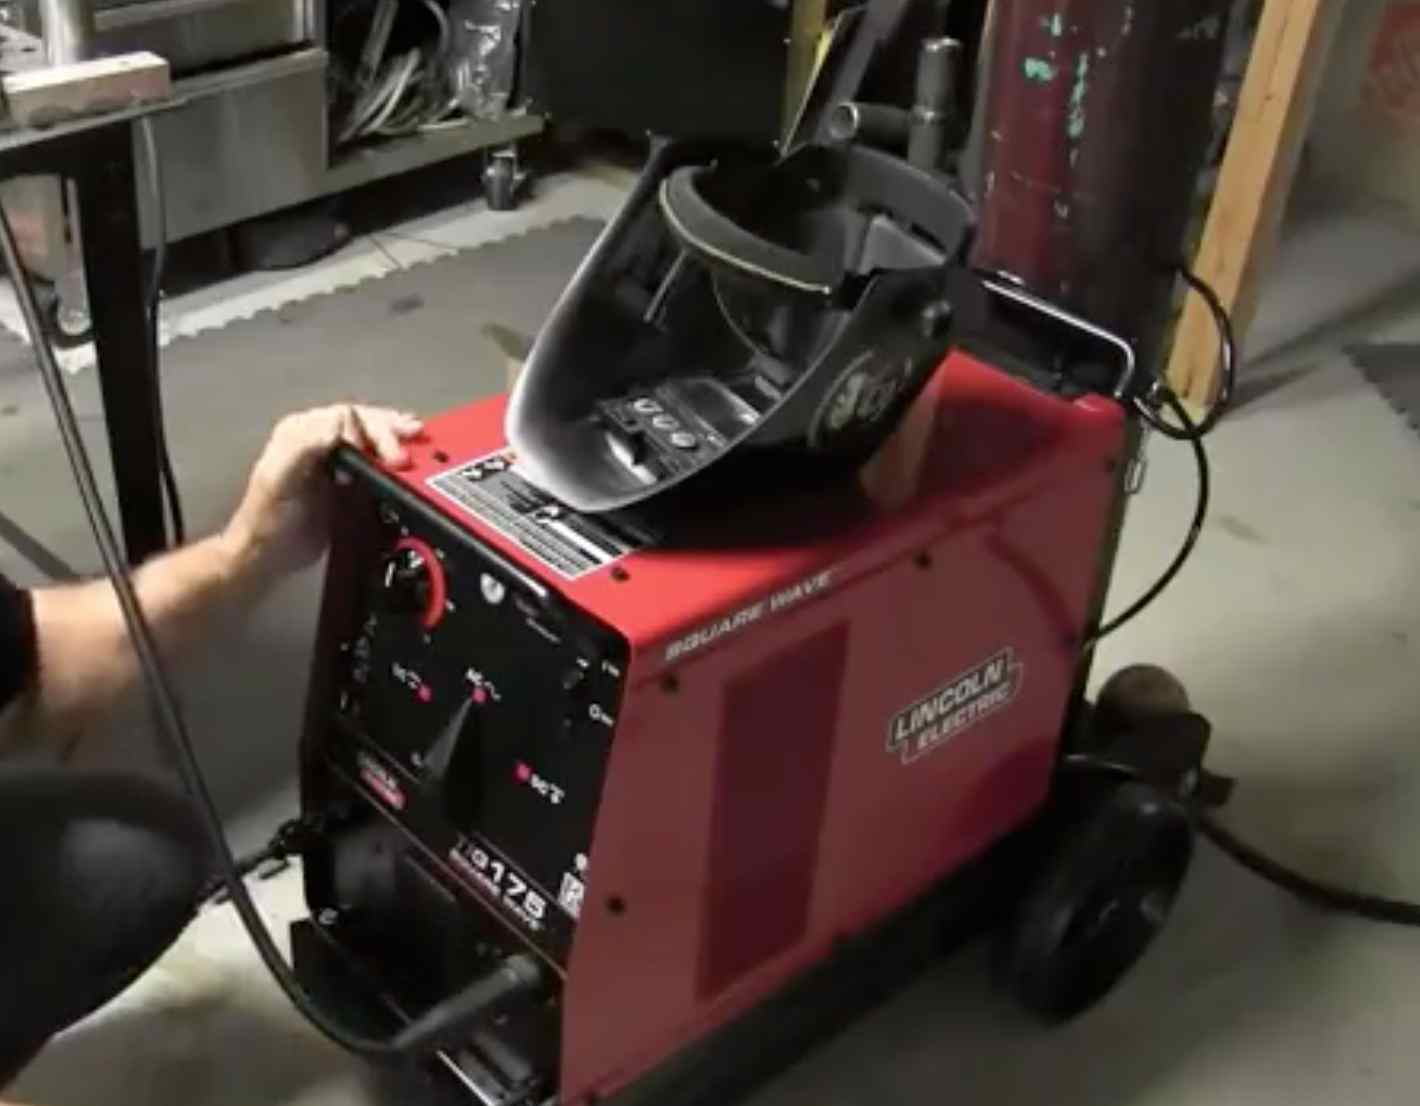
The reason I say that is because I was lucky enough to work for a company that upgraded from Miller Syncrowave 250 tig welders to Miller dynasty 200 dx units.
The quality of work did not skyrocket.
Here is what happened...
The welders who were already above average, improved a bit more using the pulse settings offered on the Dynasty welders...especially for tig welding on very thin edges.
Those who were only average welders, remained the same....pulse or no pulse.
So while I personally find some advantages to pulse tig, I am quick to admit there is hardly anything that can be welded using pulse, that cant also be welded without pulse.
watch more tig videos


