TIG Welding 9 Random Jobs
This weeks video is about 9 random Tig welding tasks....All done over the period of a a couple of months and using a small tig inverter.
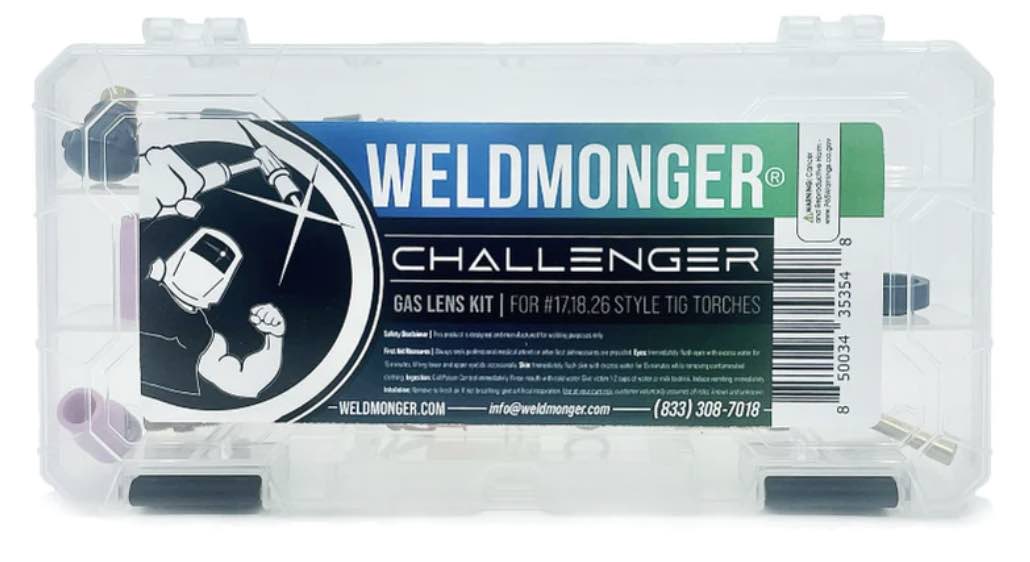
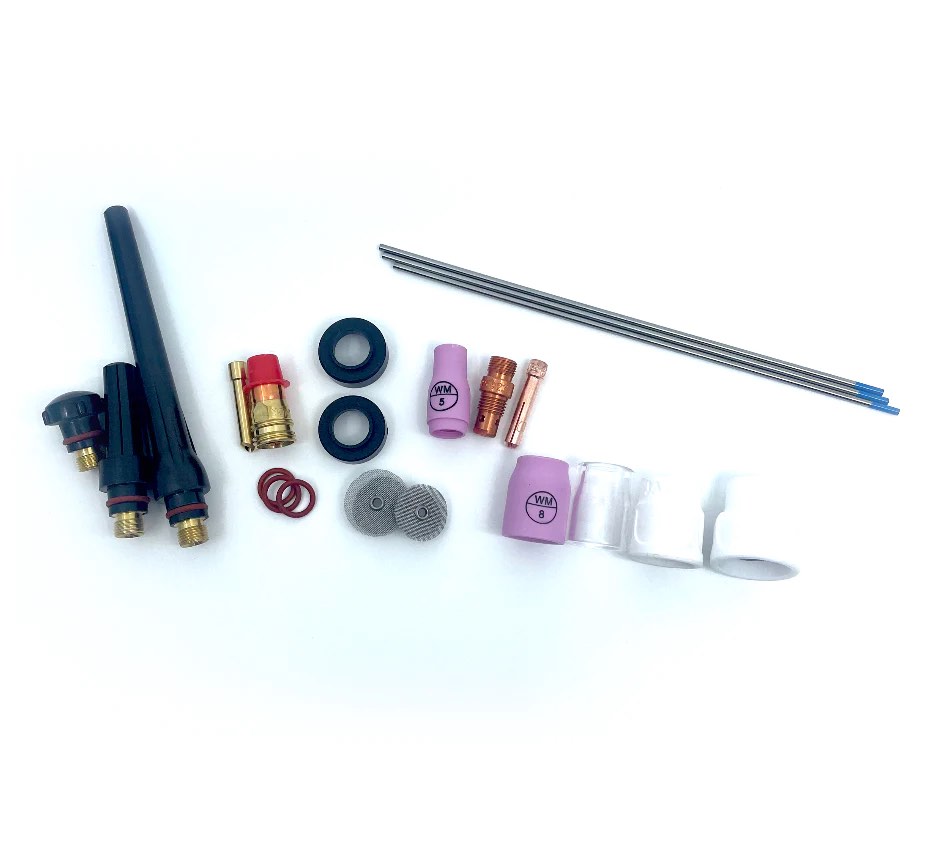
...Introducing the New WeldMonger Challenger TIG kit that includes the most frequently used Cups.
Tig welding task #1
The
most recent job I did was a 6061 t6 aluminum
part made from 3/8" ( 9mm) thick bar stock. The ends of the bar
stock were chewed up bad from a saw someone used removing tabs that were
mislocated.
My job was to fill in the saw marks, dress it off, and
then
weld new tabs on the ends where the drawing specified.
Here are the main details.
150 amps, 120 hz, and ac balance to -30 which equates to 80% EN.
Using a 3/32" (2.4mm) 2% lanthanated
electrode and 3/32" (2.4mm) 4043 filler and that was balled just a little bit from a previous job.
I only needed about half the pedal for the build up but for welding the tabs, I used full pedal for about 3 seconds before backing down a bit once the heat built up.
This was a goofy little job and was done to a drawing that specified
welding on only three sides with no bevel but I put a small bevel on one side
anyway because no weld was allowed on the other side and just welding a
bead on top of 3/8" thick aluminum with no joint prep does not make for a very strong
joint.
Tig welding task #2
Aluminum Boat Propeller repair.
This is a pretty common repair for boat props of all kinds
but if the damage is extensive, or if on an inboard motor setup, pitch
blocks, pitch and rake indicators, and balancing equipment is needed to make the prop perform well.
I have seen many aluminum boat props like this repaired without
balancing... as long as the damage is minimal. Even for minor damage,
it helps a lot to use some type of template to make sure the
contour is very close once finished.
on this job, here are the details
- Amperage was set to around 135, (which is actually more than the 1/16" electrode would handle, but I probably never got over 80 amps using the foot pedal to control amperage.)
- I used a 1/16″ (1.6mm) 2% lanthanated electrode tapered just about like you would for tig welding steel.
- 1/16″ (1.6mm) 4043 filler rod ( 4145 sometimes works a little bit better but I did not have any in the shop).
- AC balance was set to 65% en ( i was more concerned about getting a clean puddle than anything else)
- AC frequency was set to 120 to help focus the arc ( 100-120 hz is a very good setting for most jobs)
- I used a #7 gas lens cup with about 15cfh argon flow
if you are interested on learning more about boat propeller repair , there is a bunch of info at rundquist.com.
Tig welding task #3
This
job was also in a video just a few weeks ago. It was a chunk of
stainless
steel that was accidentally machined wrong. There were several machining
steps left to go when this groove was machined by mistake. And as is
always the case, there was no extra material on
hand to just make a part from scratch and the job needed to be delivered
the next day. So setting the
machine to DCEN and only around 90 amps I ran several beads until there
was enough metal to machine the part to the correct shape and
dimension. I used er308L filler metal and a #7 gas lens and 15 cfh
argon and a 3/32" (2.4mm) 2% lanthanated electrode. No pulse , just
straight dcen.
I got quite a few comments youtube asking why I
didnt just mig weld the groove. Answer: I dont have a frequent need to
mig weld stainless. So I dont have a spool of stainless wire on hand
and also dont have the right gas for mig welding stainless.
Since this video, I got my hands on a Lincoln 350mp so I am working on some videos showing pulse mig in the near future.
Tig Task #4
Razor blades ...or rather utility knife blades.
These blades around .025" thick. thats about .6mm. But since I welded
a corner joint on the sharp edge, its like welding thinner metal.
Welding razor blades requires a really good low amp start. The
powertig 210ext has a start adjustment in a hidden menu so you can set
it low to light up on really thin stuff like razor blades.
I think I set the amperage to about 25 so I just used the foot pedal to control amps while welding.
One
thing you may notice in this clip is that by using aluminum angle to
back up the weld, it comes out pretty shiny on the back side. Almost as
good as if it were shielded with argon. Copper works even better. Save
all the copper pieces you find to use as backing bars for odd jobs.
Same with aluminum. I have several pieces of aluminum angle, and bar
stock that I use routinely as backing and for heat sinks.
Tig Task #5
1/2" ( 12.7mm) thick 4140 bar stock lap joint. I
did this in 2 passes with amps set to 150-160. 3/32"
er70s-2 filler rod and 3/32" (2.4mm) 2% lanthanated electrode using a
#7 gas lens with argon set to 15 cfh.
This joint was done using some scrap bar stock. If this had been a
real live part, a preheat would be needed because 4140 is a hardenable
steel.
Tig task #6
A lap joint on a bearing sleeve welded inside a roller. same exact settings and filler rod as task #5.
Tig task #7
welding some stainless round bar stock handles to some carbon steel nuts.
for this job I used pulse settings just for kicks.
39 pps, 33% pulse on time, and 33% background current
er309L filler rod.
Tig task #8
When I am field testing a machine, I usually run several beads back to back on a piece of aluminum.
I call this the aluminum drill because its a good skill building drill.
Its good practice for me, and its also a good way to experiment with different settings on the machine.
One
setting this machine has that is unique is an advanced pulse setting.
The current actually switches from AC to DCEN as it pulses.
You dont get any cleaning action on the Electrode negative cycle but the
shielding gas prevents the puddle from oxidizing and the dcen current
keeps the part hot.
Its an interesting feature that is said to
help on thin aluminum sheet but I bet someone will find other
applications. For me, it seemed to work very on thick aluminum but I set
the background current to max so I wouldn't lose heat input.
Tig task #9
a flat 1g butt joint square groove weld.
125 amps 120 hz ac balance set to 70% en
3/32" (2.4mm) 4043 filler and a 3/32" (2.4mm) 2% lanthanated electrode that was tapered.
You might notice different welding technique in this video. I lengthen the arc while I add filler and
keep it tight while I step ahead and pause. If you hare having trouble with the
electrode touching the puddle while adding filler rod, you might give this
technique a try.
Thats 9 random tig welding tasks for you today, hope you enjoyed it... peace out.
Watch more Tig Welding Videos


