Mig Welding Basics part 2
This is Mig Welding Basics part 2.
click here for MIG Basics part 3
In part 1, we left off trying different wire speed settings and saw and heard the difference it made in the arc and puddle.
Also in part 1, I asked for comments to make sure I cover things I might otherwise omit or gloss over.
click here if you missed part 1 of mig basics
Well, I got quite a few comments on Part 1 of this series, so for this video, I tackled a few of those like…
- What is a "Birds nest" and how to prevent it.
- Explain difference between the 3 modes of metal transfer in Mig welding…Short circuit, Spray, and Globular
- Discuss the different gases used for mig carbon steel
- What about metal preparation?
- Discuss Duty Cycle
- Relationship between Voltage and wire speed
- Ground clamps
- Is a 230 volt better than a 115 volt welder?
- Pulling vs Pushing.
Whats a Birds Nest?
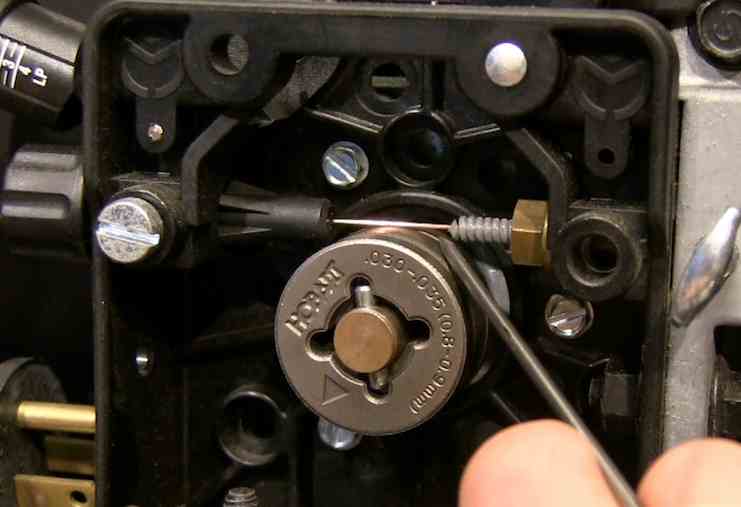
In part one of this series on Mig, I talked about setting the tension on the wire feed rolls and mentioned that I set my tension so that the rollers slip if I pinch the wire with a glove on my hand.
The reason for setting the tension to allow for just a bit of slip will help to prevent what is called a "birds nest".
If
you get a big glob of spatter on the tip and it restricts the feeding
of wire, its better for the rollers to slip than to keep feeding and
cause wire to kink and bunch up inside the wire feed cabinet.
Thats what a birds nest is…a wad of wire caused by wire kinking due to some type of restriction in the mig gun assembly.
Modes of Metal transfer in Mig Welding…
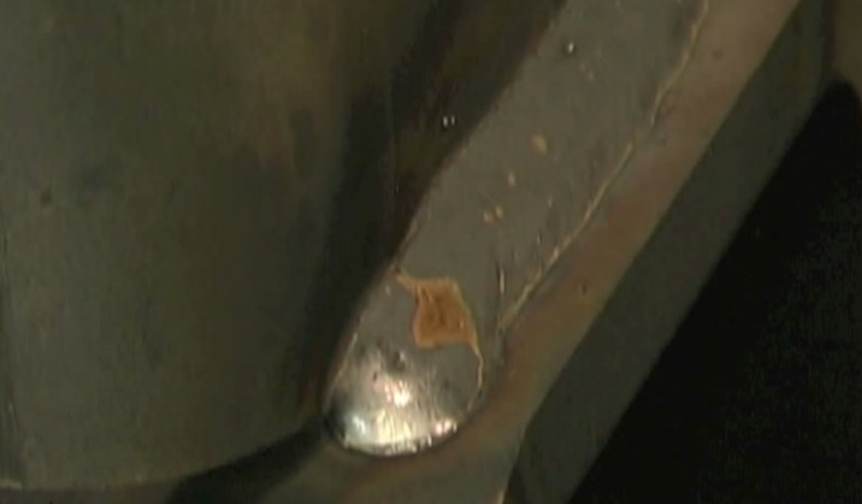
spray mig weld
In
Mig-welding ( properly called gas metal arc welding) there are 3 basic
modes of metal transfer. Metal transfer being how metal melts into the
puddle.
The 3 modes are :
- short circuit transfer where the wire actually "shorts" into the puddle and then arcs back many times per second.
- Spray transfer where small droplets of molten metal and transferred across the arc
- globular transfer where big globs of metal come off the wire and land in the puddle.
Short
circuit is the most common because it is so versatile. Short circuit
mig uses less heat input, usually causes less distortion, and is more
versatile when it comes to welding out of position or on thin metal.
Spray
mig is a heavier duty process that is used for production
environments and also for some coded work. Spray transfer mig is pretty
much limited to flat and horizontal and some overhead fillets…and for
carbon steels, works best on thicker metal .
Globular transfer is
sort of a transition between short circuit mig and spray and is really
not a commonly used process due to excess spatter and poor appearance of
welds.
Pulse spray is a version of spray transfer mig that allows for welding all positions.
Gases used for mig welding
There
are many different gases and gas mixtures used for mig carbon
steel but the most common ones in my experience are pure co2, 75/25
argon/co2, and 90/10 argon/co2.
Pure co2 works ok but is less
versatile for thin metal than 75/25 and is also less forgiving on fine
adjustments in wire speed and voltage.
75/25 gas is the most
commonly used mig welding gas for short circuit mig-welding of carbon
steel and is good for auto body panel type repairs as well as welding
thick steel.
90/10 can be used for spray transfer as well as
pulse spray. I works ok in a pinch for short circuit mig but not as
well as 75/25
Metal Prep for Mig
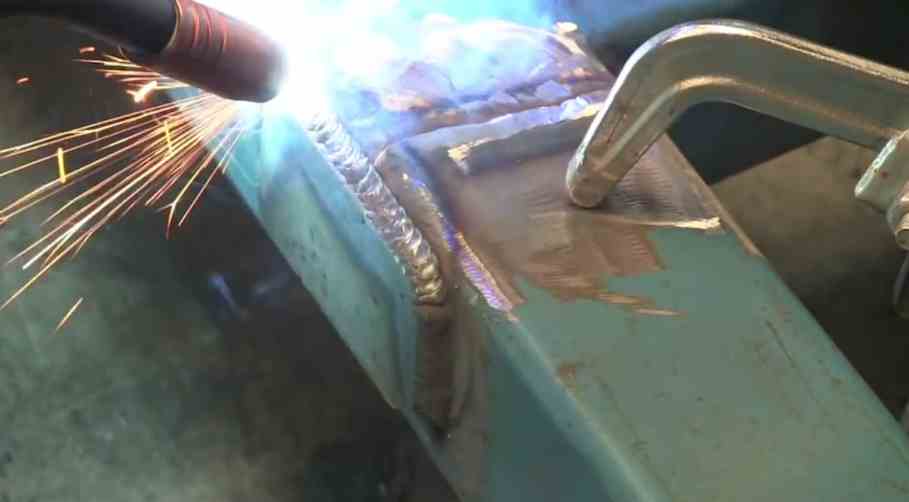
Sometimes mig-welding is best done on clean, shiny, bright metal that has no mill scale, no paint, no rust, no anything.
And sometimes it requires zero metal prep.
Mig is more tolerant of surface contaminants than TIG welding but less tolerant than Stick.
When
in doubt, its probably best to err on the side of cleaning….but when
welding cold rolled steel …where there is no mill scale…or on tubing
where the mill scale coating is very thin. Pretty much zero metal prep
is necessary.
Paint or rust is different. That stuff needs to go before welding.
Duty Cycle
A
duty cycle rating is usually expressed in percent and is based on how
long a machine can weld at a certain amperage within a 10 minute time
period at 40 deg C. (104F)..before the machine needs to cool off.
So a 200 amp machine with a 20 percent duty cycle at 200 amps can only weld for 2 minutes out of 10 at 200 amps.
The
hobart 210 mvp I used in this video is rated at 30% at 150 amps. But
thats typically enough for light fabrication on frames made from square
tubing or for sheet metal welding a low amperages around 60 amps.
For
production welding, sometimes its best to use a machine rated at 100
percent of whatever amperage is used in production..,otherwise time is
wasted waiting on a welding machine to cool off.
Relation between voltage and wire speed.
One way to look at voltage and wire feed speed is to think of the hot and cold knobs on a sink or shower.
There
is a certain temperature that feels good just like there is a sweet
spot in mig welding where the arc is smooth with little or no spatter.
Once
you achieve that sweet spot, both voltage and wire feed need to be
increased or decreased just like the hot and cold water knobs if you
want more water flow.
We will go deeper into how to set voltage and wire speed in a future video.
Ground Clamps for mig welders.
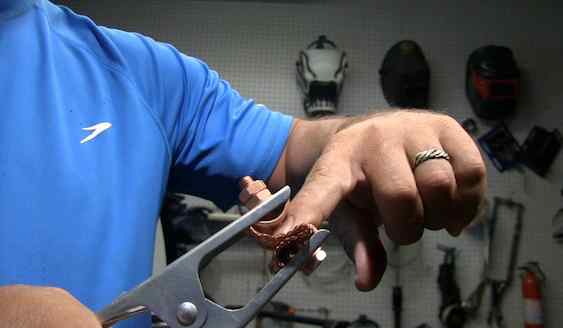
More so than other types of welding, Mig really needs a good ground clamp.
The reason I say its more important with mig is that any loss of ground will make it seem like your settings are off.
poor
starts, art stuttering, etc can be symptoms of a poor ground so make
sure you have a really good ground that is clamped to an area that has
been cleaned to shiny bright metal.
And a cheap steel clamp that
looks like it came from the dollar store is not the best way to get a
good ground connection. It works ok once you start welding but often
you can see a hot tooth, or a spark when you light up and those type of
things will cause poor starts.
IS a 230 volt mig welder better than a 115 volt mig welder?
Not necessarily.
If all you do is auto body panels or muffler welding, a small 115 volt mig with a small mig torch might be just the ticket.
A 230 volt mig welder will weld thicker metal.
My hobart 210 mvp works off both 115 volt and 230 volt .
Some folks like to have both a small 115 volt welder for thin metal and for portability, as well as another bigger 230 volt welder for heavier welding.
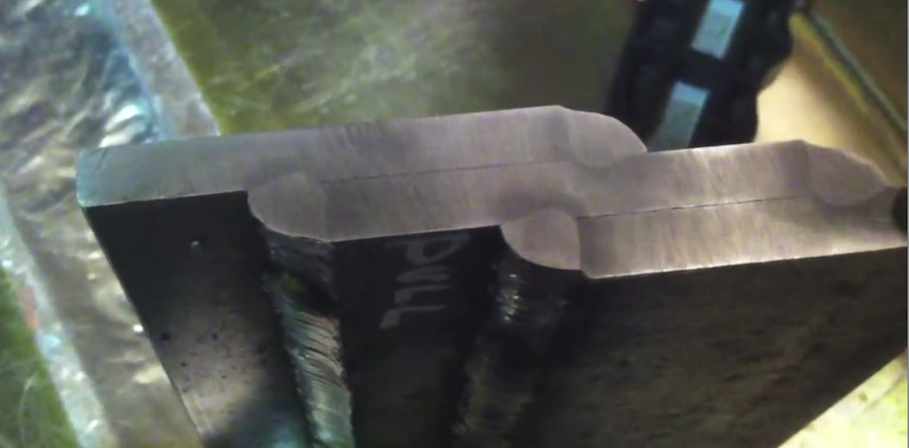
Pushing vs Pulling
Is there a right way and a wrong way? Is pushing better? Is pulling better?
Testing gives answers. Arguing just leads to more arguing.
The video shows it best.
click here for more mig welding videos


