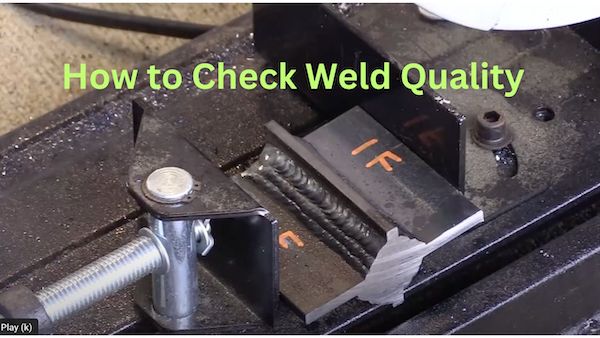
How to Check Weld Quality
scroll down for video

If you searched for how to check quality of welds, this page provides step by step information for performing what is known as a macro etch weld test....also known as cut and etch test.
I find the cut and etch test to be a very valuable learning tool when done immediately after performing the weld while the puddle is still fresh on your mind.
When I edit videos with arc shots, I get to correlate the puddle with the cut and etch results.
The cut and etch test only tests one small cross section but it can still give you some really good information on whether your settings and technique are good.
The main steps for a macro etch test aka cut and etch test are:
- Cut
- Polish
- Etch
- Evaluate
Cutting can be done with a bandsaw, a chop saw, grinder with cutting disc, or practically any other method.
Polishing is best done using sanding discs that are progressively smoother.
the smoother the surface the better the etch works but 240 grit is usually fine enough. In fact, I often use scotch brite discs starting with brown, then red, then grey.
The most commonly used etchant for carbon steels is 5% nital etch but it is a hassle to get. An easy alternative to 5% nital is PCB etc with ferric chloride and you can easily order if from amazon for less than $20.
It only takes a few drops of etchant so one bottle will last a long time
I use either Q tips or an acid brush to apply the etchant to the polished weld.
I use magnifier lenses on my video camera to evaluate the penetration and record.


