How to Arc Weld Video
If you are looking for how to arc weld videos, why not take a free trial over at...
"Arc welding" is what is used along side "Stick welding" and I even know a guy who calls it "Rod welding".
All these terms are just a shorter way to say "shielded metal arc welding" (smaw).
To get started with arc welding, you'll need a few things: an arc welding machine, an electrode holder (also called a stinger), a ground clamp, and of course, the right safety gear such as a welding helmet, gloves, and a welding jacket.;
Stick welding machine: The old Lincoln buzz box known as the tombstone welder is probably the most widely sold arc welding machine ever. And for good reason...they are almost bullet proof. I have even seen one survive a flood and it worked fine once it was dried out. But there are many other options now that are more portable and have both AC and DC current options. DC current is a great thing since some rods are not good on AC.
welding hood/helmet: If you are learning how to arc weld, a good quality auto darkening welding hood helps in the learning process. Being able to see where the tip of the rod is before striking the arc really helps. The most expensive auto dark helmets can exceed $500. But a high quality helmet can be had for around $150.
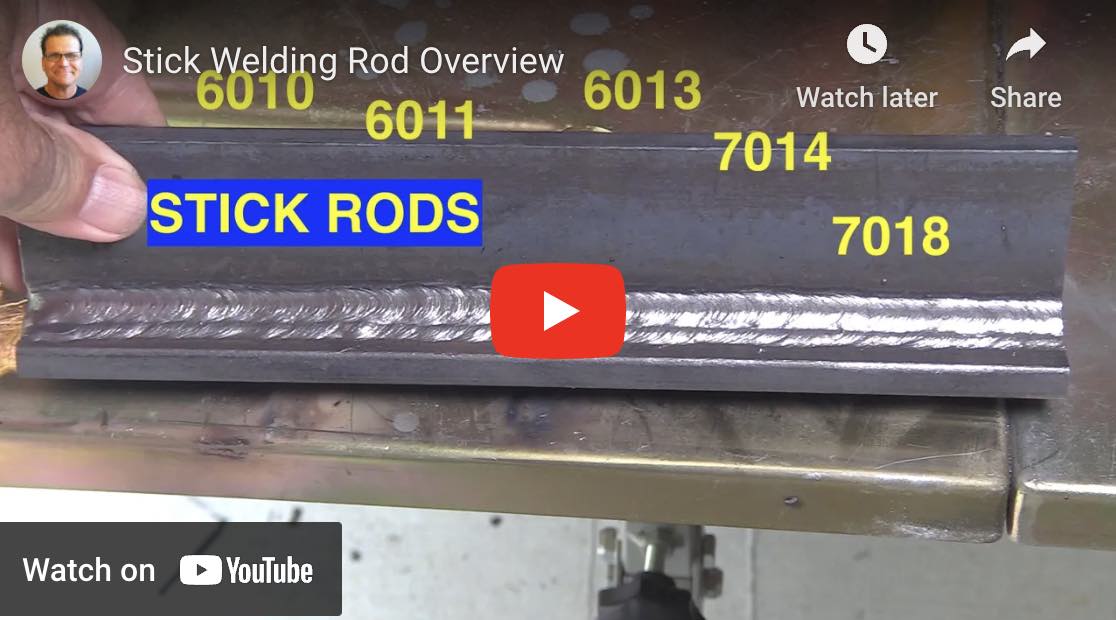
stick electrodes: Different stick rods are designed for different applications.
If I had to choose only 2 , think I would go with 6011 and 7018. 6011 for downhill and burning thru rust, and 7018 where extra strength is needed. Some folks really like 6013 rods but it really depends on what you do.
Stick electrodes come in different diameters. the most common for general shop or repair welding are 3/32" and 1/8". But there are also really small diameter 1/16" diameter 6011 and 6013 stick rods that come in handy for really thin metal. You can usually find them at harbor freight or on amazon.
safety gear: When learning how to arc weld, you are going to make a lot more sparks than other types of welding...so you are going to need long sleeves preferably leather sleeves. Welding gloves, safety glasses, and a good welding helmet with appropriate shade lens (chart for welding lens)
Here's a step-by-step breakdown of how to arc weld:
- Safety first: Before you begin, make sure you're wearing all the necessary protective gear. This includes a welding helmet with a suitable shade, welding gloves, a welding jacket, and safety glasses. Safety glasses should be worn under the welding hood because as soon as you lift your hood, hot slag tends to pop off the weld and can get in your eye.
- Prepare your work area: Ensure your work area is clean, free from any flammable materials, and well-ventilated.
- Set up your welding machine: All of the most popular stick electrodes will weld using DCEP. That stands for Direct Current Electrode Positive. Some electrodes will work on both AC and DC but not all. If you machine has DCEP setting, try it.
- Grounding: Attach the ground clamp securely to the workpiece or a metal surface close to it. This will create a complete circuit and ensure safe operation.
- Electrode selection: Choose the best electrode based on the thickness of metal you'll be welding and the position. Different electrodes have different properties, so it's helpful to pick the right one for your specific application. Consult the electrode manufacturer's recommendations or welding reference charts for guidance.
- Electrode Amperage: All stick rods run at slightly different amperage settings but a decent rule of thumb for 7018 is one amp per thousandths of electrode diameter... example : a 1/8" electrode is .125" or 125 thou. so 125 amps would be a good starting amperage.
- Striking an arc: Position the electrode near the workpiece, and with a quick, snappy motion, strike it like a match against the metal to create an arc. Practice this motion a few times to get the hang of it...again an auto dark helmet helps a lot while learning.
- Maintaining the arc: Once you've struck the arc, hold the electrode at a slight angle (around 10-15 degrees) and maintain a consistent arc length between the electrode and the workpiece. This arc length distance should be approximately equal to the electrode diameter., but it can vary depending on position of weld and weld joint.
- Welding technique: Move the electrode along the joint in a steady motion, creating a small molten pool that fuses the metal pieces together. Using very small side-to-side or circular motions can help to control the width of the weld bead.
- Control the heat: The heat input plays a vital role in welding. So while you are learning, stop and let cool every few beads. Proper heat control helps prevent issues like excessive spatter, distortion, or even weld defects


