Aluminum Welding a 1G Butt with TIG
see more tig welding aluminum videos or go to the main TIG welding page
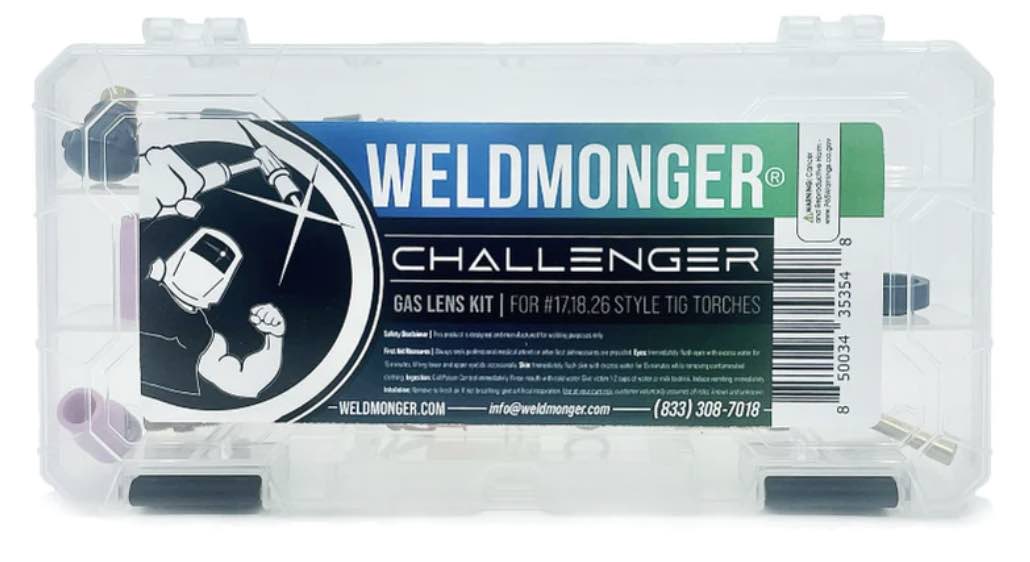
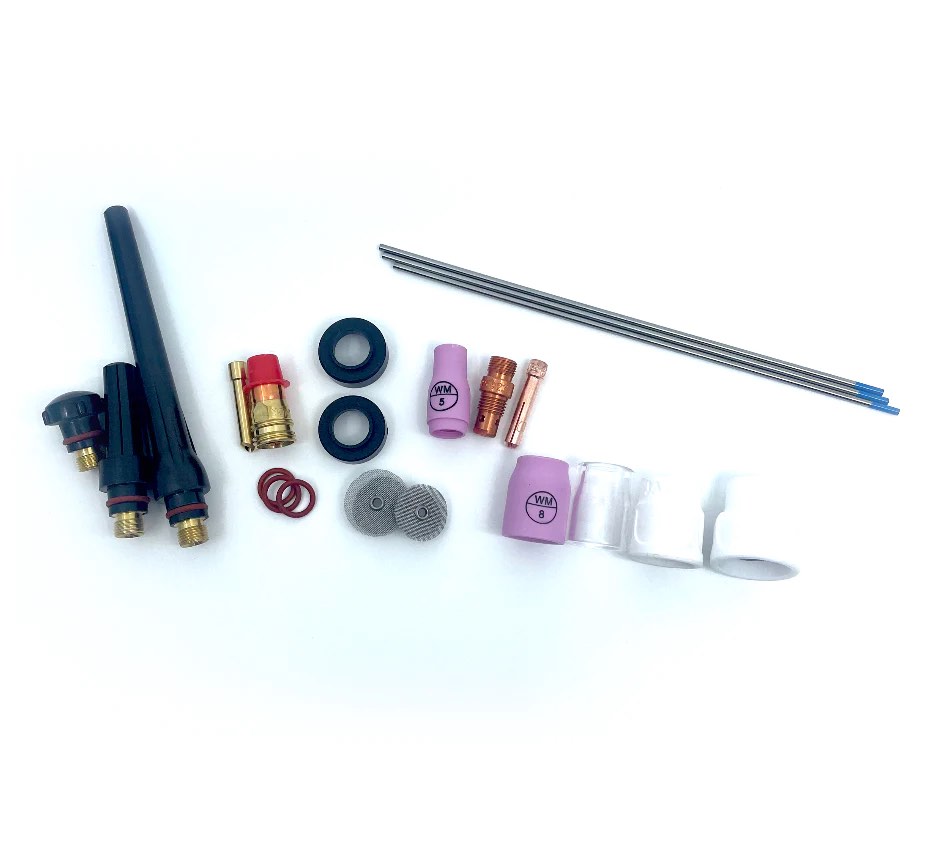
...Introducing the New WeldMonger Challenger TIG kit that includes the most frequently used Cups.
Aluminum Welding Settings
130 amps with a foot pedal at first it took full pedal but I backed off a bit for the middle and end of the joint
ac balance was set to 65% electrode negative ...a good all around setting.
Ac frequency was set to 120...another good all around setting for general aluminum welding using a tig inverter.
argon flow set to 15 cfh using a #6 cup
3/32 " 2% lanthanated electrode tapered and allowed to ball naturally.
Aluminum Welding using the TIG process on a butt joint in the flat position is a common joint done in welding schools. 11 ga .125" thickness is often used.
11 ga aluminum is just about the thickest square groove weld that can be done consistently without using a bevel or gap or both.
Most welders in school have trouble with either not penetrating, or penetrating too much with underfill.
If you are in welding school and are having trouble getting past this weld, I have a few tips for you that should help shorten the learning curve and get you on to the next skill exercise.
tip #1
clean the metal
use a file to clean the rough sheared edge. Then use a clean stainless wire brush to clean the oxides from the weld area. then wipe with acetone. in fact, its not a bad idea to give it a wipe with acetone before you brush it, and after. and wipe the filler metal with acetone also.
tip #2
dont use a gap...
this joint can definitely be done with or without a gap, but I have found that a smoother backside is possible with no gap.
tack the ends using a little extra filler metal so that you will have an extra second to react when starting and ending.
tip #3
bend the joint about 5 degrees to get it up off the table surface , add rigidity, etc.
tip #4
soak the heat for a few seconds before moving on with the weld...both upon start..or a restart.
tip #5
use a step and pause technique and use a tight arc when trying to move ahead and penetrate..then lengthen the arc while pausing to add filler.
tip #6
decrease amps just about when the puddle joins the beginning of the end tack weld.
oh and one more thing...make sure your shielding gas flow is right. not too little and not too much.
too little, and you will see pepper in the puddle and the ends of the weld will not weld clean.
too much gas and the noise of the arc is really loud and the arc is unstable.
a #7 cup needs about 15 cfh. less with a smaller cup.
But before wasting aluminum material on butt welds, You need to be able to run a decent bead.
IF you cant run a good bead yet, you are not ready for a butt joint.
You need more practice.
It helps to do
The Aluminum Drill
So....What is the aluminum drill?
Click here to see the video on the aluminum drill
just get some scrap aluminum and run beads ....experimenting with different arc length, different ripple spacing, different speed, etc.
welding aluminum like this is the best bang for the buck in tig welding period.
bead after bead, without even needing to stop and wire brush. All you need to do is let it cool every now and then and that way you get more arc time than with other metals without the need to sand or brush oxidation.
Tig Welding Aluminum is more difficult than tig welding steels.
But once you learn it, you wonder what the big deal was.
exit this aluminum welding page and see more on tig welding


