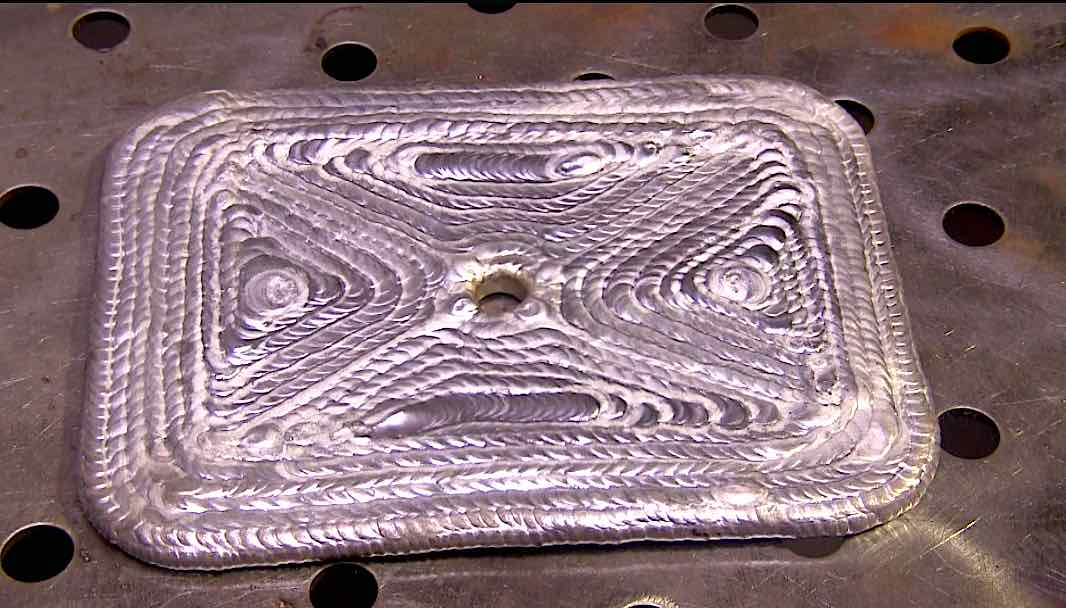
Do the Aluminum Drill...its great practice for Tig Welding
I have created a No BS TIG workbook for you to help you learn to TIG weld...and its free
Download your Free TIG workbook here
Download your Free TIG workbook here
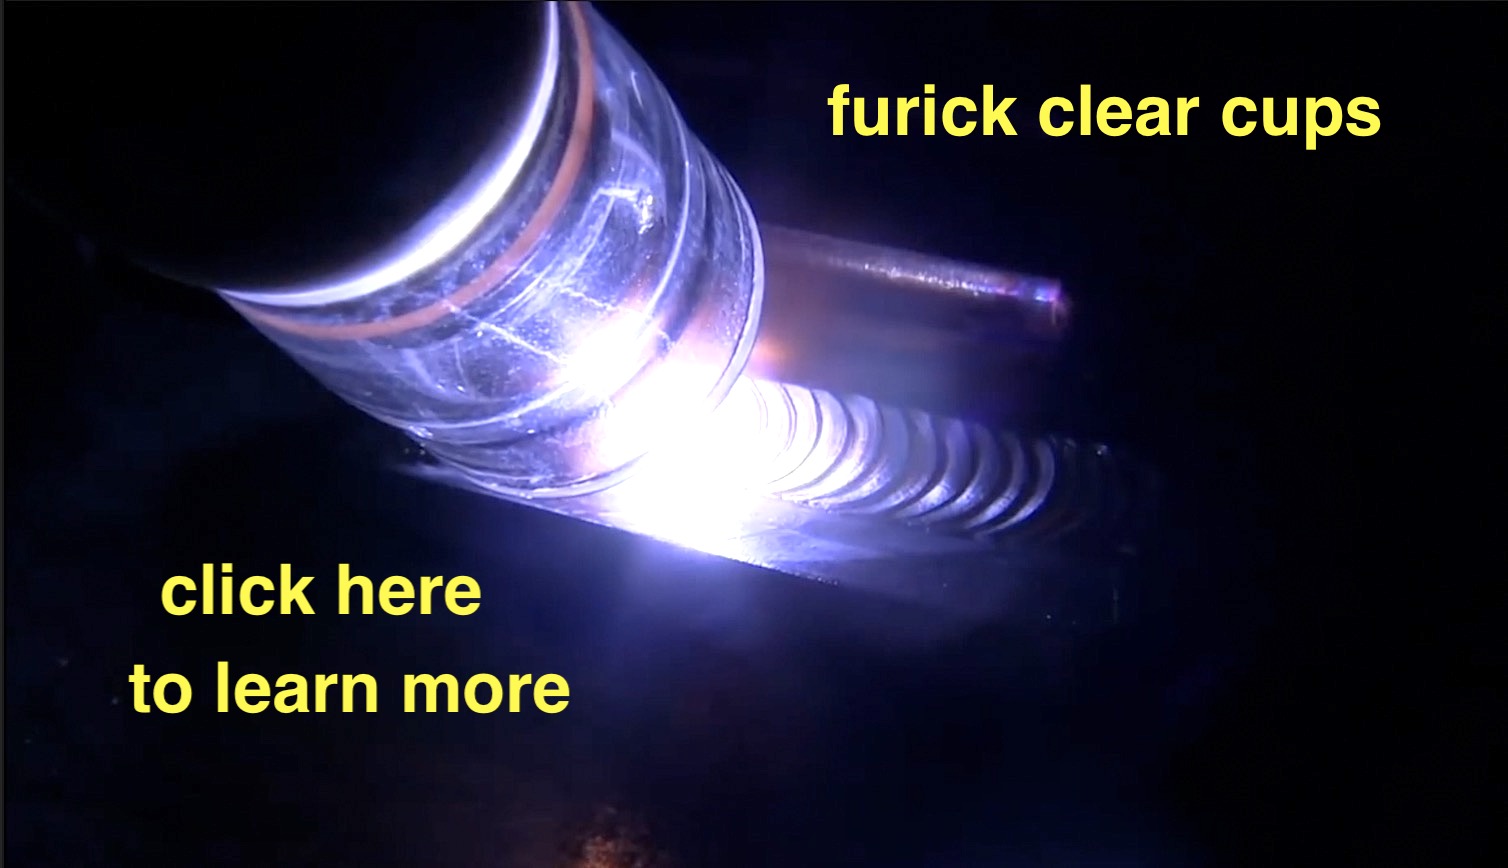
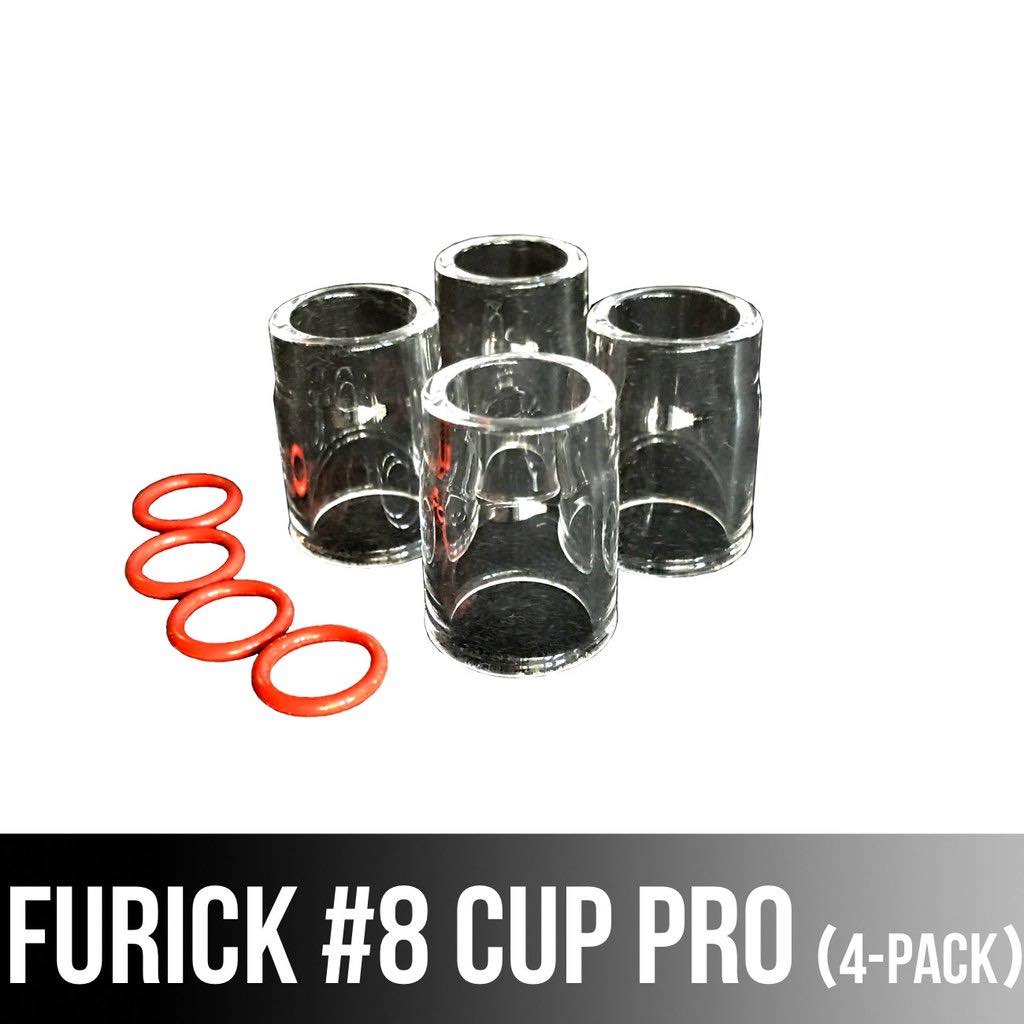
to learn more about the furick #8 cup, click here or image below
see more videos on tig welding aluminum
see more tig welding videos
When you are first learning how to Tig weld, There is no better practice than padding beads.
Stacking one bead exactly halfway over the previous bead is a skill that will be used time and time again in a welding career.
And doing this with aluminum not only builds the motor skills of the torch hand ...but the filler rod had is required to get up to speed quickly due to the fact that feeding aluminum rod requires more hand action than carbon or stainless.
I call this the "Aluminum Drill".
But it all boils down to stacking beads with intention.
That means thinking about everything.
Thinking about the way you feed the rod...the ripple spacing, the way you hold the torch, the angle of the torch, the arc length, size and type of electrode along with tip angle or preparation, machine settings, gas flow rates, etc...
Doing the aluminum drill allows for experimentation.
...and to get the most out of it, I like to use both hands when I do it so that my left hand gets some practice.
In my opinion, once you can weld consistent beads on plate on carbon steel, doing the aluminum drill gives you a boost and lets you progress faster on all tig welding.
The first step of the aluminum drill is to weld a bead around the edge
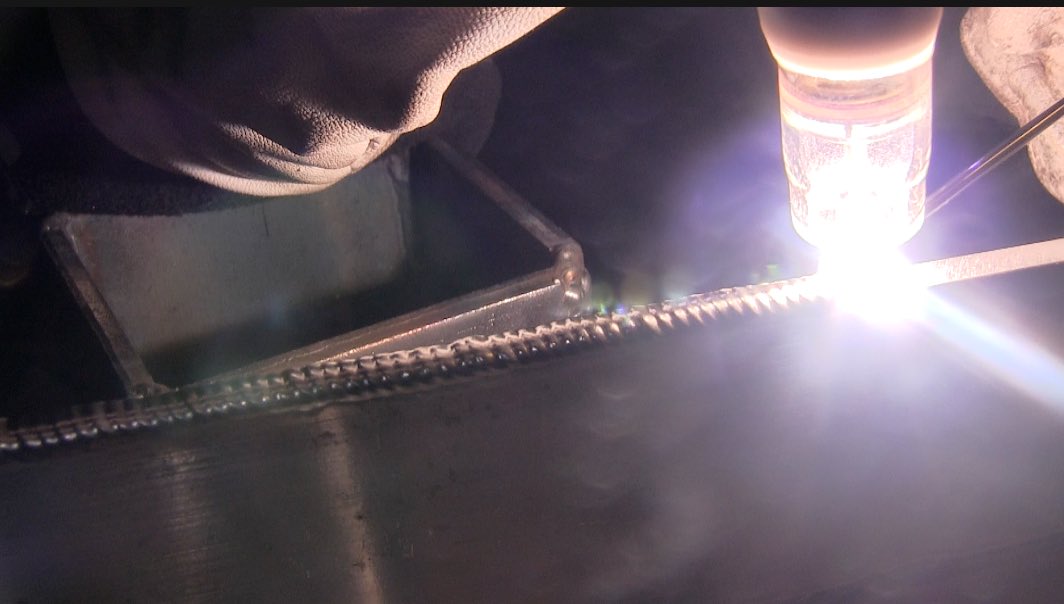
After welding a bead around the edge, the piece is preheated to around 250f and the following beads just go better.
I used a Furick #8 cup and it really helped light everything up for filming.
Normally, I like to use a stubby gas lens alumina cup on my air cooled torches, but using this clear cup proved to really help with the video process.
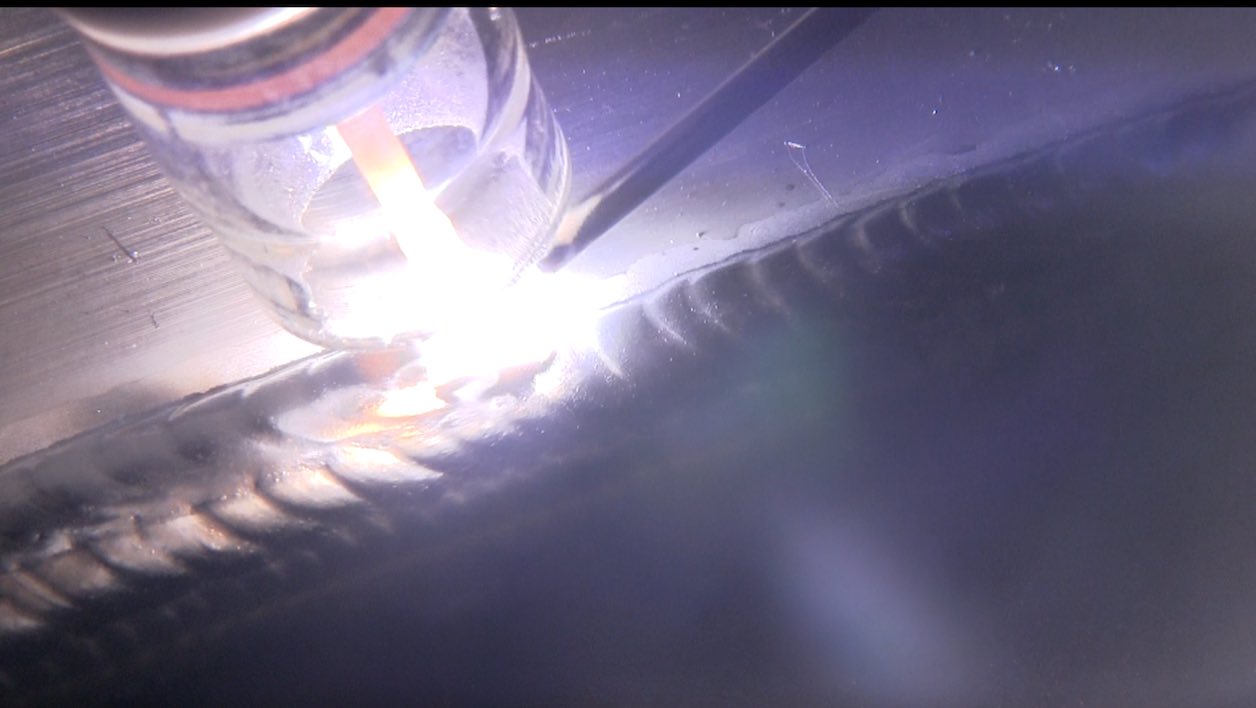
I pushed the air cooled 150 amp torch pretty hard here because at times, I was at 200 amps briefly if I let the piece cool at all between beads.
I used one of my TIG finger XLs as a heat pad for the last portion of this pad of beads so that I could rest my hand on the hot piece without feeling heat.
I usually slip the Tig finger XL over 2 fingers but sometimes its just easier to use it as a heat pad prop.
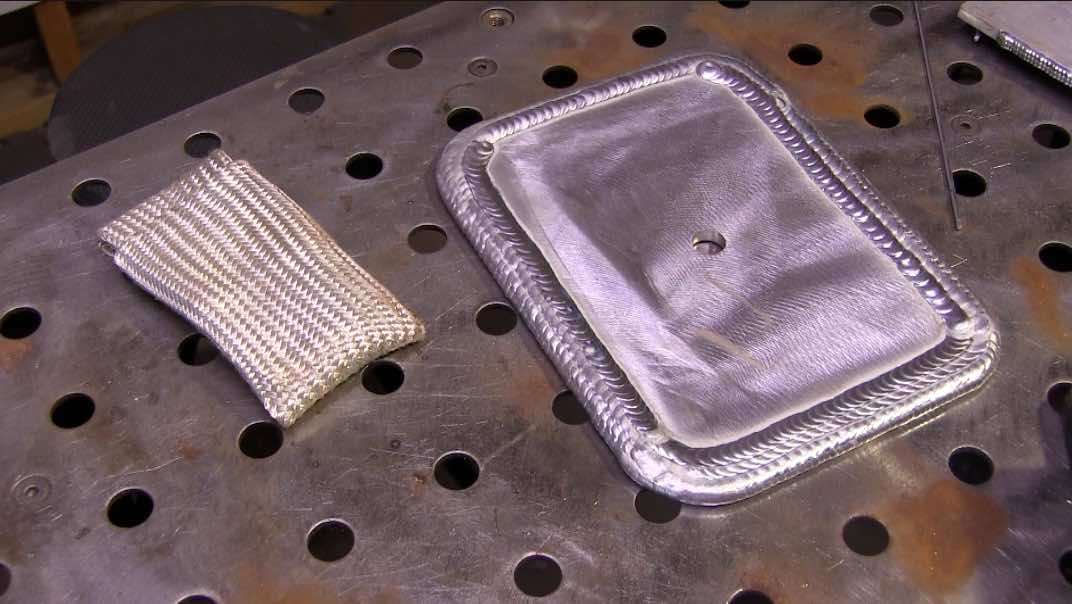
the aluminum drill is very much like some aerospace casting repairs
I have seen or done quite a few repairs on aerospace aluminum castings and the skills built doing the aluminum drill are definitely similar to those required to build up metal on a gearbox housing of an aircraft engine.
Its common to stack aluminum beads to replace worn or damaged material. Sometimes a stud would get over-torqued and that would crack the casting and the only fix was to remove all the damaged aluminum with a carbide burr... and replace with weld beads.
