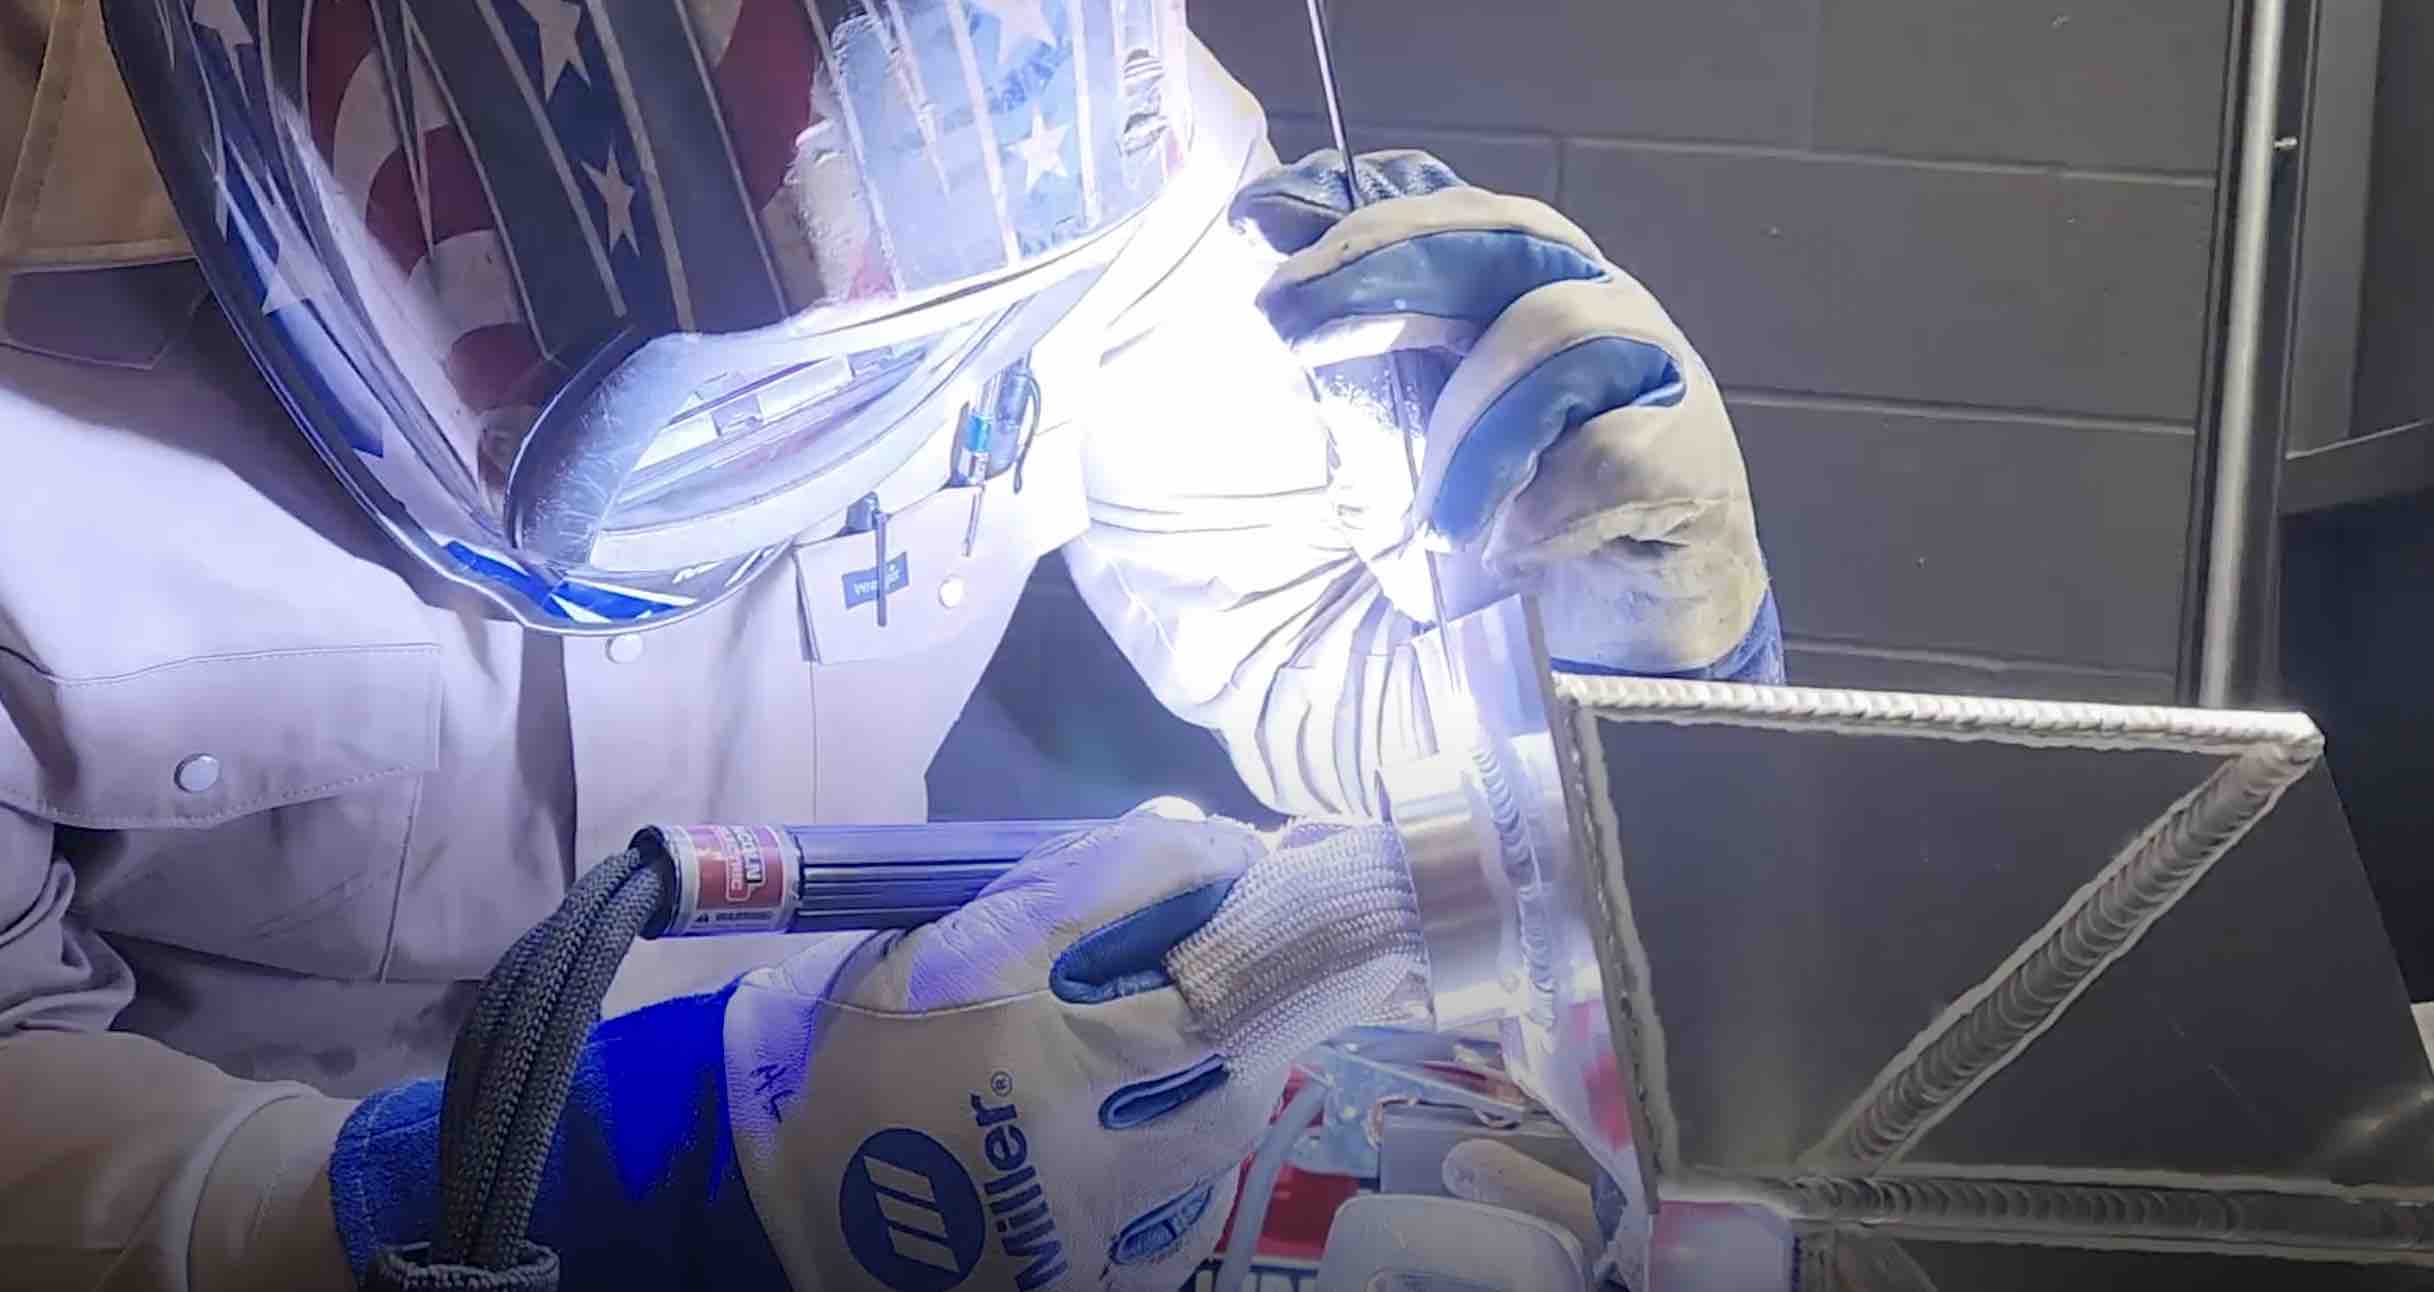
Tack Welding Aluminum .040" (1mm) without filler rod...
- HOME
- TIG WELDING ALUMINUM
- How to Tig Aluminum
- Welding Aluminum
Tack welding aluminum without using filler rod is not something you want to do all the time.
Aluminum tacks welds without filler rod can be really weak and wimpy and can crack easily.
but sometimes, when you are working by yourself, you just need to get one tack weld while you hold the part with the other hand ...and you cant exactly use filler metal when you tack weld with one hand.
After you get that one tack...then you can hold the part easier using clamps.
see more tig welding aluminum videos or go to the main TIG welding page
visit the weldmonger store to see the new products
I got this email from a fellow who was trying to build a prototype kit car using .040" (1mm) 3003 h14 aluminum and he was having problems trying to tack weld without filler.
Email went sorta like this...
Jody,
I
am trying to build a homemade car using 0.040” thick 3003-H14 aluminum
using the Miller Diversion 165. I am an engineer not a welder, but I am
trying and I really appreciate all your videos. However, I must be
doing something wrong. After reviewing your videos on TIGing aluminum,
running a bead in the middle of a sheet per your tutorial is finally
relatively easy (BTW, you are correct when you say practicing on
aluminum makes for a better steel welder, steel is easy compared to
aluminum!). I’ve even been successful welding an edge to the middle of a
plate as in a lap joint, though I stay away from the edge with the
torch and just barely let the arc hit the edge sporadically to ensure a
bond. You have a video showing an outside corner weld of 0.040” 6061
aluminum and you easily tack the pieces without filler before welding
the full length. When I try this with the plates clamped to a piece of
angle iron, the edges recede away from each other widening the gap and
never forming a bond, and it does this virtually as soon as the arc
starts. I’m using a 1/16 cone-shaped ceriated electrode, only 15-20
amps on AC, and 1/16 aluminum filler rod. If I use filler rod and only
apply the torch to the rod, I can get a weld, but it isn’t easy and
doesn’t look anything like yours! I know I need practice, but since I
have never had any welding training I would appreciate any tips you may
have.
Thanks, take care,
problems with tack welding aluminum with no filler rod
Aluminum is "hot short" .
That means it is weak and brittle when it is heated to certain temperature ranges.
When you tack weld without filler rod, all those expansion and contraction stresses can cause that tack weld to crack.
thats why I suggest limiting how much tack welding you do without filler.
I work alone all the time.
And sometimes all I need is one tack weld with one hand ....and then I can use both hands... and use filler rod.
Often times, I will go back over that one tack weld and add filler.
the 3 main tips for tack welding aluminum without filler rod
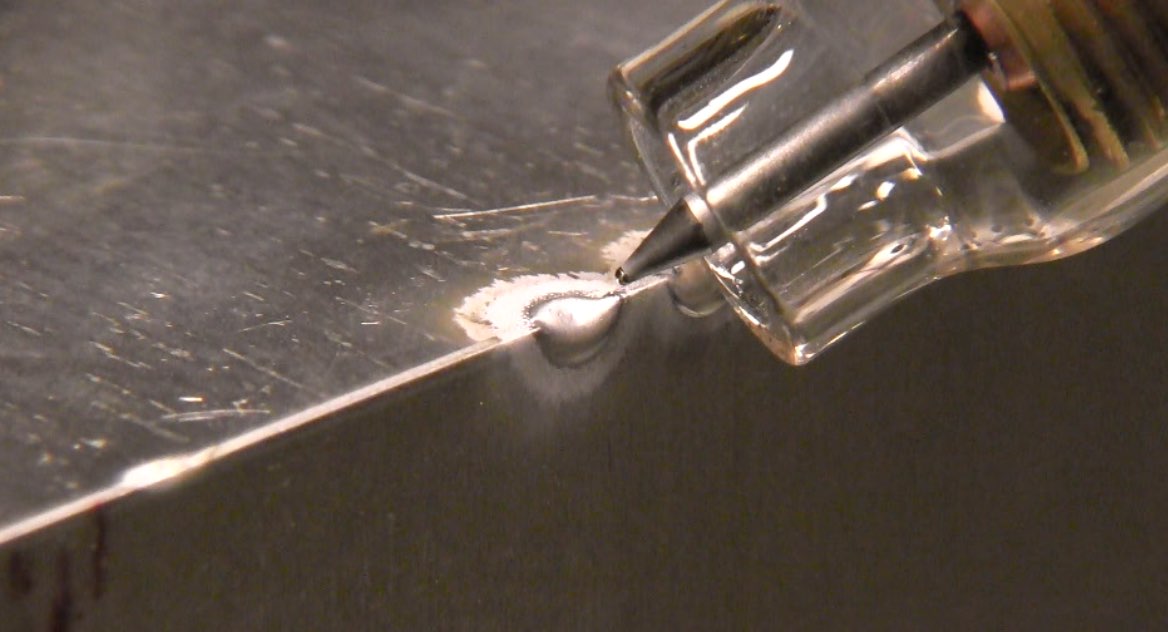
- slight overlap with NO GAp at all
- sharp electrode
- tight arc
thats the gist of it.
I usually use a small #5 alumina cup.
I used a pyrex cup for this video because it seems to work better for filming purposes...but I found it kind of slippery when propping on the outside corner joint.
So I would recommend either a standard #5 cup or a #5 gas lens cup with a 3/32 tapered electrode.
I set the machine to around 1.5 amps per every thousandths of thickness of the aluminum which in this case was .040" (1mm) so that was 60 amps.
I prop the cup on the joint...rock it in till it touches off...then rock it back just a bit.
then I press the pedal , get an arc, and add just enough amps using the foot pedal until I get the pieces to fuse.
I keep a close eye on the puddle and it it is reluctant to joint together, I stop...let cool for a second and repeat.

